http://www.6gc.net/forums/index.php?showto...=supershannon77
hey guys, as most of you know, supershannon (which includes her boyfriend, jim, and his brother joey) has the 95 swapped celi that they bought early last year to replace the 5th gen they had.
they bought the car from RJB on 6gc, with the assumption that is was a solid running car, with no major issues.
boy, were they wrong.
apparently, there was a problem with the PS before they bought the car, and they actually paid RJB extra money to insure the PS would be fixed before they picked it up.
the PS went out on the ride home.
after that, it was just problem after problem with this swap gone wrong.
they litterally had a wheel fall off at a meet up here last spring, AND a brake caliper fall forward and lock the front passanger wheel (there was no bolt holding it into the bracket)
we fixed them up, and at the next meet theyre tranny locked up on them.
turns out, once we sourced them a new tranny and went to install it,the car had the wrong rear mount with a lets just say "sub par" mounting bracket..lol, and the wrong shifter cables.
at that point, we could really see just how bad most of this swap was done, and we knew somthing needed to be done to help them out, since they really dont know much about how these cars work yet. lol
so, once i finished the 5sfte car up for them, we waited a little bit, and had them bring up the swapped celi.
once we got it here, i worked on a plan of attack for the car, and started really getting into looking things over really well, and going over the "systems" in the car.
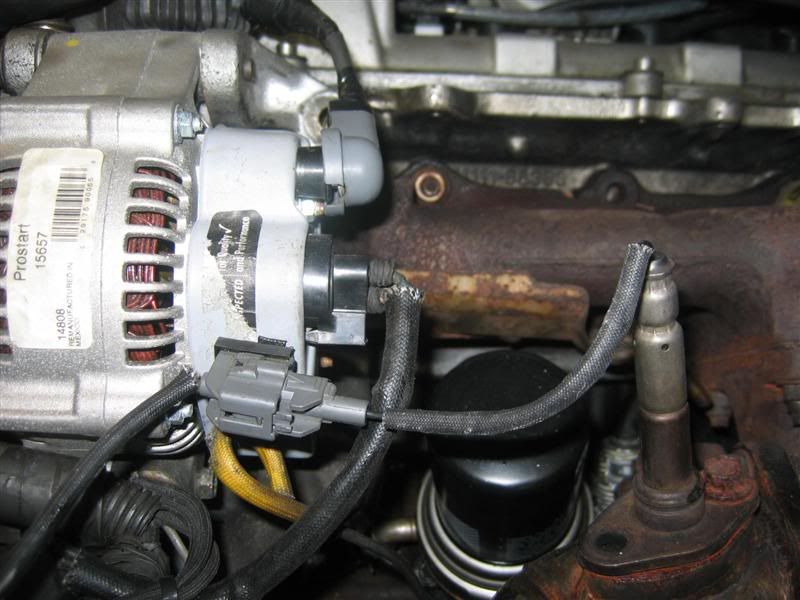
first, the wiring harness was a MESS. i donot know who wired the harness, or who loomed it, but whoever did, it is NOT good.
jim had complained about the alternator wire "melting" on him a couple times, and how he had to replace a peice of the wire.
this is what i found after i cut off jims spilce in, and peeled back some of the sheething:
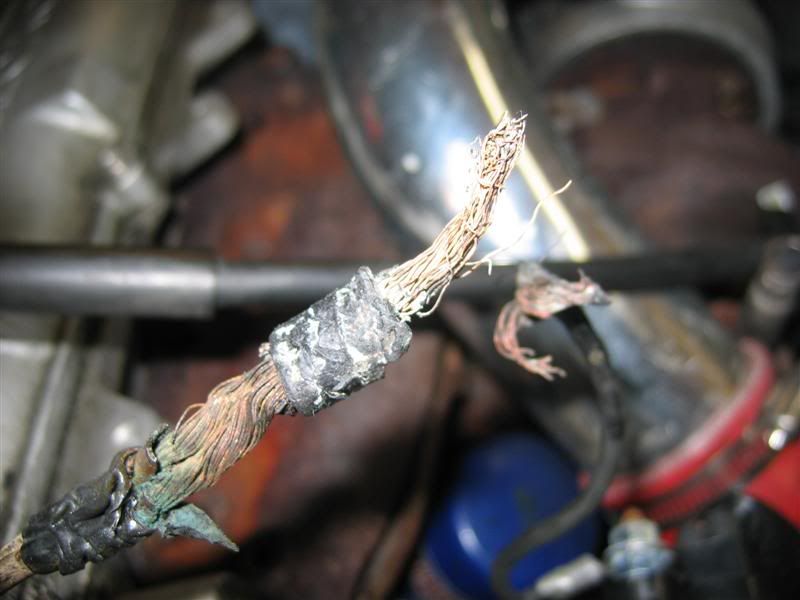
aweful.
no clip on the AFM plug, a wire pulled out of the temp sensor, and ALL those wires super tight and streched was what we found on the other side of the motor, which looked like a birdsnest there was so much twisted up wiring in that area..lol
so we took note of all that stuff and started digging more.
jim had noted that he noticed the front of the block would get a little moisture on the front of it after driving around a bit...after driving the car, and boosting a few times, i noticed the same, and it seemed to be getting worse...
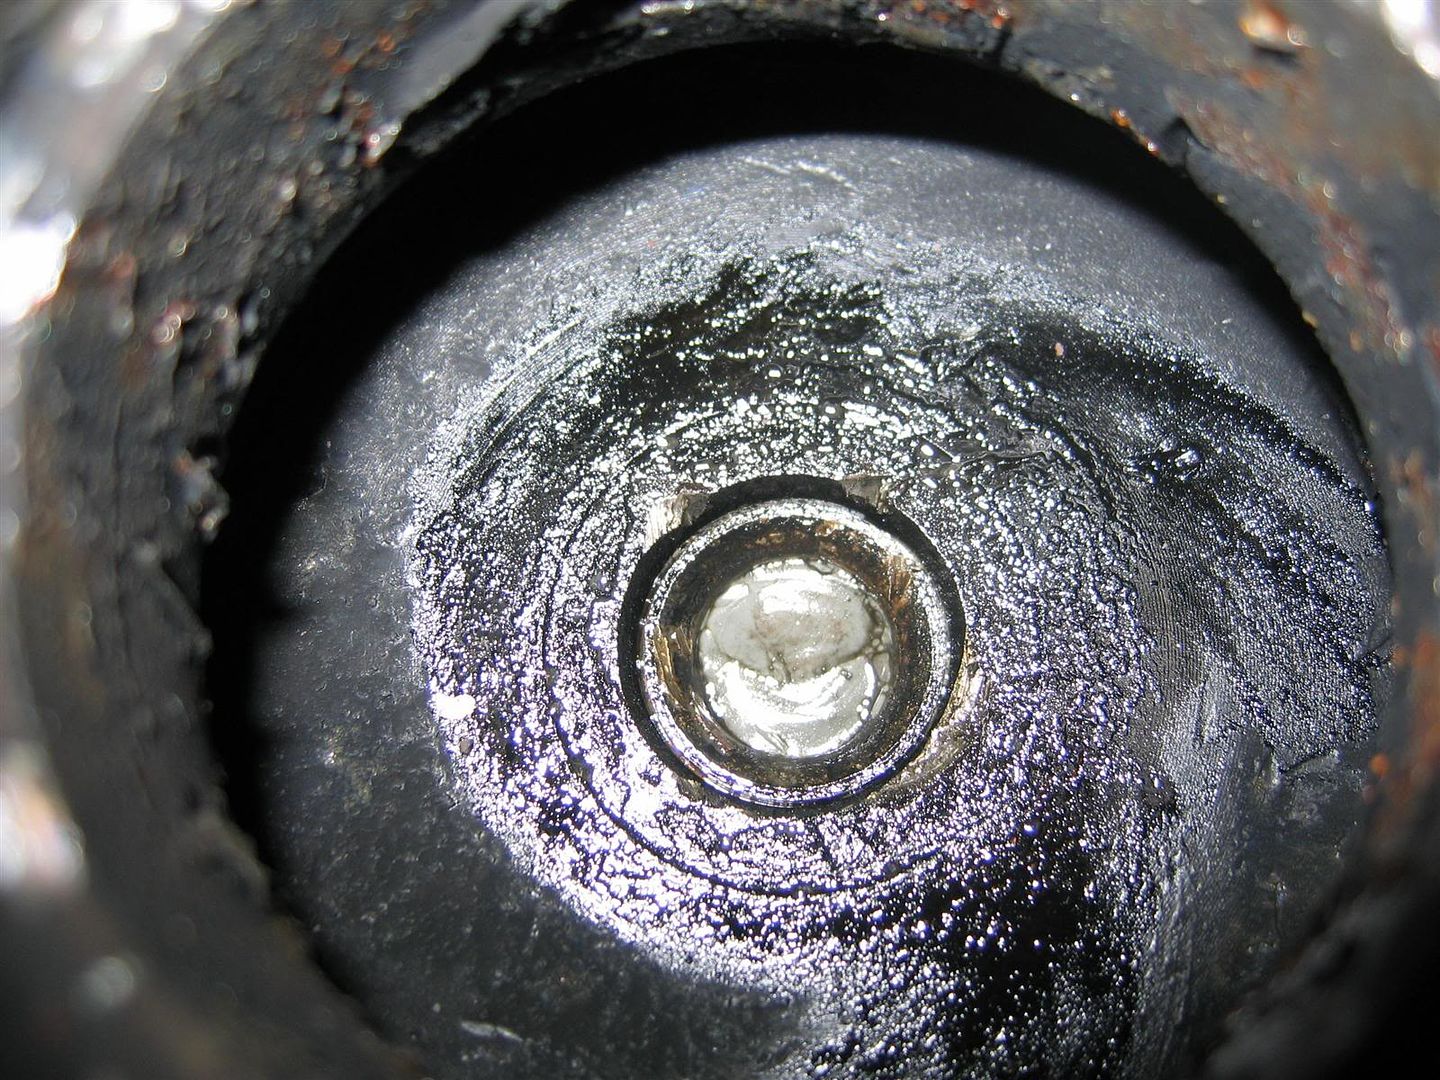
looking around in the bay, i noticed this, and found it odd...notice the red "dot" in the middle of the pic. that is the water pump housing, right above the thermostat.

hrmmm interesting..lol...looks like....rtv silicone??
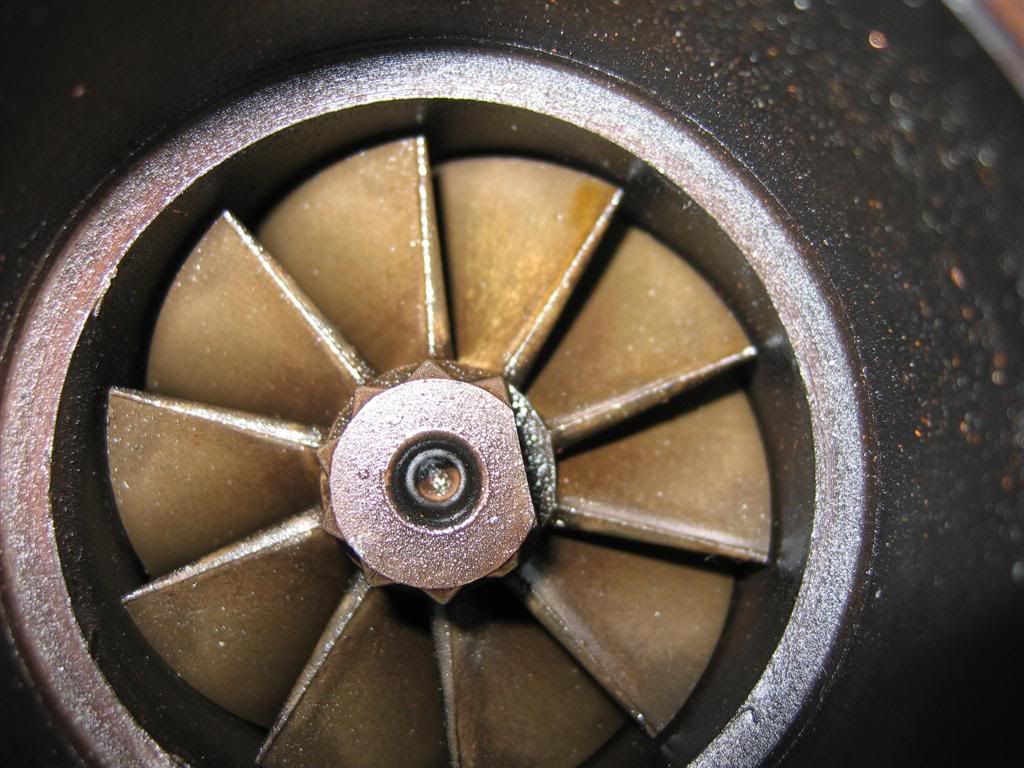
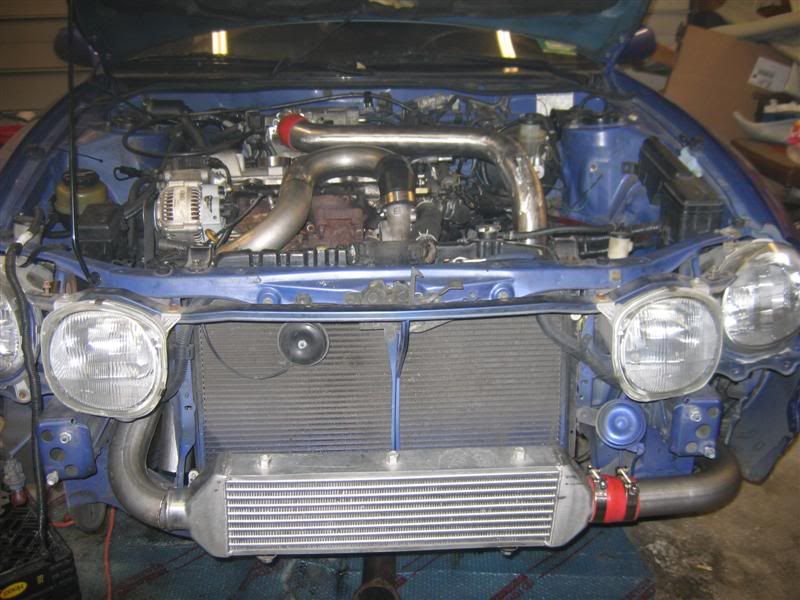
at that point, i knew i was going to have to go into the timing belt side of the motor...so, pulled the IC piping off...
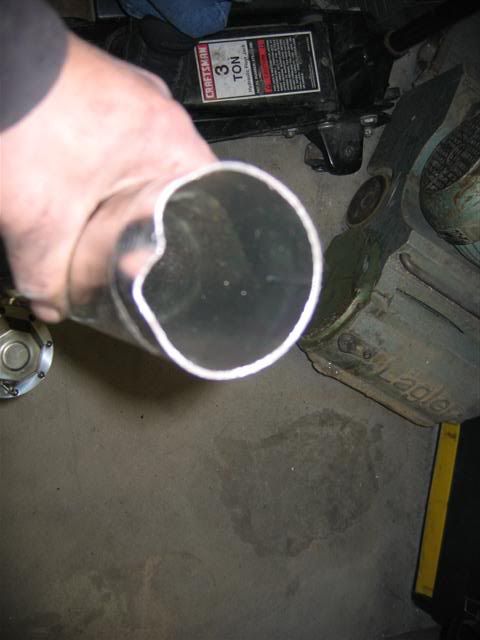
when i did, i found that the piping, started as 2.5" aluminum piping off the turbo, and went down and around the fenderwell. inside the fenderwell, it transitioned DOWN in size, into 2.25" aluminized steel piping, into theyre 2.5" inlet intercooler.
yes, it went down from 2.5 to 2.25, back to 2.5 all on the hot side.
but wait, theres more!!
out of the intercooler, it went BACK down to 2.25, around into the fenderwell again, where it goes back to 2.5" aluminum.
brilliant.
to top it off, the aluminum piping wasnt beaded on the ends, and with the crappy couplers and clamps that were on there, crushed most of the ends of the pipes so they looked like this:
fantastic.
add another to the list of to do's..
so, we moved on, and got the upper timing belt cover off, and found this:
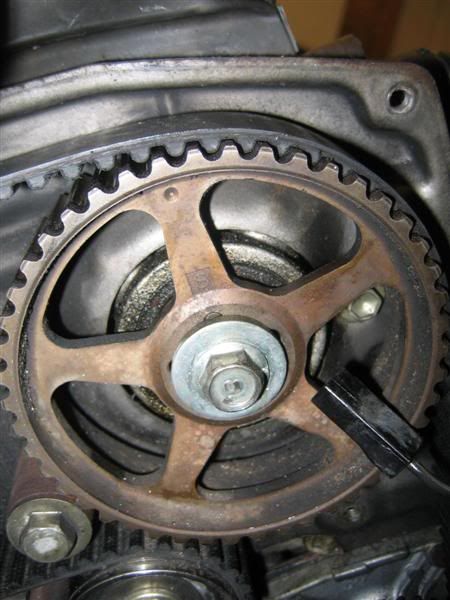
notice the match marks are off, looks like about a tooth...lol
a quick check at the dizzy shows us the dizzy is adjusted all the way up, with no more adjustment that way left, and you can see the original clean spot on the dizzy, where it "should" be, when the timing is set correctly.
so, we tore it apart, replaced the water pump, timing belt, seals and tensioners.
once we got the water pump out, we found what the litte red dot was from the earlier picture, and found the leak:
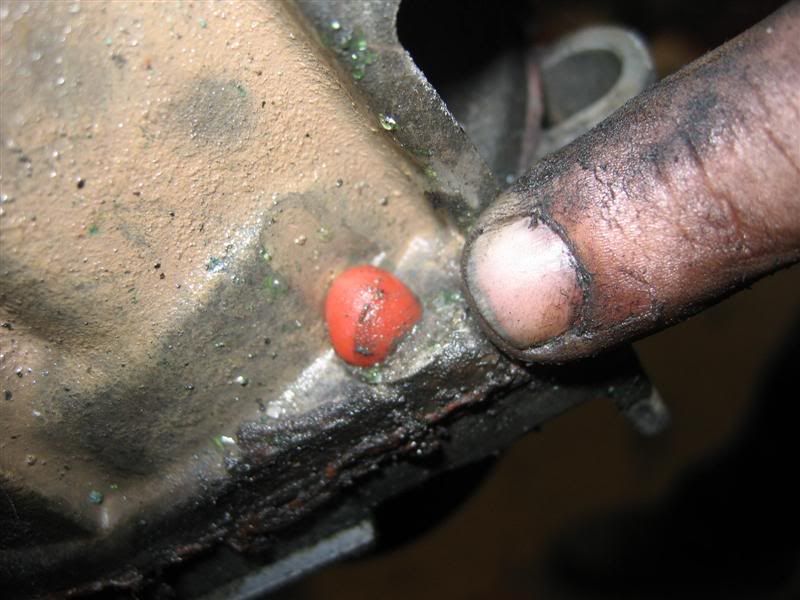

yup, thats RTV allright, filling a bolt hole. LMAO yea, that'll hold, yup, no problem, just long enough to sell the car.

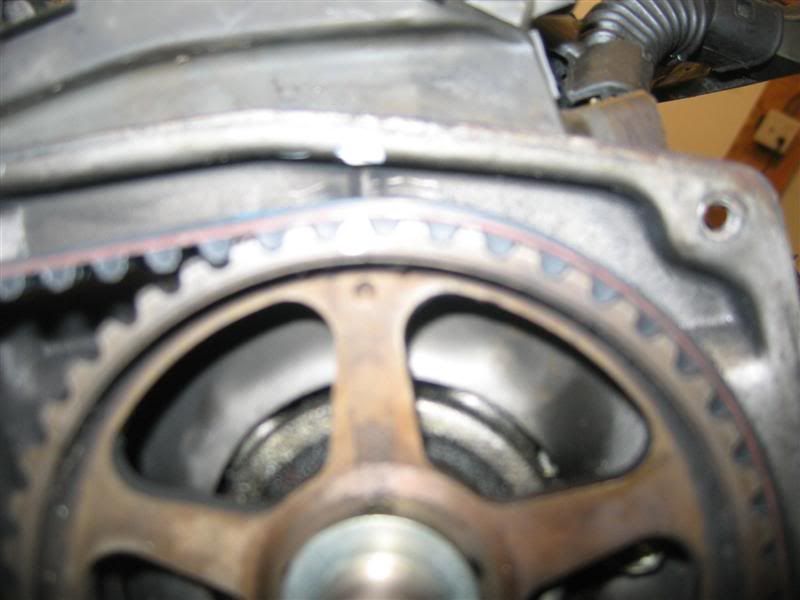
we replaced the water pump and housing, and installed the timing belt, correctly this time. lol
continued..
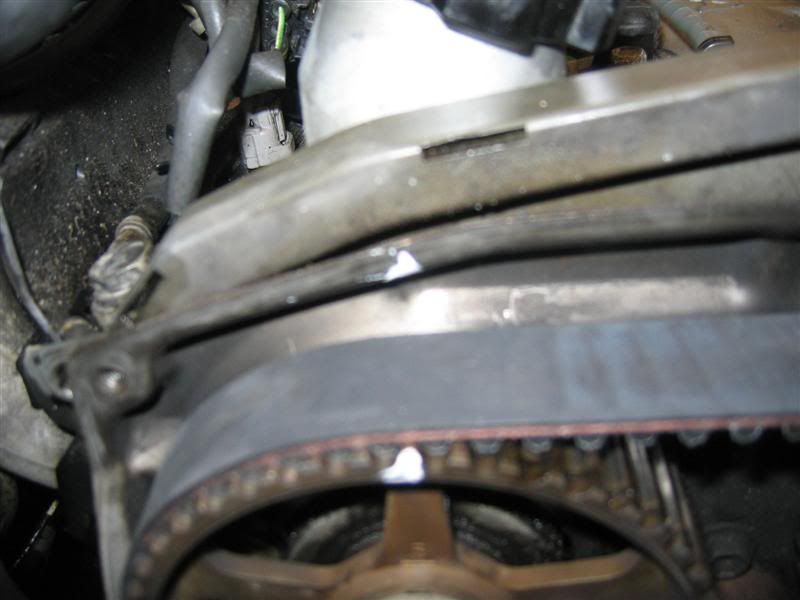
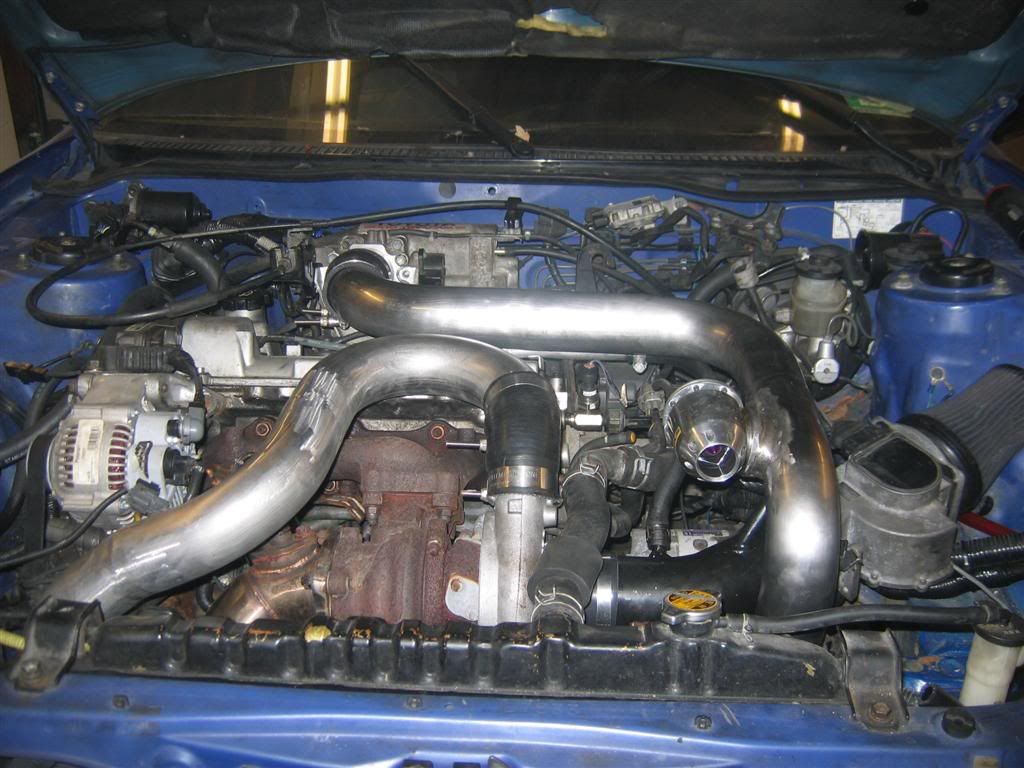
once we got that buttoned up, we fixed up the wiring for the alternator, and o2 sensor wiring that had melted from laying on the downpipe.
and fabricated them up some 2.5" all stainless IC piping, welded into 2 sections on each side of the intercooler, with hump couplers at the joint on each side, and a 3" intake.
a few pics of that stuff.
during fab work
just about done:
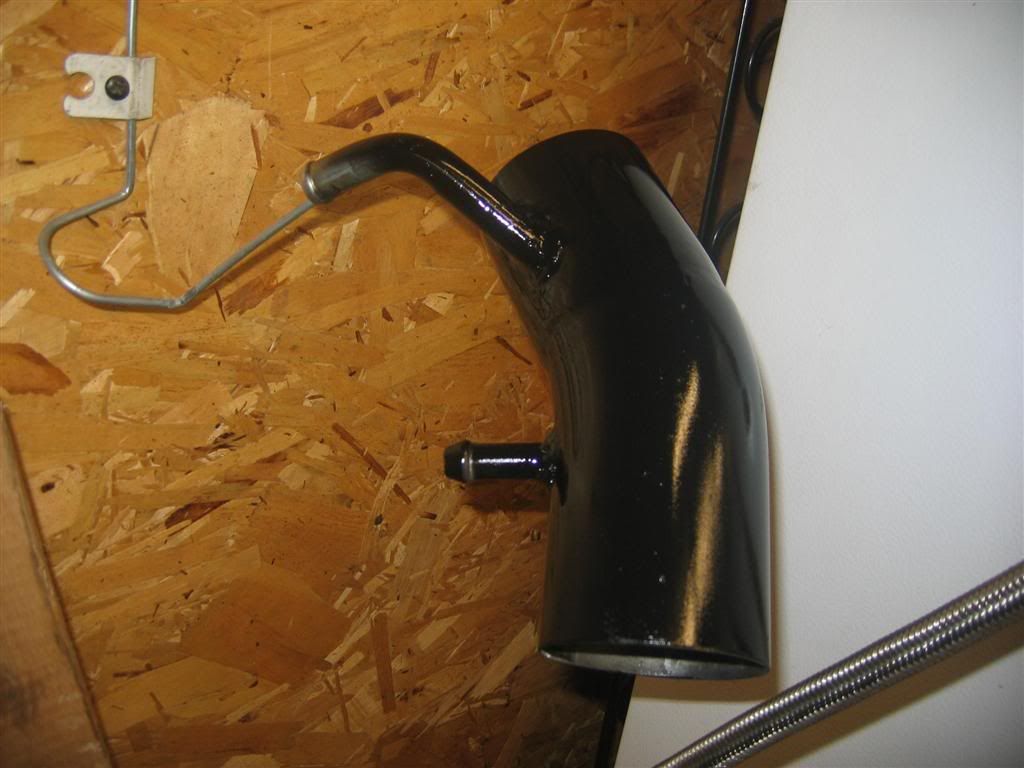
the intake:
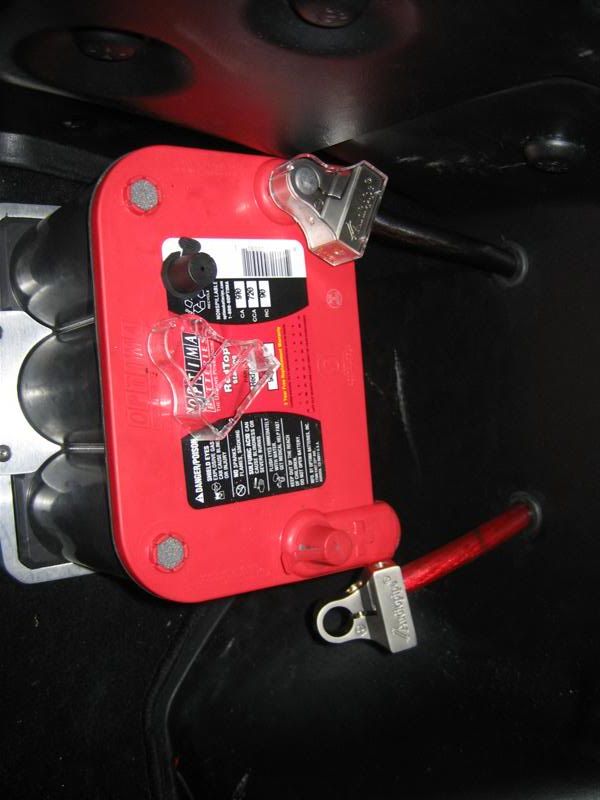
we also relocated the battery to the trunk:
once we got it all buttoned back up, she fired right up, first try.
now, we're just waiting on a proper rear mount to arrive, (they had sourced and installed the correct shifter cables, and sourced a rear mount bracket before bringing the car up) and a bit of body work to fix up the fender damage and whatnot that happen when the wheel fell off the car, and they should be able to actually ENJOY the power of a 3s swapped car for a change!
unforutunately for them, theyve learned the hard way, buying a swaped car is not the way to go., unless you have the mechanical knowlage to really look the car over well, and can test drive and make sure the car is solid BEFORE you buy.


 Good work Manny. You're like Speed-Source to them like they're to me.