Help - Search - Members - Calendar
Full Version: RHD BEAMS Progression/Build Thread
6G Celicas Forums > 6th Generation Celica > My Project
Pages: 1, 2, 3, 4, 5, 6, 7, 8
ricochet1490
Just some teasers of things to come...
Where this car used to be... here


Where it is now (at my garage)


What it's going to be getting

and


Stay Tuned!
richee3
Nice! I've been waiting for this thread. I demand pictures every step of the way. Any help you need, feel free to call me. I'll try to come up there and lend a hand with the swap if I can. That clip looks fantastic. Are you pulling the motor apart for maintenance or just dropping it in?

Do I spy an IS 300 in the background?
enderswift
great clip dude! good luck with the swap thumbsup.gif
rave2n
thumbsup.gif My attention has shifted.
kurt95gt
you need anyhelp let me kno man
we need to meet up sometime so I can see this in person lol
ricochet1490
Sunday!
BonzaiCelica
glad too see this going into your celica. Also very glad that community of 6gc is starting to swap in redtop engines left and right without hesitation biggrin.gif
ricochet1490
QUOTE (BonzaiCelica @ Nov 5, 2011 - 1:20 AM) *
glad too see this going into your celica. Also very glad that community of 6gc is starting to swap in redtop engines left and right without hesitation biggrin.gif


Thank-you. smile.gif
Eventual plans are to make it look like it came from the factory that way. You better believe RHD is on the way biggrin.gif
ricochet1490
Picked up the clip today in cincinatti....

So now this progression will become a reality as soon as finals are over.
Shout out to Richee3 for the CLEAN shell at a great price with all the right parts.
Shout out to FORGMANN for the CLEAN clip at a great price complete with extra parts.
Shout out to BOTH of those guys for a ton of support, parts, and kindness. You've made this a reality for me.

This will not be halfazzed. It will retain U.S. VIN# for ease in registration and liscensing. Firewall swap over for RHD. Every part from the clip will be used with the exception of the control arms and various other parts that I will need to retain USDM suspension. Even though there are some good prices on Superstrut on the forums now.... not knowing what that means for my usdm rear end in the car and what it means for replacement parts.... I will retain all usdm suspension and brakes. The exception is the JDM anti-ock brake system. Auto climate control will also be installed.

Items I will need if anyone has these at a good price lol.... i'm not in a hurry because they are cosmetic but before I drive it I'll have to have it... but just keep it in mind smile.gif haha
1) set of jdm tails
2) ssiii riser blocks and accompanying spoiler
3) ssiii body parts. splitters etc.
4) set of 17" wheels

Keep me in mind guys!! lol

On a more serious note - here is the plan of action:
1) finish finals, week of Thanksgiving (Nov 2_th)
2) weekend after deer season begin tear down of shell, complete gutting, interior, carpet, dash, everything (complete by end of first weekend in december)
3) firewall of shell cut out either that weekend or shortly thereafter. Saving all cables for trunk pop/gas etc. - setting aside all usdm parts for later install into my DD, sale on 6gc, give back to Richee3 because of all of his previous kindness.
4) drop motor from clip out of the bottom ( I have a forklift etc.) and begin clip tear down (noting and saving all bolts and wiring locations) Drop motor by christmas.... have clip torn down and parts organized by Jan 15 2012
**Classes start back up and progress will drastically slow so I need to do as MUCH as I possibly can before Jan 3. **
5) reweld clip firewall into shell and begin running chassis wiring. Have wiring run and dash parts more or less installed by Feb7 (my birthday)
6) install interior with EXTRA sound deadening everywhere with legit RHD center console ( from FORGMANN, he's the man) Complete by Feb 22
7) Install engine bay parts and tie up odds and ends like wiper bulkhead. Matching spray paint color to car - paint firewall- Complete by March 12.
8)Install engine subframe into shell by installing from bottom. Hello forklift smile.gif - Hook up all engine electronics/fluids/fuel etc - Complete and have running by March 26 (end of spring break)
9) Install exterior parts/pieces tails, jdm fenders, bumpers etc. - finish by april 15
10) bleed brakes - bolt on wheels - drive to buereau of motor vehicles and get registered and liscensed - May 5th
11) Run the piss out of the car for a weekend, park it and begin all remaining body work that MIGHT need to be done if I haven't gotten to it yet. - Send to paint and have painted the color she was.... sleight blue gray.
12 Project complete for my College graduation.. Present to myself.

HERE WE GO!!
kurt95gt
Sounds like you got this figured out
now I need to get ob the ball like you
richee3
That's a very detailed itinerary. I'll bet you can get it done sooner than that! Stripping the car's interior doesn't take long. If you had one solid week to work on it, no messing around, I'd bet you could have the RHD conversion and BEAMS swap finished.

About the RHD conversion, is the dash/firewall/console the only bits being converted to RHD? Like you're going to use the passenger seat as the driver's seat and keep the floorboard the same shape? What about power windows? If it was me, I would totally pick up another relay so the passenger side (soon to be driver side) window is auto down. Or get fancy and make them both auto up and down. Of course, if you move the USDM driver side window controls over, the wrong button will be illuminated, buts starting to get too nit-picky. I'm mostly just curious about the floorboard, if you're keeping the USDM floorboard or welding the RHD floorboard in.
ricochet1490
haha Dan. i didn't want guys to be like..... WHOA! that's WAY too fast. You need to slow down and do MOAR RESEARCH! lol I'm hoping to have the motor in much sooner than that. smile.gif

Edit:
I may not rebuild anything.... this car is NOT a DD, it is a garage car/weekend car.... here's why - I may crack the tranny to inspect the flywheel and clutch. But that would literally be the only replaced part.
richee3
QUOTE (ricochet1490 @ Nov 7, 2011 - 12:29 PM) *
haha Dan. i didn't want guys to be like..... WHOA! that's WAY too fast. You need to slow down and do MOAR RESEARCH! lol I'm hoping to have the motor in much sooner than that. smile.gif

Like I said, just send me a text when you get ready for the swap. Chris and Stacy were kind enough to drive 10 hours to help me swap, so the least I can do is pay it forward. You already know the BEAMS swap forwards and backwards but having a second set of hands is always useful.

Edit: you should swap that entire gauge cluster. If its RHD, might as well know how many kilometers an hour you're doing as well!
ricochet1490
the floor boards don't look to be that different. I'm using the stock carpet for sure. I'll have to mod the seats so that the seat belt light is triggered in the drivers seat. The door panels are the same. The switches will likely get changed to jdm ones to utilize power folding mirrors (yet to be acquired or decided if I even want them) The auto up and down..... I don't know if the actuator takes care of that or if it's the switch, I haven't got to that point yet lol. Those are definitely final touches. I haven't even asked anyone that question yet and there are def some guys who have done full RHD conversions, I'll have to look into that. i wil do the floor pans if I have to, but i haven't planned to. Shouldn't matter. I'll have a small carpet misfit in some locations, but again, I'll make that look right as well.

But you're right, there are several small ticket items like that that are just hanging in the wind lol


Here is czwalgas progress thread with LHD floor boards for sure. comparing them to the above picture tells me there is little to no difference.
http://www.6gc.net/forums/index.php?showto...76086&st=20
richee3
I was mostly just curious about a dead pedal in the passenger floorboard. You did bring up a good point though- no Celica out of the 5 I've had have cared about the seat belt light. To be honest, I can't even remember if I've ever even seen the light in my black one. It never mattered whether it was plugged in or not. So the seat belt light might be a non-issue. I don't think the floor pan matters whether it's RHD or LHD, the exhaust still runs down the same side of the car. I think the difference is the dead pedal and the floor mat.
ricochet1490
FORGMANN hooked me up like the awesome dude he is with some RHD floor mats, celica hyper sports, The dead pedal is a consideration, but I'll figure that out as I go. The carpet i'll have to sew in a spot to cover up somewhere I've been told, prolly around the dead pedal, but I can neither confirm or deny that..... yet lol. But I'll have the wiring from the current drivers seat taken out and hooked up to the passenger seat so that the seat belt light goes off. Drives me crazy when it's on in my own car. Just another thing that is lit up on the dash. but if I can't do that I'll be unplugging the light in the cluster haha. This thing is sooo clean. zero rusty bolts, zero oil in the bay, i don't think it EVER saw snow. Life is good smile.gif
richee3
You hate the seatbelt light? That's why you should just buckle up tongue.gif

Seriously though, I know you're very familiar with the swap, but here's some quick reference info:

Wiring:
-EA1 plug, pin 17 goes to pin 4. Pin 17 is the bottom left wire, red with a black stripe. Pin 4 is the thick black wire at the top center of the EA1. Pin 17 needs power when pin 4 has it. This gives the BEAMS spark.
-EA1 plug, pins 2 and 12 need to be bridged. Those are ground wires. They need to be spliced together. There should be two wires, parallel to each other. Just bridge them together.
-Clutch start wire- there are 3 vertical plugs next to the ECU. On the body side of the plugs, you have a white (19 pin) plug, light gray (13 pin) plug, and dark gray (17 pin) plug. The clutch start wire is pin 18 on the white plug. Move it to pin 17 on the dark gray plug.
-Cruise control: Contrary to popular belief, no work is necessary for cruise control. It's a standalone system with no wiring related to the motor.
-To get your airbag light to function properly, you run a wire from the EA1 plug to the light gray interior plug (either pin 4 or pin 5, I have read separate posts saying both and I chose not to do this step so I cannot confirm which pin it is.)

Useful pictures:
EA1 plug, pins 4 and 17 bridged, as well as 2 and 12.


EA1 Plug with the necessary wiring changes.


Clutch start wire:


Plug C, wire 27 (Tach signal wire.)


Useful links:
njccmd2002- "I Swapped 3s-ge Redtop Into '97 Limited Edition Vert."
turnip- "Swap: 3sge Beams into 94 GT"
hurley97/Batman722- "New Addition to Our Family"
erahman85- "One acronym... BEAMS"

I have some more pictures that Turnip sent me. I'll upload them and add them later. Any questions, don't hesitate to ask!
ricochet1490
Dang dan, that post took some time to compile. I can tell you that for sure haha. But alas, it might have been to no avail. Here's why. I'm transferring everything from the clip over. This includes dash, dash harness, engine harness, complete chassis harness. EVERYTHING. This means that everything should be plug and play. No repining needed. No splicing needed. Everything should be perfect. makes it easy that way. smile.gif
richee3
It's mostly copy/pasted from page 16 or 17 of my progress thread. But I did it from my iPhone, so it turned out to be annoying. Lol. Stupid worthless iPhone...

Pointless or not, I'm leaving that post there for future BEAMS swappers!
ricochet1490
Only part I plan on replacing is the clutch... at this moment anyway. the part number I've found through about 2 hours worth of thread searching and good is 31250-20331. Toyodiy has this specified for a jdm st202-blmzf the following
998 TOYOTA CELICA (ST202-BLMZF)

SS3 JPN LB 3SGE MTM
Powertrain / Chassis 31-01: CLUTCH & RELEASE FORK, page 1 of 2...
Search parts:
('9309-   ) ST202, 203..MTM, S54 Next >
31126 BOOT, CLUTCH RELEASE FORK
31126‑32010 ST202, 203..MTM 1 $14.91
31204 FORK SUB-ASSY, CLUTCH RELEASE
31204‑20100 ST202, 203..MTM 1 $44.87
31210 COVER ASSY, CLUTCH
31210‑32130 ST202, 203..MTM 1 $154.58
31210‑44010 ST202..MTM..(SS2, SS3) 1 $279.51
31230 BEARING ASSY, CLUTCH RELEASE
31230‑32060 ST202, 203..MTM 1 $62.00
31232A CLIP, RELEASE BEARING HUB
31232‑20020 ST202, 203..MTM, アリ(ス-パ- ストラツト サスペンシヨン), タイプ A 1 $2.02
31232‑32050 ST202, 203..MTM, TYPE B:イラストサンシヨウ 1 $1.62
31236B SUPPORT, RELEASE FORK
31236‑32010 ST202, 203..MTM 1 $14.35
31250 DISC ASSY, CLUTCH
31250‑20250 ST202, 203..MTM 1 $125.84
31250‑20330 ST202..MTM..(SS2, SS3) (12/1997 - 11/1998) 1 $129.50
31250‑20331 ST202..MTM..(SS2, SS3) (12/1998 - ) 1 $129.50


The last part number is in fact the ss3 clutch
A search of that part number from the main page, specifying North american market only reads this


Part 31250‑20331 (DISC ASSY, CLUTCH) was found on the following models:
Date range Model Frames/Options Found in diagram
09/1993-07/1999 TOYOTA CELICA AT200,ST204 31-01: CLUTCH & RELEASE FORK
Model Dates: Matching Models: Model Options: Links to diagrams:
08/1994-09/1995 ST204L-BKMGKA GT, USA, CVT, 5SFE, MTM 31-01
09/1993-07/1995 ST204L-BLMGKK GT, CND, LB, 5SFE, MTM 31-01
12/1997-07/1999 ST204L-BLMSKA ST, USA, LB, 5SFE, MTM 31-01

St204, as specified here with GT option, USA, 5sfe, 94/95.

Does this MEAN that I can use a stock 5sfe clutch from 94/95 with my ss3 beams w/ LSD transmission? This is what I'm seeing here.

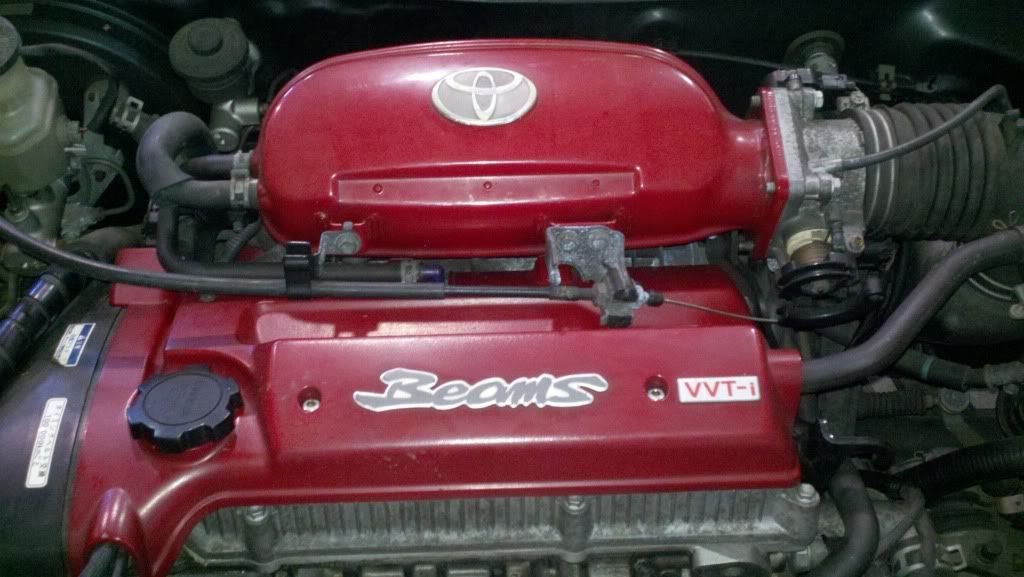
On a side note, what about a clutch for an e153? From what I can gather an s series tranny can bolt onto any 5s, 3s, or 3sgte. So can I use that clutch in my tranny??

Any help here is greatly appreciated smile.gif
celicast184
3sgte clutch has a different spline count than the 5sfe.
so the results are:
3sgte to s53/s54 trans = 3s flywheel & pressure plate, 5s clutch disc
3sgte to e153 trans = 3s flywheel, pressure plate, clutch disc
5sfe to s53/s54 trans = 5s flywheel, pressure plate, clutch disc
5sfe to e153 trans = 5s flywheel & pressure plate, 3s clutch disc

3sgte spline count = 21
5sfe spline count = 20

so count the spines on your transmission to determine which clutch will fit.
richee3
What he said. You can use either a 5S disc or the disc for the BEAMS, (31250-20331). Then you can use a pressure plate from a 5th gen Alltrac and throw out bearing for your stock 5S/S54. All parts are available in the US.
ricochet1490
I mean I knew all of that. I guess I should have geared the question more toward the e153. I think I would just as soon buy the beams clutch kit if I can get it for the right price
ricochet1490
QUOTE (celicast184 @ Nov 8, 2011 - 3:48 AM) *
3sgte clutch has a different spline count than the 5sfe.
so the results are:
3sgte to s53/s54 trans = 3s flywheel & pressure plate, 5s clutch disc
3sgte to e153 trans = 3s flywheel, pressure plate, clutch disc
5sfe to s53/s54 trans = 5s flywheel, pressure plate, clutch disc
5sfe to e153 trans = 5s flywheel & pressure plate, 3s clutch disc

3sgte spline count = 21
5sfe spline count = 20

so count the spines on your transmission to determine which clutch will fit.


Thank for the spline info. I had always wondered why lol - that answered that.
Thanks again for the help

Dan,
So those are the usdm parts that comprise a full beams clutch then?
richee3
The BEAMS disc is sold in the United States, though I've never figured out what application it has here. I think it cost me like $70 or something like that. The ST185 pressure plate is readily available in the US and has more than ample clamping force for the BEAMS. It's a totally OEM setup and it feels great. None of that weird pedal feel that some aftermarket clutches give.
ricochet1490
Today it started.... took out most of the interior Everything you see here including the center console, the airbag module, the radio, the center plastic around everything and the shifter/boot


Also, the engine bay of the shell is effectively empty (thanks dan smile.gif )


The actual motor going into that bay


Found a nice little treat in the center console as I removed it - Thanks to one of the previous owners lol


The interior was mostly gutted in about an hour of work
kurt95gt
Hey buddy this mean you got a extra shifter boot you could sell?
ricochet1490
unlikely lol - The shift boot on the clip is in questionable condition. if I do find one I'll hit you up haha. You should just make one tho man. I saw your artwork today, I think you could sew one up for sure!
kurt95gt
I've been thinking about it lol just gotta have the wife sew it
I can't sew for crap
richee3
Looks good! The interior comes apart pretty quickly. I totally forgot that Stadium Arcadium disc was in the car. I never bothered testing that radar detector either. I found some surprises in the car when I took it apart and I'm sure you've found a lot more.
ricochet1490
Took the dash out of the car tonight. Stupid toyota security system wiring... p*ssed me off.... Also put a battery in my clip. All electronics work and the starter kicked on smile.gif. Because "posts are useless without pics"


kurt95gt
looks like your off to a good start
stephen_lee
thumbsup.gif
TRD11
smile.gif sweet car man love the vvti
richee3
I tried to not mess with the RS3000 security system. That thing goes crazy. Disconnect the battery, reconnect it, and the car alarm goes off. I looked at taking it out one day and quickly changed my mind

I'm a little upset to see my baby's insides ripped out...

But not that upset. Keep it up! Since I'm doing another BEAMS swap, we'll race. Last one to start the BEAMS is a rotten egg!
ricochet1490
A few more hours of work, got everything taken out for the most part. We're down to just the firewall with the exception of the brake booster.


All I need now are some jdm parts. Anyone have a set of tails or a 3 post steering wheel?

QUOTE (stephen_lee @ Nov 29, 2011 - 1:07 AM) *
thumbsup.gif


QUOTE (TRD11 @ Dec 1, 2011 - 7:19 AM) *
smile.gif sweet car man love the vvti


And thank you both! - I also love the project thus far smile.gif
NYp8tBaller07
great work! cant wait to see it finished =)
kurt95gt
man y can't you live little closer
your making me want to gut mine an convert it to rhd
ricochet1490
haha I figured why buy a clip and not use the whole thing! There will be some detailed pics when the more intricate stuff happens here. I won't let you down. You can live vicariously through this thread. I'll allow it thumbsup.gif
ricochet1490
Some people go spoilerless, I'm going Fenderless


richee3
I definitely sold this car to the right person thumbsup.gif
kurt95gt
Superlight race car lol
so light you could cut out the floor an flintstone that thing
ricochet1490
worked 3 more hours on the car tonight. I have a question if anyone cares to answer it. Will any old 3 spoke airbag work on my jdm airbag harness? I looked for a long while online, ebay etc to try and get a picture of the plug, it looks like I might be ok. Push comes to shove I'd just splice the two wires together (I won't be arming the system with the control module due to availability of passenger side airbag in jdm dash in-case something happened) But I'd like to have everything looking as oem as possible. Thanks guys

So, here's a rough pic of what I have for an airbag plug


And here is how she sits now. Took out the entire wiring harness in the front of the car, took out the A/C, undid 85% of the brake booster, removed wipers and cowel, took off bumper and highs..... the results


close to being on or ahead of schedule i think....


dan - I believe that to be your shackle on the towing hook as well lol
kurt95gt
Wow she's naked
richee3
Lol that shackle... It's been there for a few years. I tried getting it off when I got the car, and promptly gave up. I'm sure enough PB Blaster or WD-40 could break it free, but you saw how I had the car parked by the little hill. I just gave up on it.

As for the airbag, I believe most Toyota airbags should work. I mean, we're always swapping 7th gen/Corolla/Rav4 airbags in our cars and those work. I think you might need to change the clock spring though.
ricochet1490
Ok, so finished getting the brake booster out, took out the door panels, and took out the carpet.


However, there is still a mess of brake and fuel line in the bay frown.gif - 
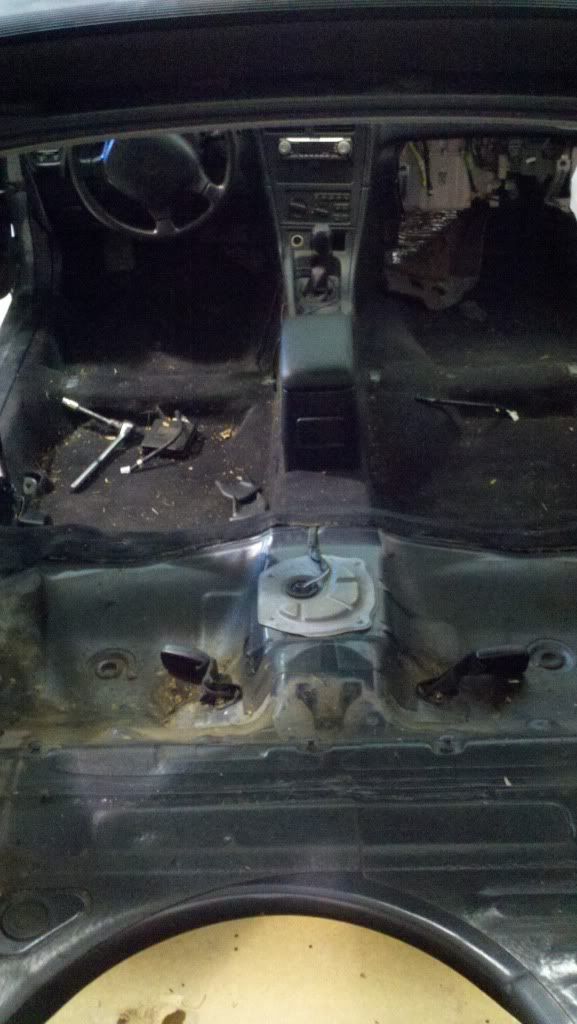
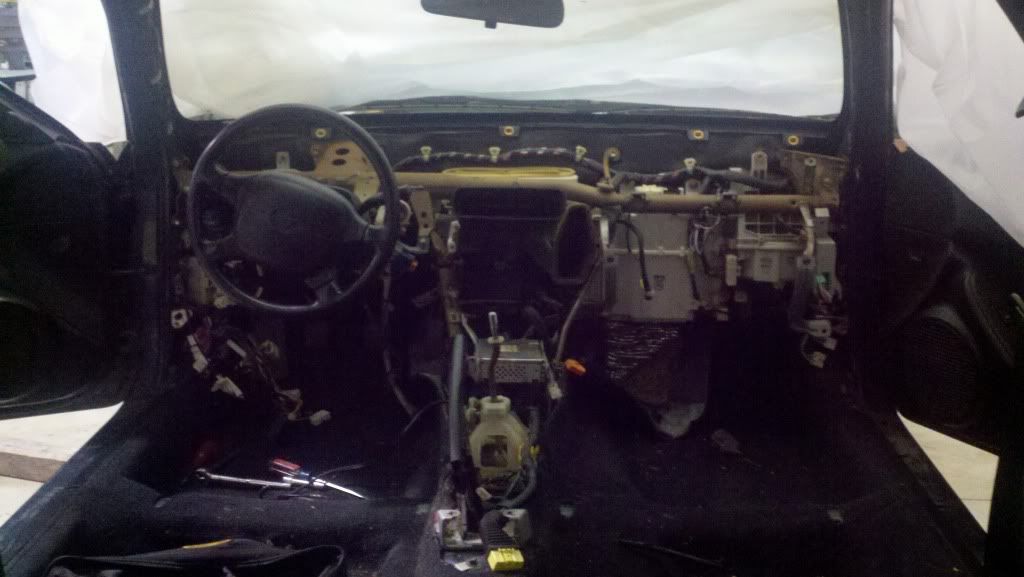
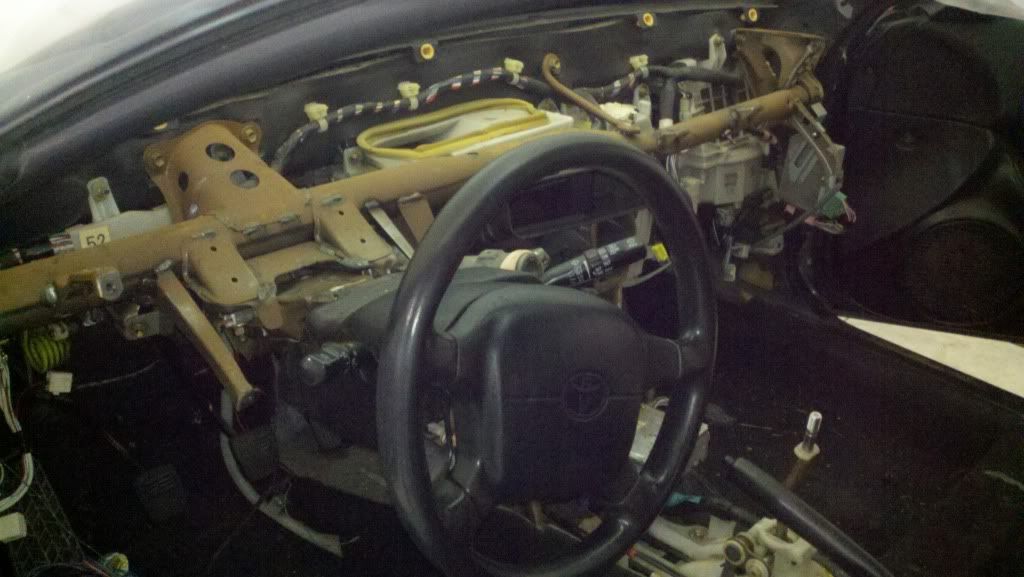
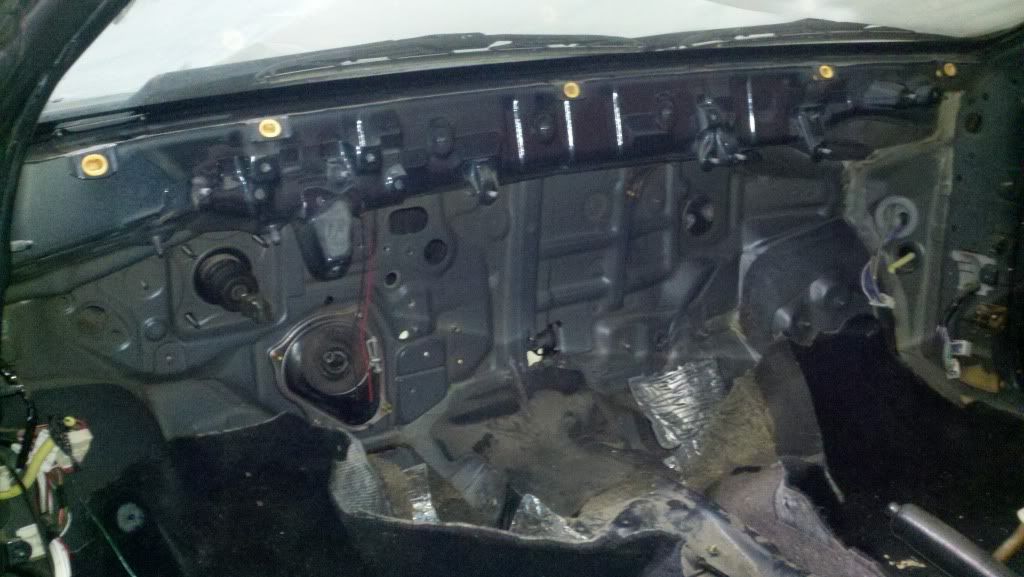
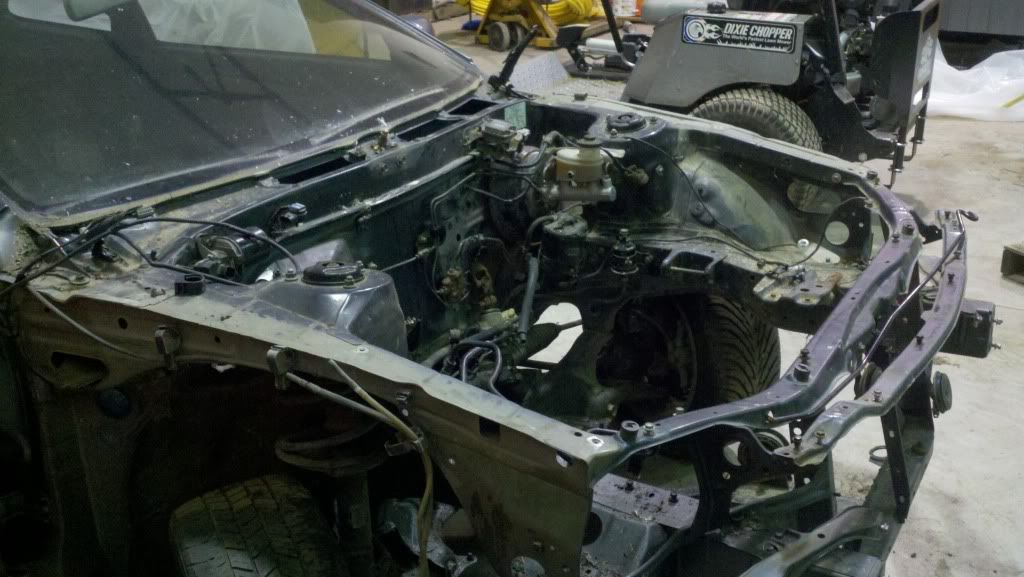
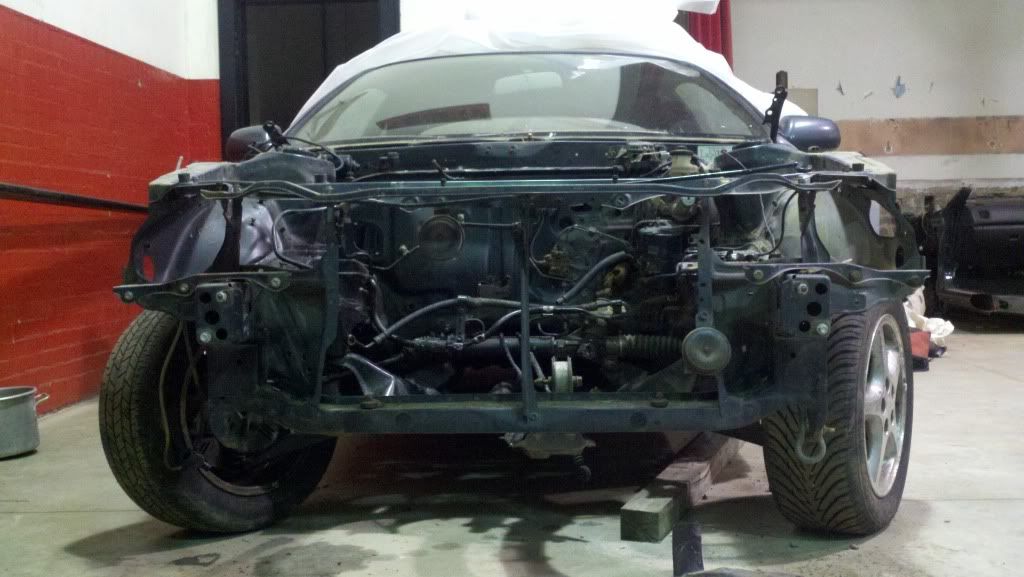
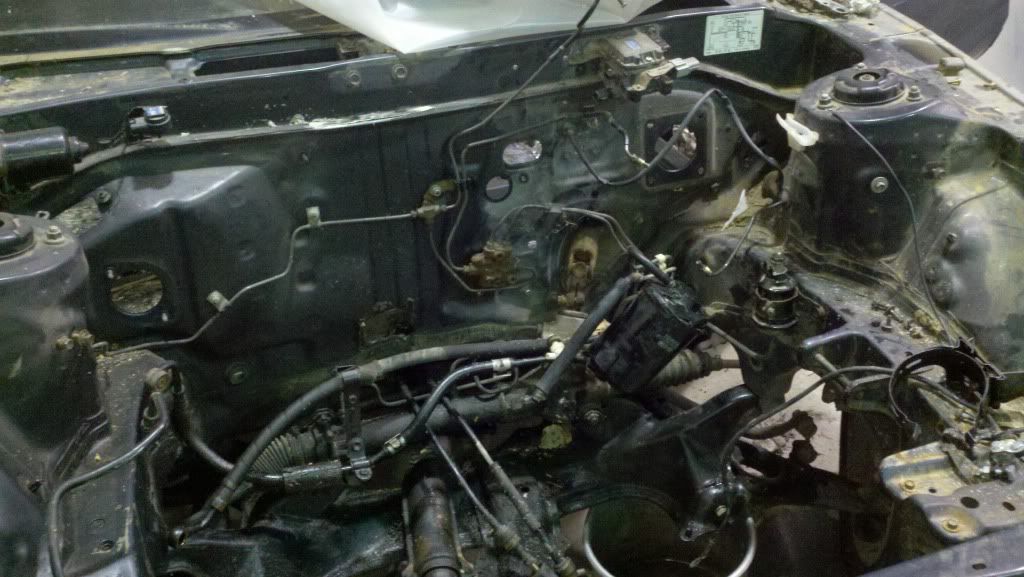
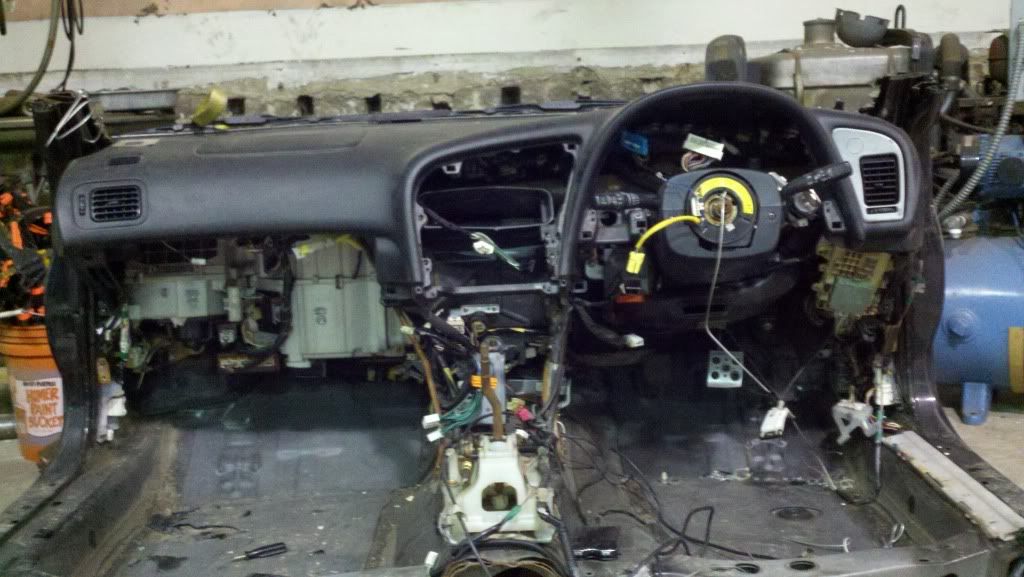
didn't feel like getting greasy at 9pm on a thursday night


So because I didn't feel like getting greasy, I turned my attention to the clip. 100x easier to take the plastic off this thing than my car because of the auto climate control. It just unplugs! no cables in the dang way!


Found this little nugget in the glove box. Maybe I will hook up the airbags after all....


TIME FOR A POLL:

Keep my usdm suspension where I need not purchase anything.
OR
find a set of superstruts and some twin pot brakes.... for no other reason that to make this thing as legit ss3 as possible. You tell me, cause I have no idea....
richee3
Lol at my sound insulation. If you keep it in the car, you'll have to let me know how well the Frost King works.

I say get on ToyoDIY and get some suspension part numbers and find out about how much they'll cost before you have to pay a third party to order and ship them for you. If the cost of repairs is reasonable to you, go SS suspension. If not, throw some coilovers on the car and have a blast.
kurt95gt
Coilovers over ss parts readily available for the stock suspension so you wont have to wait (or take chances) on parts from ebay or overseas
ricochet1490
I should probably point out that this project car will NOT be a DD. It's going to be a garage car. Driven on weekends. The car that I can go cruising in when my future kids are driving me crazy. Something that will be taken care of and with any luck, not get any more than 3-5k miles a year.... under ANY circumstances. So with that little use, I'm not worried about suspension going bad really. It's just a hassle thing. pay for SS parts. OR spend time changing A arms, steering knuckles etc so that I can keep mcphearson.... decisions decisions.
kurt95gt
Still say stock with coilovers or drop springs to make her handle little better
maybe swap the ss onto the front an the the back the stock usdm
This is a "lo-fi" version of our main content. To view the full version with more information, formatting and images, please click here.
Invision Power Board © 2001-2024 Invision Power Services, Inc.