
| Oct 3, 2012 - 10:30 PM | Forum: Exterior Styling · Post Preview: #989635 · Replies: 18 · Views: 4,675 |
|
Enthusiast  Joined Sep 9, '12 From 13114 Currently Offline |
yea that was my first idea, but i dont have the necessary tools to complete it with. I do work as a welder, and have a welder, but I'm more or less doing this to show the average joe, what to do. But the back fender/quarter panel is going to be sheet metal, but im contemplating either riveting it in place or cut and weld. |


| Oct 2, 2012 - 11:17 PM | Forum: Exterior Styling · Post Preview: #989498 · Replies: 18 · Views: 4,675 |
|
Enthusiast Joined Sep 9, '12 From 13114 Currently Offline |
haha. I hope so. For your sake. Lmao.... |
| Oct 2, 2012 - 10:36 PM | Forum: Exterior Styling · Post Preview: #989491 · Replies: 18 · Views: 4,675 |
|
Enthusiast Joined Sep 9, '12 From 13114 Currently Offline |
QUOTE (Box @ Oct 2, 2012 - 11:12 PM)  When I respray my car I must do this. I never understood why our cars have side markers, the front turn signal wraps around to where it's visible from the side... Yea box, i highly recommend it. plus its a great idea just to take your fenders off and see if there is any "treats*" hiding. Treats*- As defined by Duke, as anything that doesn't belong in a cars' wheel wells. i.e.-mouse nests, bee's nests, leaves, branches, dead mouse, and my favorite, used anti-baby making device(condom). eh..... yes i used gloves, a wet dry vac, and some good ole Clorox clean up spray. taking no chances on that stuff.....and don't ask my how it got in there. I'm blaming past owner. |
| Oct 2, 2012 - 10:12 PM | Forum: Exterior Styling · Post Preview: #989483 · Replies: 5 · Views: 1,286 |
|
Enthusiast Joined Sep 9, '12 From 13114 Currently Offline |
i got a c1 off ebay. I was able to barter with the guy to get it lower. Tbh the shipping was more than the whole kit. Lol. But if your intrested i have my stock bumper from my swap out. And its black. Just let me know. |
| Oct 2, 2012 - 10:07 PM | Forum: Exterior Styling · Post Preview: #989482 · Replies: 18 · Views: 4,675 |
|
Enthusiast Joined Sep 9, '12 From 13114 Currently Offline |
well if alls goes well im hoping to have the front bumper and fenders done this weekend. But i still have more prep and paint for the fenders. I know ive got do some fitment on the front bumper cause the hood isnt sittng flush, so washers im thinking. Not a big fan of shims. But i also have to drill out the old bolts for the fender on the right side and tap the holes, unless i get lucky and the drill out nice. Just so everyone knows, i live in central ny, about 10 minutes off the lake. And we believe in excessive salt in the winter. Even with washing every day, rust still thrives. So ive had some breakage of bolts and rust on the right rear fender/quarter. Im in the process of repairing. Should have done a s.b.s. for that. Thats a def thing to know how to do. But im hoping to have the fenders and bumper squared away this weekend fingers crossed. |
| Oct 2, 2012 - 3:27 PM | Forum: Exterior Styling · Post Preview: #989443 · Replies: 18 · Views: 4,675 |
|
Enthusiast Joined Sep 9, '12 From 13114 Currently Offline |
thanks celica-supra! good luck, and i know that is on my to-do list here! so when i get to that after i get the body kit installed, i will have to do a step-by-step for it too! they are actually more fun than i thought! good luck! |
| Oct 2, 2012 - 1:41 PM | Forum: Exterior Styling · Post Preview: #989433 · Replies: 18 · Views: 4,675 |
|
Enthusiast Joined Sep 9, '12 From 13114 Currently Offline |
well i originally used just filler, bondo body patches, and spot/hole glaze(red putty). it turned out alright on the other fender, but the issue i had was that you can still see outlines of original holes. so unless i can get it better blended, then i will be taking it all down and do it the fiberglass way. heres some pics of that outcome:  This is fender primed with just the bondo and patch. its difficult to see, but the bondo lifted and cracked, and also you can make out the original lines  this is a close up of the spot where the marker used to be. its difficult to see, but the line that lines in the pic is the outside cut of hole, and you can also see the pitting that wouldn't fill up. Now in comparison to this way and fiber-glassing, i find the fiberglass to be more efficient and much more easier to complete. A lot of people get kinda scared to do it, but honestly, it was easier than what other people have told me. But that's just my experience, and maybe some may have a better and easier experience, and more power to you! And hell yes to the fruit roll-ups, gushers, and fruit by the foot. I forgot to add a step now that i remember-energy replenishment or i like my sugar buzz to keep the work going!!! lmao... Now onto the next step. just one. but i found to be the most difficult, just getting the blending right. Materials used: Suggest gloves because of the obvious Mask Definetly Dual action Hand Sander 40 grit sand paper 80 grit sand paper time muscles. So getting back onto the show, the next step that i completed was the sanding down and blending of the fiberglass patch. First off, the main problem I encountered was dust getting every where. that's why after about 5 minutes of sanding i busted out my full face respirator. I was coughing and eyes were burning. Nuff' said. lol. and gloves. But back on track, i started by dampening an old rag, and did a wipe down of the area, and went about 3 inches past the fiberglass. I then started with the 40 grit paper and sander. I found using a circular motion while applying pressure, worked the best. Because the 40 grit is extremely course, i didn't want to cause warping in the sheet metal, hence forth the circular motion. plus it helped with the blending and evening out. this is the end result: 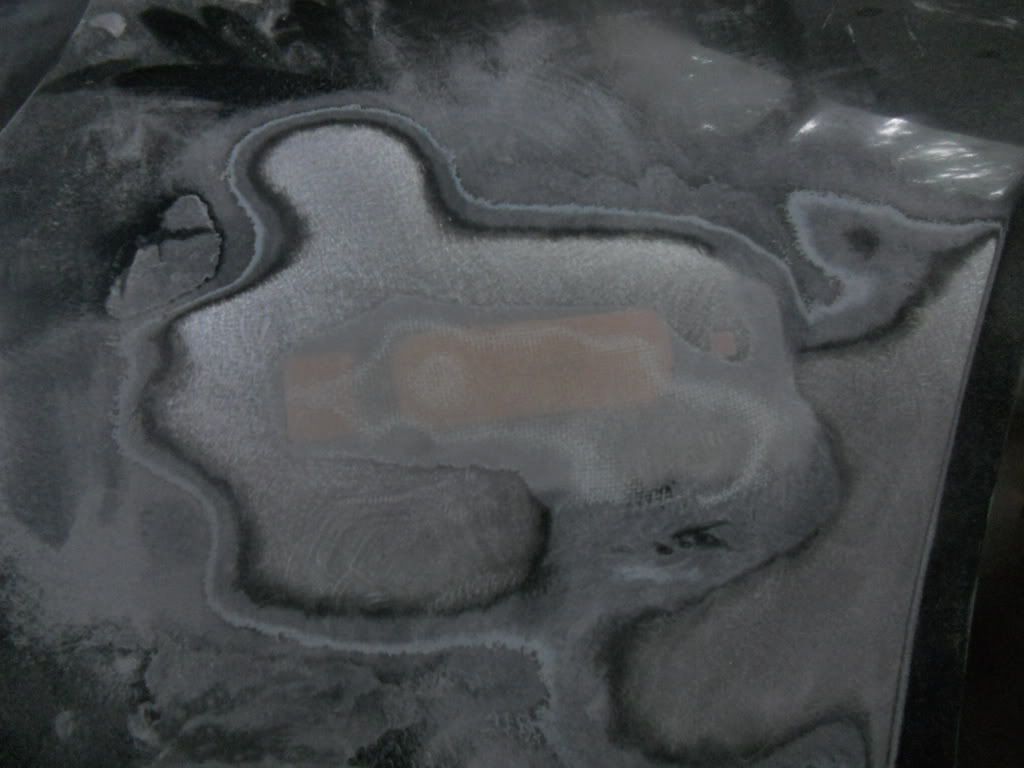 its a bit dusty, cause i haven't wiped down yet. But after blending it right down to metal, i followed by using 80 grit to smooth it a little bit flatter. So this is it so far, and next to follow will be the priming, filling, priming again, sanding, painting and clear coat. oh and more sanding. So like i said, time. you don't want to rush these things. More to follow soon! |
| Oct 2, 2012 - 1:09 PM | Forum: My Project · Post Preview: #989421 · Replies: 8 · Views: 2,837 |
|
Enthusiast Joined Sep 9, '12 From 13114 Currently Offline |
edser, thank you! i have to say that i'm very happy with the outcome. I have to do a little bit more wetsanding to get some minor orange peel cleared up, and yes those damn pimple have been popped and are coming along. plus i will have more steps to add for the shaving. but thank you, and for once, everything is coming along pretty good, knock on wood! lol |
| Sep 30, 2012 - 8:35 PM | Forum: Exterior Styling · Post Preview: #989247 · Replies: 18 · Views: 4,675 |
|
Enthusiast Joined Sep 9, '12 From 13114 Currently Offline |
Well, here is my first Step by Step post. I'm in the process of shaving my front fenders side markers. I do not recommend if your state requires them. So here is the rift: Necessary Materials: Dual action Sander(or Hand, just takes at least double the time!!) Sand paper, 40, 80, and 320 grit Bondo body filler Fiberglass resin Fiberglass mat Bondo Body patch scissors GLOVES!! Breathing MASK First off, i removed my fenders, Step 1; remove tire. Step 2; Remove wheel well shroud, i think about 10-12 screws. Step 3; Remove the 3, 10mm bolts from the fender to the front bumper, then the one bolt from the firewall, on the inside of the fender, then the 2 bolts on the bottom corner under the door jam, and then the bolts inside the door jam(door open to access them), and finally the top 3 bolts under the hood, on the side well. Step 4; After partially removing the fenders, there is a bracket attached below the low beam lights. 2, 10mm bolts. I was able to access them without pulling the lights or bumper, so if you want to do that route, do it. Step 5; Picture time! here is my drivers side fender before prep: 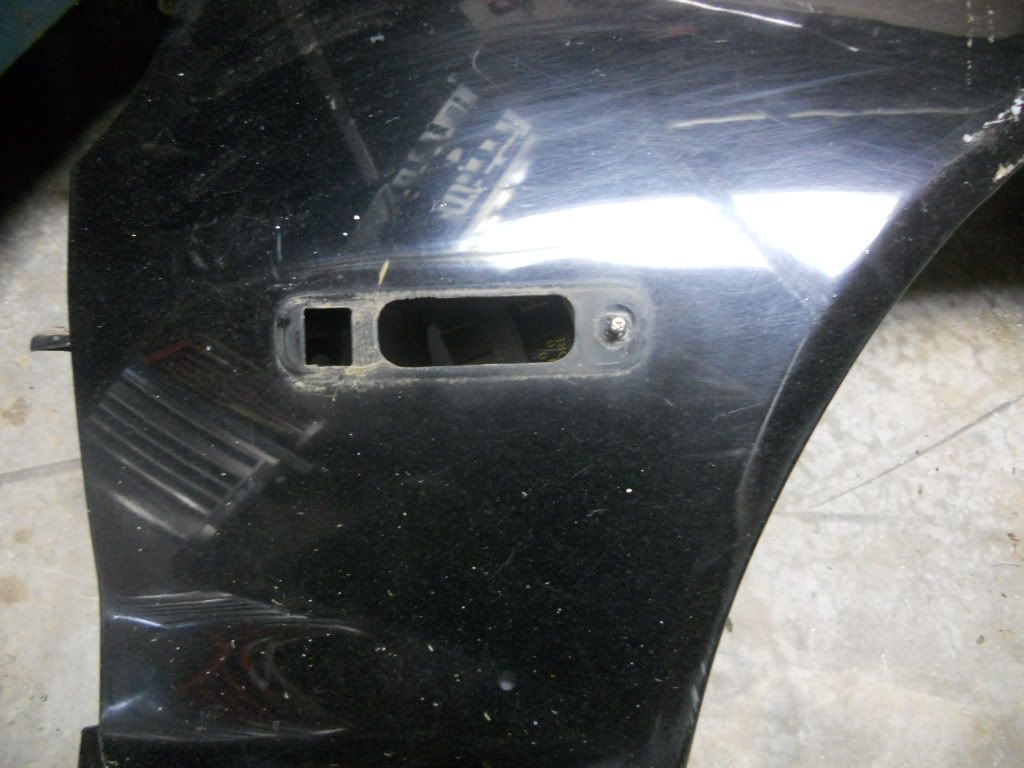 First off, i removed the plastic piece that holds the screw in, used pliers, pinching in the side tabs, while lightly tapping with a hammer. Next, using the dual action sander, and 40 grit paper i cleaned around the outside, down through the clear coat, base-coat, and primer. Right down to metal. like this: 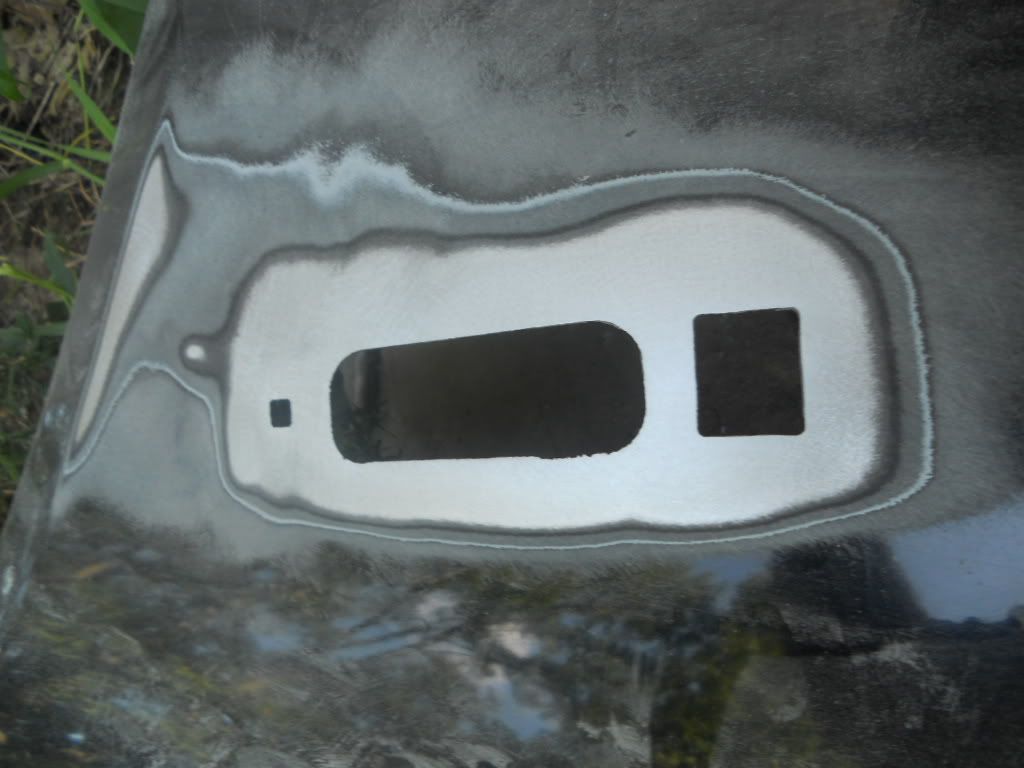 I then cleaned the inside of the fender, and cut a Body patch to size, and applied to the inside: 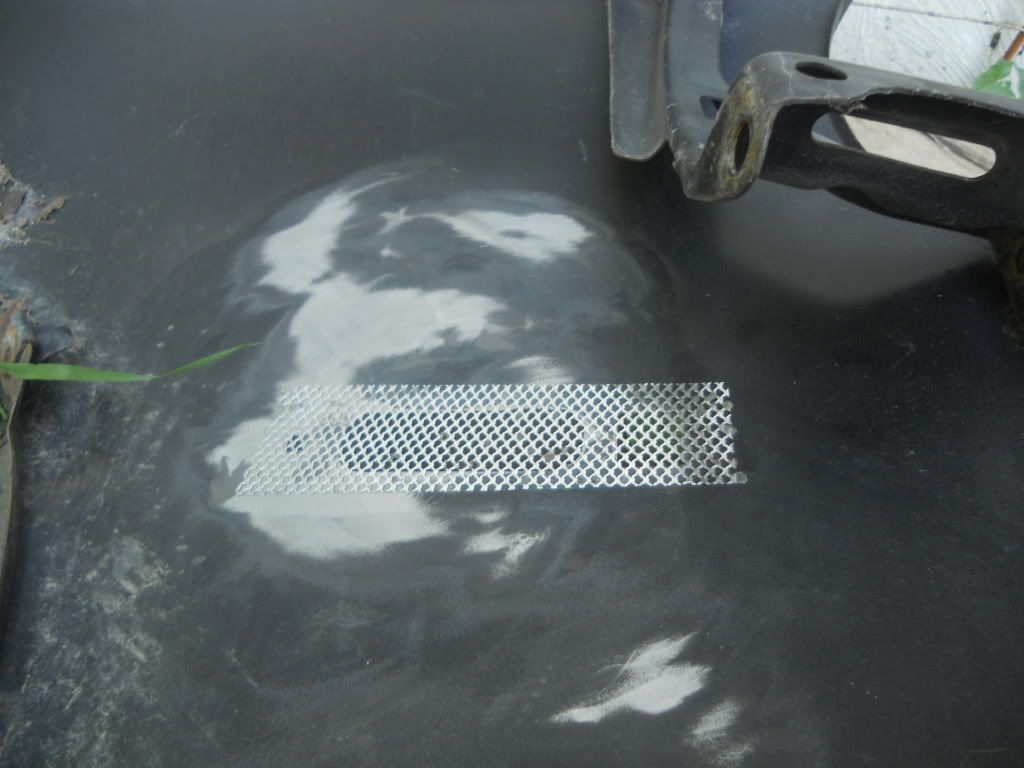 this is the outside: 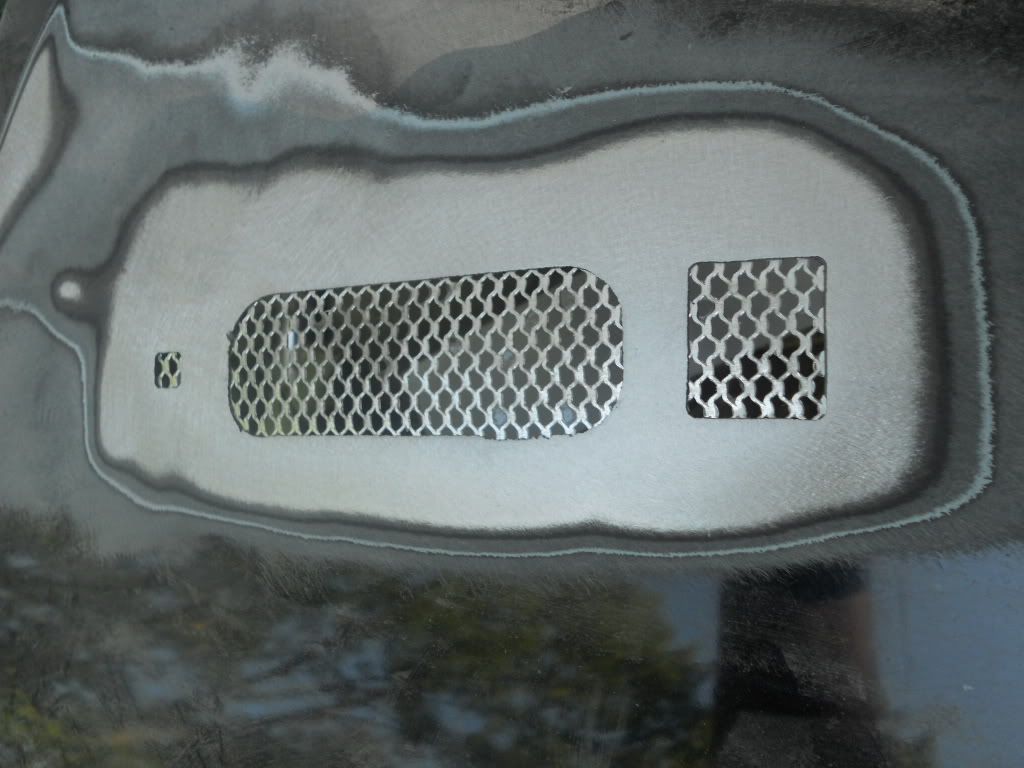 The body patches i used, there are 2 per pack: 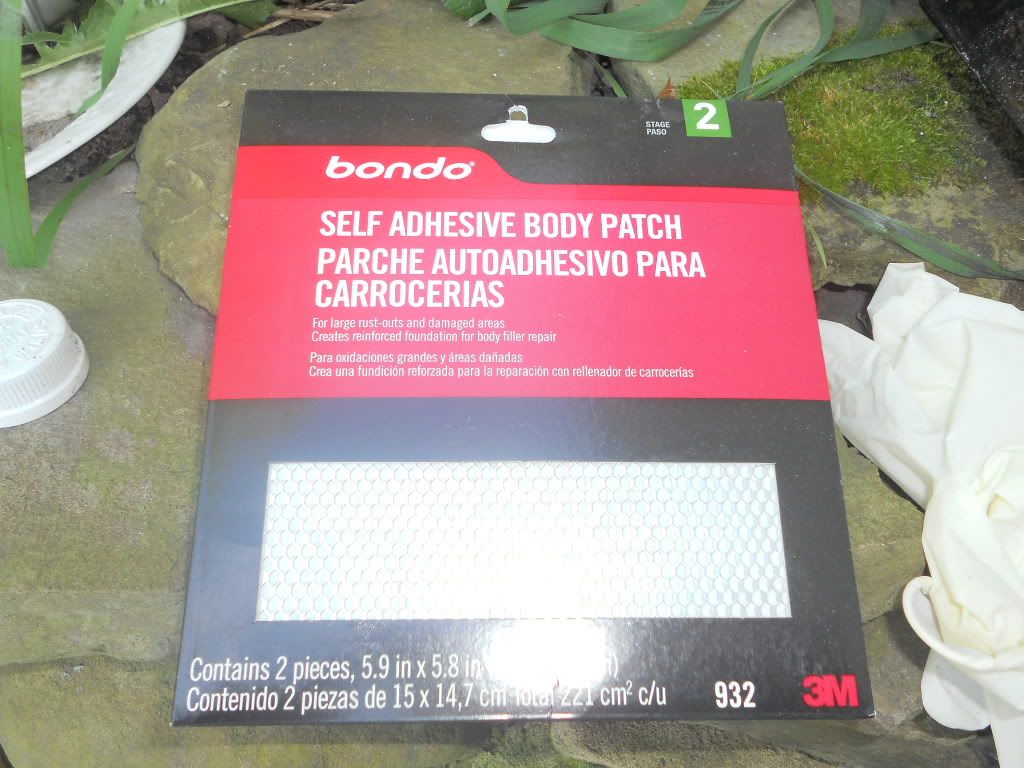 I then used gloves, bondo body filler, piece of cardboard and an old card as the applicator(call me cheap): 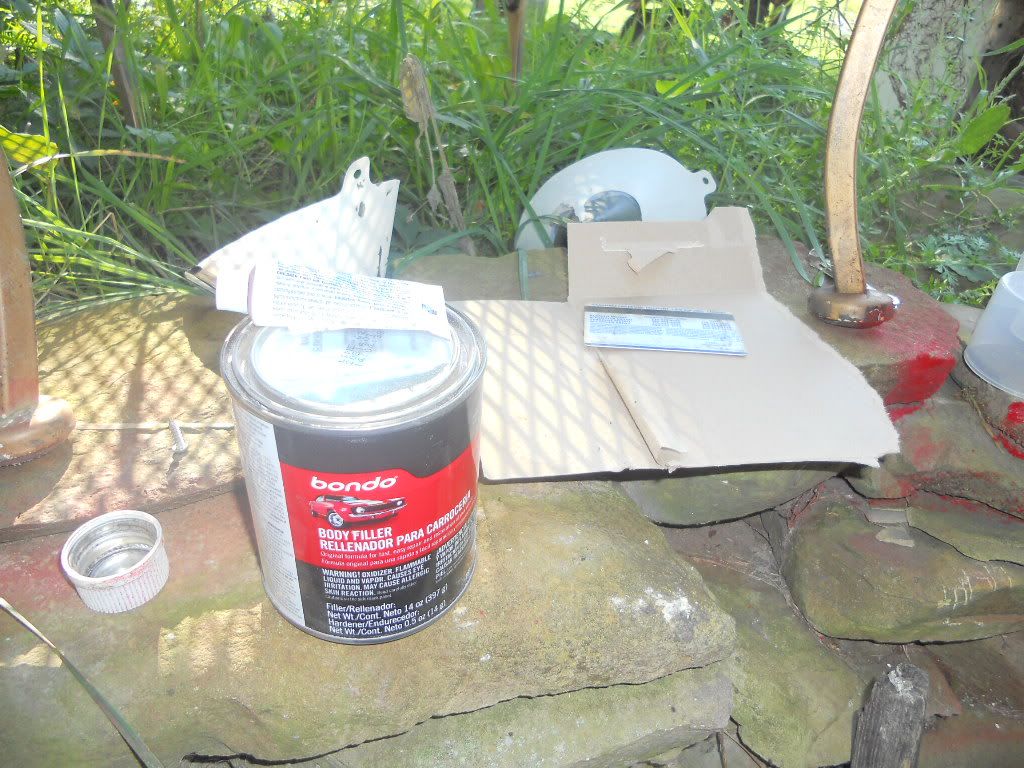 I mixed about a golf ball size of filler with about a 2 inch line of hardener, and mixed and kneaded in(don't knock the old AAA card, LOL): 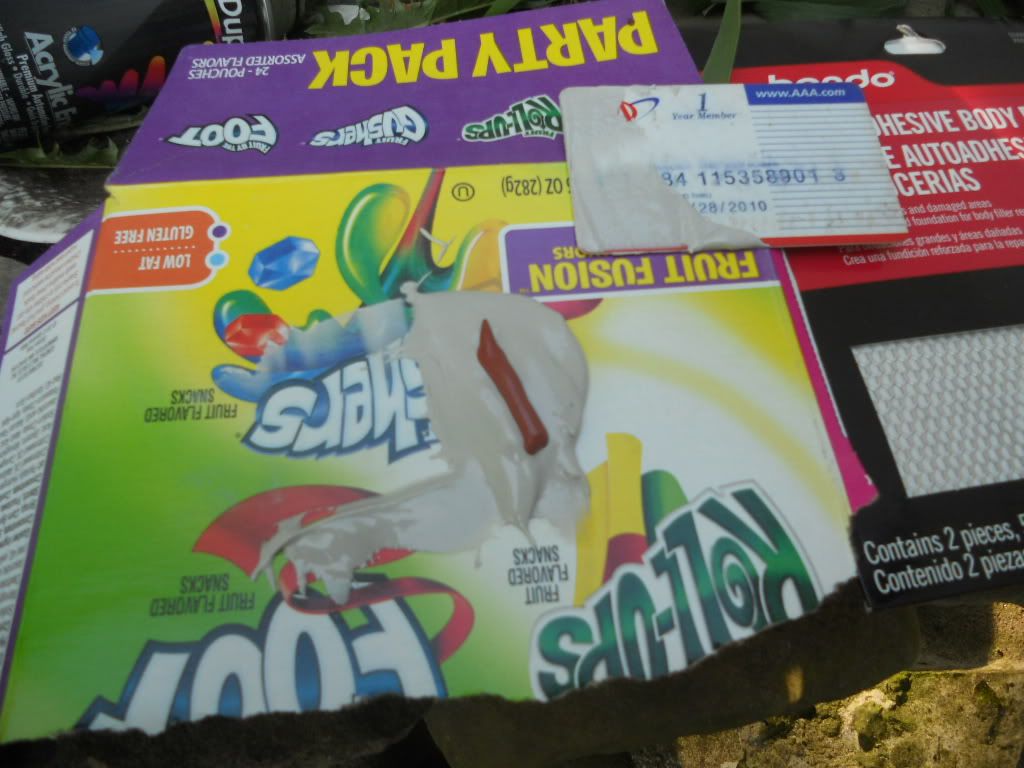 Then using the card as an applicator, i lightly applied into the patch, and around the old hole, carefully making sure to overlap the onto the fender and blending around it. like this: 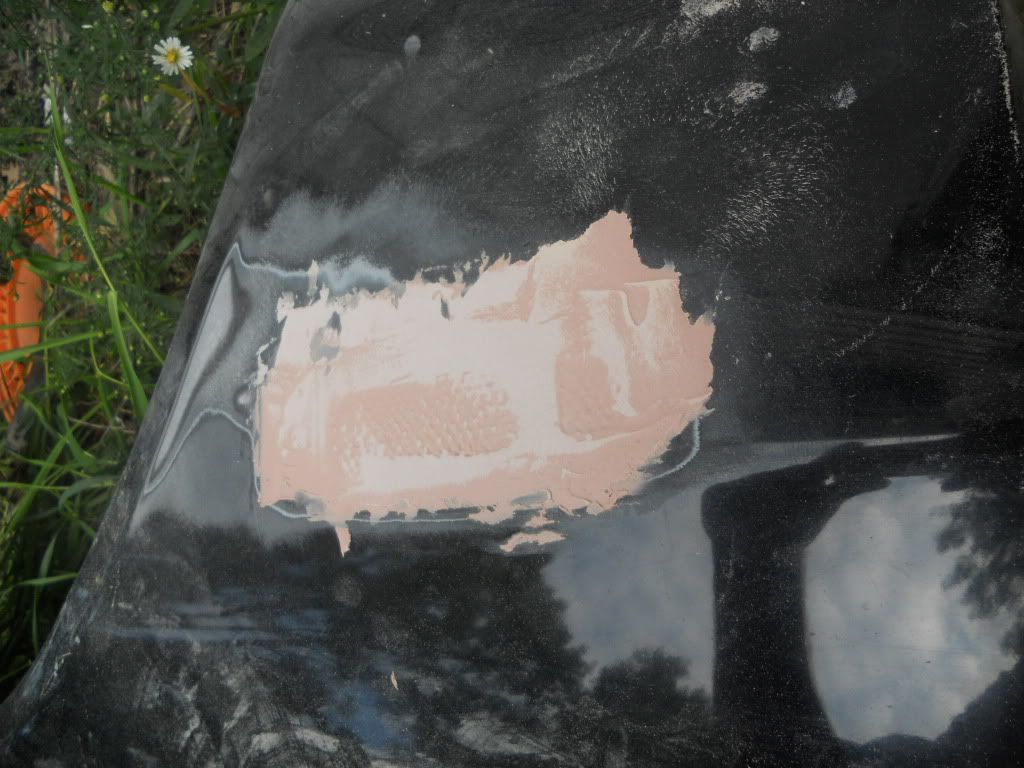 After allowing the Bondo to harden, i then used the sander with 80 grit to sand down and around the old marker. Making sure not to go to far down. Basically i made it level with the fenders: 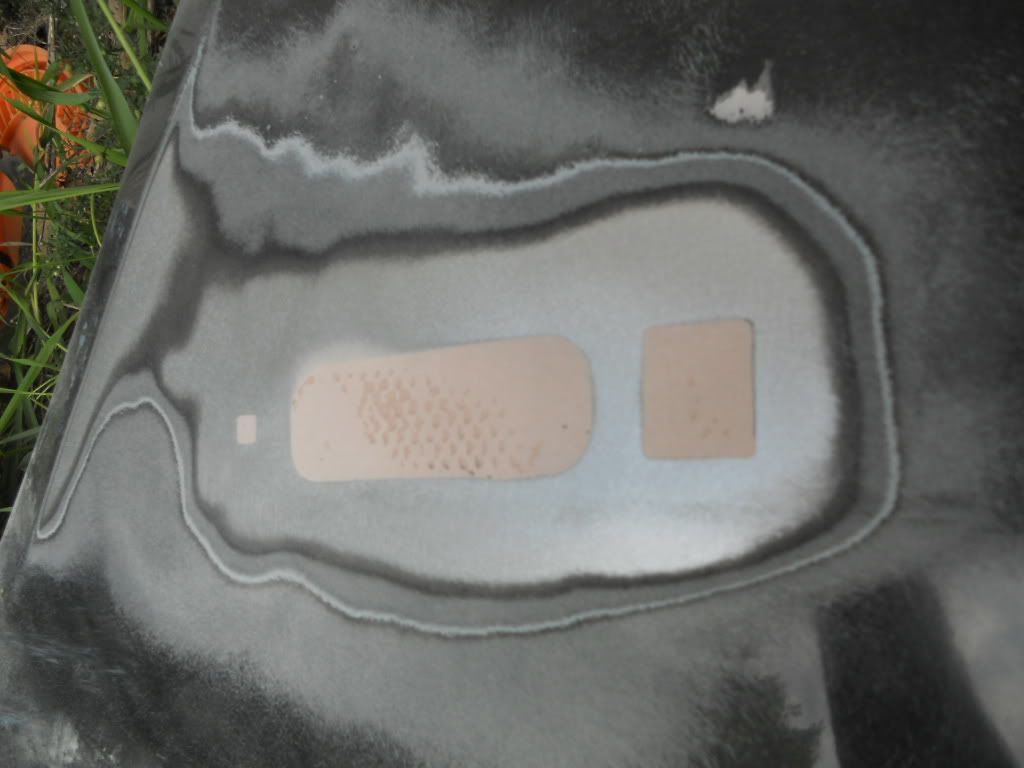 Next step is the fiber glassing, materials used: Bondo fiberglass resin Fiberglass mat Cheap paint brush Old plastic dish scissors *MOST IMPORTANT* Gloves( for reasons i will explain later) Breathing mask(same as above) Here: 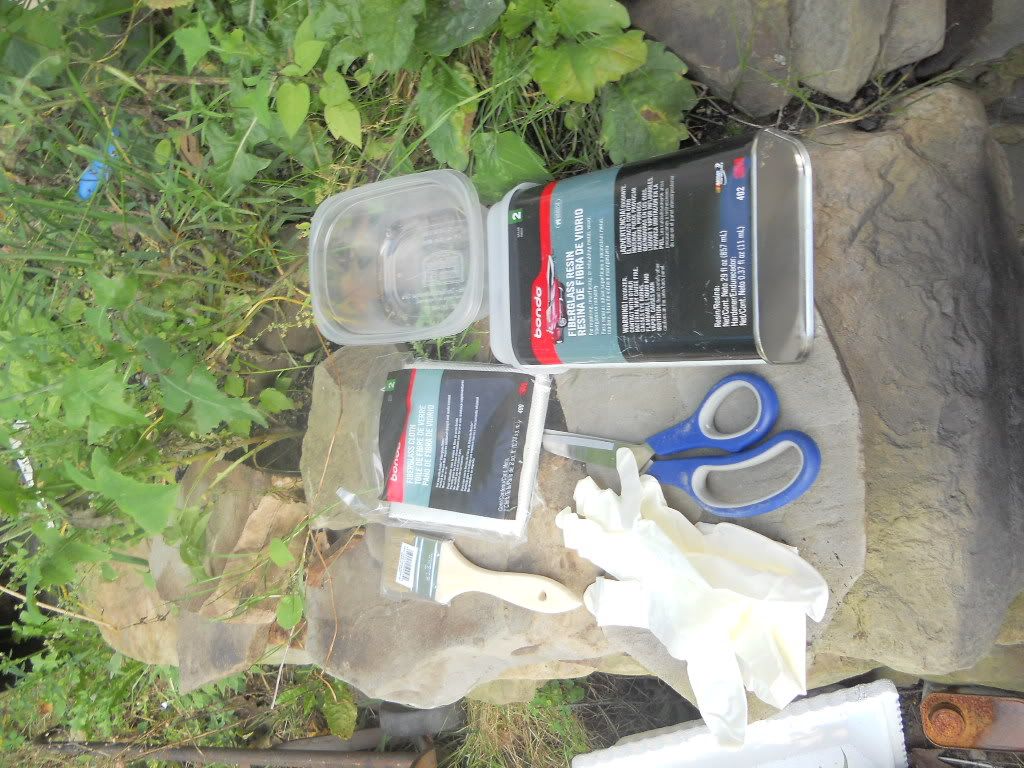 I first cut two strips of fiberglass mat: 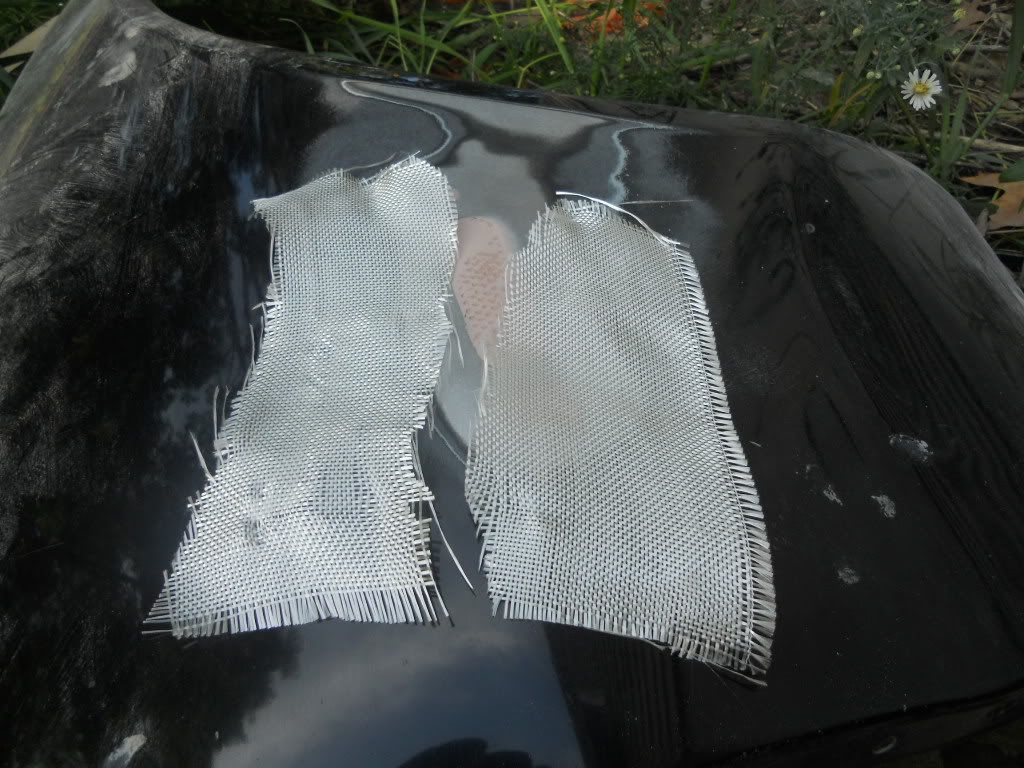 I then mixed about 3-5 ounces of resin to about 15-20 DROPS of hardener. After thoroughly mixing, you've got about 10 minutes of work time. I first laid down a layer of resin, and then applied a strip of fiberglass mat. I then brushed it out, making sure to get all the bubbles out. and then applied another layer of resin. Now its optional to apply both strips. I did it to better insure that the hole would better blend into the fender. here is the end result of the fiberglass: 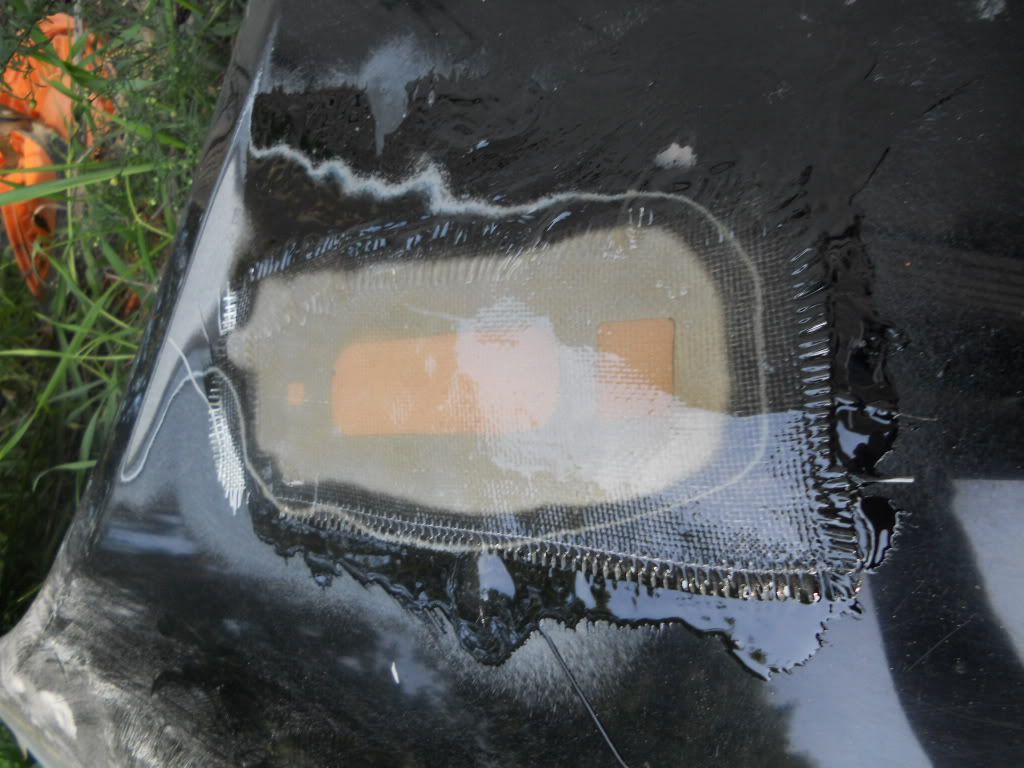 SO what i was going to say about the gloves and mask. First off, the gloves are a must!! If you do not, then don't plan on scratching your ass afterwards, or your wont stop scratching for about a week, maybe two. Trust me on that. and it doesn't even have to be your butt. Fiberglass is some nasty stuff to get on you. especially the resin and mat mixture. The mask, well its some strong smelling stuff, and without the mask, you better have some crazy ventilation. So that's it so far. my next steps will be on sanding down, blending it in, priming, more blending and finally paint. so more to follow! |
| Sep 30, 2012 - 7:38 PM | Forum: My Project · Post Preview: #989240 · Replies: 8 · Views: 2,837 |
|
Enthusiast Joined Sep 9, '12 From 13114 Currently Offline |
Front bumper, kinda installed.  But im doing a post on fenders, on shaving the side markers. that will be up shortly. |
| Sep 30, 2012 - 1:35 AM | Forum: My Project · Post Preview: #989161 · Replies: 8 · Views: 2,837 |
|
Enthusiast Joined Sep 9, '12 From 13114 Currently Offline |
yep they will be up tonight or tomorrow. |
Poll: Fenders or not?
| Sep 26, 2012 - 12:00 AM | Forum: Exterior Styling · Post Preview: #988698 · Replies: 15 · Views: 3,568 |
|
Enthusiast Joined Sep 9, '12 From 13114 Currently Offline |
gracias! |
| Sep 25, 2012 - 12:32 AM | Forum: My Project · Post Preview: #988588 · Replies: 8 · Views: 2,837 |
|
Enthusiast Joined Sep 9, '12 From 13114 Currently Offline |
Hey all, Just got done with the Priming, sanding, and painting the first base coat of black. Now probably tomorrow night i will have the Paint tape ran, and lines run for the charcoal gray on the two tone front to rear. I will post pics tomorrow! Also forgot to mention, or rather edit, the front bumper is C-1 and skirts and rear bumper are Invader thanks to some members that identified. Thanks guys! |
| Sep 25, 2012 - 12:29 AM | Forum: Exterior Styling · Post Preview: #988586 · Replies: 6 · Views: 1,583 |
|
Enthusiast Joined Sep 9, '12 From 13114 Currently Offline |
QUOTE (timdog1720 @ Sep 24, 2012 - 9:36 PM) QUOTE (Duke @ Sep 24, 2012 - 9:18 PM) so should i look into aftermarket, or yellow, how did you get yours to fit? yea that's the biggest mystery!!!!!!!!!!!!!!!!!!!! I've purchased every light imaginable only thing i can come up with is have the auto-body guy custom mold it to fit and look flush. I have no clue or idea how in some pics they seem to look extremely clean just not possible. People say they done it but never explain how and yes you will search and search and finally search and come up with empty AMEN on that! lol. But do you know of anyone on here that did it, that i could possibly pm about? |
Poll: Fenders or not?
| Sep 25, 2012 - 12:28 AM | Forum: Exterior Styling · Post Preview: #988585 · Replies: 15 · Views: 3,568 |
|
Enthusiast Joined Sep 9, '12 From 13114 Currently Offline |
QUOTE (TerBeau @ Sep 25, 2012 - 12:23 AM) c-one fiberglass off ebay. and just the stock skirts. Good Deal! It looks pretty sweet. I've got the same color, or rather is black. But Im going to be doing a Two-tone black and charcoal front to rear. But Looks good. and cant wait to get mine together! |
| Sep 24, 2012 - 8:18 PM | Forum: Exterior Styling · Post Preview: #988550 · Replies: 6 · Views: 1,583 |
|
Enthusiast Joined Sep 9, '12 From 13114 Currently Offline |
so should i look into aftermarket, or yellow, how did you get yours to fit? |
| Sep 23, 2012 - 8:23 PM | Forum: Buying/Selling · Post Preview: #988435 · Replies: 0 · Views: 640 |
|
Enthusiast Joined Sep 9, '12 From 13114 Currently Offline |
Hey looking to buy left had side High beam and low Beam lights. Its going into a 94 coupe. I can make do without the high beam, but I do need the low beam, because my bracket is destroyed. Let me know via pm. thanks. |
| Sep 23, 2012 - 8:13 PM | Forum: Exterior Styling · Post Preview: #988434 · Replies: 6 · Views: 1,583 |
|
Enthusiast Joined Sep 9, '12 From 13114 Currently Offline |
Hey all, So I've ran into my first issue with the body kit I bought. I'm hoping anyone knows anything about the turn signals not lining up? I will upload some pictures tomorrow in the light, But the issue is that my stock turn signals, will not fit into the kit. They stick out on the outside edges, and dont even come close to sitting flush. About 1/2 inch or better all around it. Is this suppose to be like that, or am I just missing something? Thanks |
| Sep 22, 2012 - 2:04 AM | Forum: Suspension/Handling/Braking · Post Preview: #988305 · Replies: 33 · Views: 5,463 |
|
Enthusiast Joined Sep 9, '12 From 13114 Currently Offline |
that was the what i was orginally thinking about doing when i installed mine. but i was getting a little scared looking at the shape of the bolts. :-/ however that problem was rectified. But do it up! |
| Sep 22, 2012 - 12:17 AM | Forum: Exterior Styling · Post Preview: #988296 · Replies: 11 · Views: 2,610 |
|
Enthusiast Joined Sep 9, '12 From 13114 Currently Offline |
haha, ill take some pics. But thanks for the info, i will fit them with at least 3 coats of primer! Thanks |
| Sep 21, 2012 - 11:37 PM | Forum: Exterior Styling · Post Preview: #988289 · Replies: 11 · Views: 2,610 |
|
Enthusiast Joined Sep 9, '12 From 13114 Currently Offline |
ok, primer it is then! i will do some sanding tomorrow, and hit it with some more primer and sand and paint. Good deal, thanks Kernz Hey Bonzai, thats a pretty slick celica. And is that what the C-1 Skirts look like? Damn, if thats what they are, im slightly more pissed thats now what i got. ehh, well i suppose, we will see what the seller says monday. thanks Bonzai! I think i will do a detailed step by step on the kit. thanks guys on the input. |
| Sep 21, 2012 - 11:06 PM | Forum: Suspension/Handling/Braking · Post Preview: #988281 · Replies: 22 · Views: 4,456 |
|
Enthusiast Joined Sep 9, '12 From 13114 Currently Offline |
hey silly, I've got the ceramics on the front for my 94 coupe, and they stop wonderfully and i havent seen any dust since i've had them on, they have been on about 6 months now, and i do highway, and lots of city stop and go. So that's a recommendation. Duralast Gold Cmax's. However, i had to take off about 1/32-1/64's of an inch on the end points cause they wouldn't barely fit in the hardware. Rears, I can't tell you for the celica's cause I'm a loser with drums still in the back. :-( Good Luck and i hope it helps!!! -Duke- |
| Sep 21, 2012 - 10:47 PM | Forum: Exterior Styling · Post Preview: #988278 · Replies: 11 · Views: 2,610 |
|
Enthusiast Joined Sep 9, '12 From 13114 Currently Offline |
yea, thats what im figuring. i was reading the sticker stamp on the skirts, and the last 3 letters are def INV, so invader....wtf... and the rear bumper is PVRB, so no idea, but im going to take your guys word on it. well, at least i got one thing that i wanted. lol... So im just going to polietly let the seller know that it was incorrect, and heck, maybe ill get something free..... or maybe just a pipe-dream. haha. we'll see! So does anyone know anything about the black paint that came on them? the front and rear have it on the outside and inside, if that helps? thanks for the replies!! |
| Sep 21, 2012 - 10:18 PM | Forum: Exterior Styling · Post Preview: #988270 · Replies: 11 · Views: 2,610 |
|
Enthusiast Joined Sep 9, '12 From 13114 Currently Offline |
the rear bumper and skirts are invader? WTF..... I bought them as c-1. son of a b****.... oh well, guess i gotta deal.  But yea i do have the coupe, no convertible. and i figured that the rear bumper was going to need to be fab'ed on. Thats what 3 years of auto body repair shop came in handy with. I just haven't got a clue if I need to take that black paint down, or use it as a base for primer. So any clue guys? p.s.-im kinda pissed about the rear bumper and skirts. Gonna have to do some investigation. If i take a picture of the tags on them, you guys know anything about deciphering them? |
| Sep 21, 2012 - 9:48 PM | Forum: Suspension/Handling/Braking · Post Preview: #988266 · Replies: 33 · Views: 5,463 |
|
Enthusiast Joined Sep 9, '12 From 13114 Currently Offline |
QUOTE (199celica @ Sep 21, 2012 - 9:00 PM) Sweet thanks for the heads up duke I appreciate it im going to see if I can make my own endlinks  199, Yea, ive seen some interesting posts about d.i.y. sway bar links. If i were you, i would do some checking online about it. I know alot of posts with people using threaded rods, Dont do that method! unless its tempered. I've heard a lot about them bending with to much lateral torsion from corning. So just a heads up. If you do the threaded rod method, take it to a spring shop or a metalurgist that way they can temper it properly, so it can resist bending and possible breaking. Just remember that when going around corners at high speeds with thicker and stronger sway bars is going to increase the lateral torsion on the links. This is due to the stiffer sway and centered gravity. Just remember that the weakest point on your suspension, will cause it all to fail. So, i dont know if you wanna here all this, but the stiffer sway bars is going to cause a dramatic decrease in body sway. So when you go into a corner, say a right hand corner, your body is going to natrually pull to the outside, left hand. This because your center of gravity is shifting do the amount of "G"(gravity) pull. So what your sway bars are going to do is to keep the body semi parallel with the road and decrease body sway because of "G" pull. Now The stronger the bars, the greater stiffer the sway. So instead of the cars center of gravity shifting out, due to the g pull, partially due to stock sway bars, the stiffer ones are going to keep the car tight and parallel to the road and corner. They can essentially shift the center to the inside, so the center will be left in the center focal point, or slightly inside. So in end, tight cornering. But if you want the ultimate handling, stiff coilovers, and great tires. What i just said, is basically covering body sway physics, but to really be able to take corners as fast as driverly possible, you need the full set-up. That way, it will be able to shift the center more fully on the inside, and the weight of the car and turn will go to the inside tires. hence the good tires. So there ya go 199. hope this was informative! |
 New Replies New Replies No New Replies No New Replies Hot Topic (New) Hot Topic (New) Hot Topic (No New) Hot Topic (No New) |
 Poll (New) Poll (New) Poll (No New) Poll (No New) Locked Topic Locked Topic Moved Topic Moved Topic |
| Lo-Fi Version | Time is now: June 16th, 2026 - 10:48 AM |