
 May 9, 2007 - 8:48 PM May 9, 2007 - 8:48 PM
|
 
|
 Enthusiast  Joined May 15, '05 From Toronto Currently Offline Reputation: 4 (100%) |
Manny was curious about this, so i figured i would add it so that every one can see it.
I got a set of Sparco Turino Seats about..a year and a half ago or so and decided to spend the $ for the Sparco bases, mounts, and sliders. So heres how it all goes together. So start off with your seats. 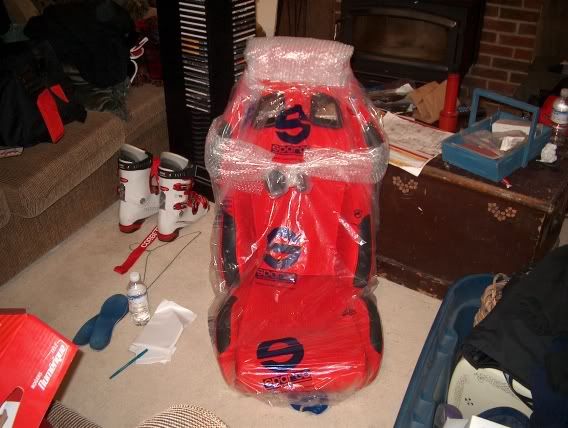 unwrap em *obviously* 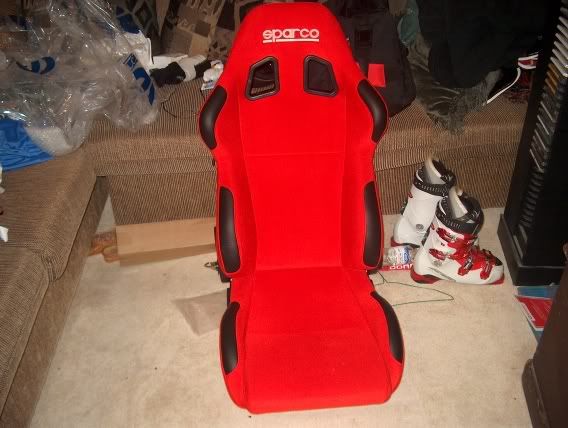 Now heres a pic of every thing you need to install them besides the base. 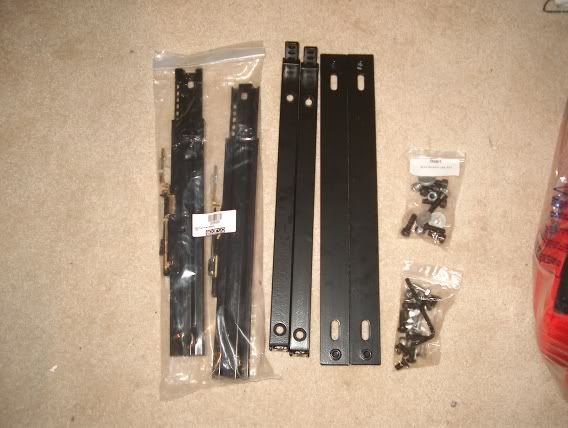 from left to right Sliders, the 4 center sections are the adaptors to fit the seats in the right spot, and then the install kit. The whole kit for the sliders + adaptors+install kits + bases cost around $450-500CND. Its expensive, but i would rather be safe then sorry. People dont cheap out on this stuff, all of the adaptor peices and bases are made from 1/4" thick steel, super strong. Also all bolts are grade 8 bolts. Unfortunatly i dont have any pictures of the brackets, but heres an MS paint idea of how they look. 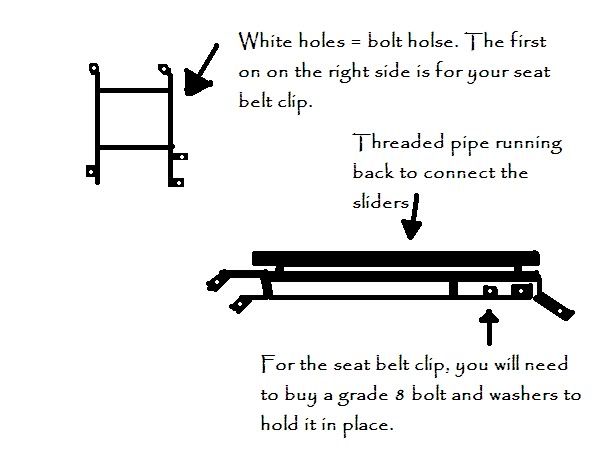 Hopefull thats clear enough. Any ways, puttin them together is pretty basic, put a bolt in here, tighten a nut here and there. really basic. Heres what the bottom will look like b4 u put it onto the base. 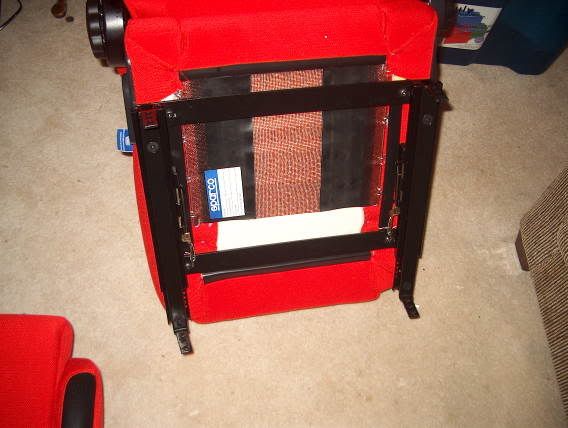 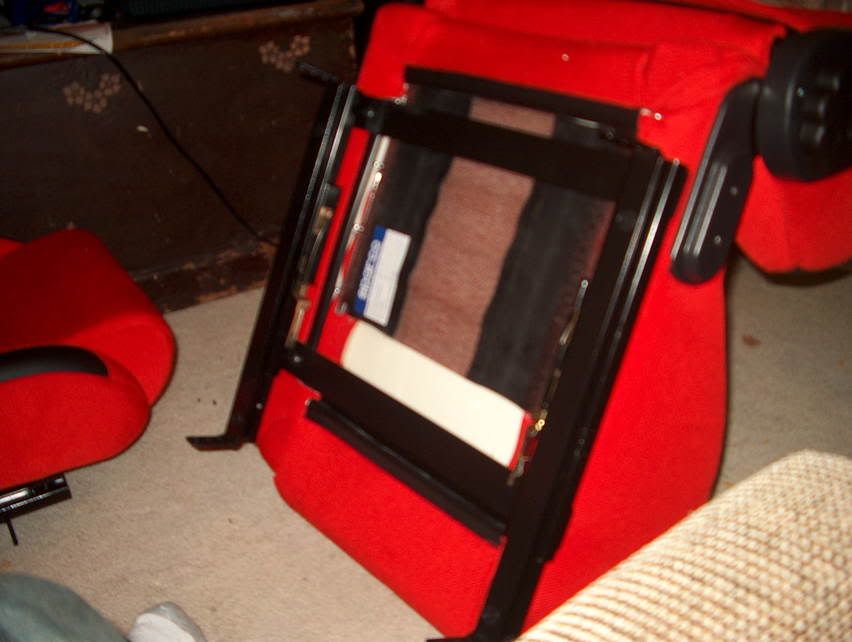 Heres the only complicated part that will make it easier since some one has already done this, there are 3 bolt holes on the adaptor you use coming off the slider when you put it on the base. Cut the first 2 holes off and use only the one closest to the slider. Other wise, your head will be in the roof and you want be able to touch the pedals. When i did this, i had to duck to see out the front window. Heres the bottom hole mounted 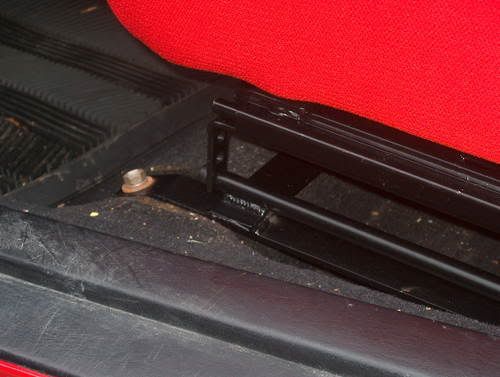 and it cut down fully  I just used a hack saw to cut it down. Took all of 5 minutes. Any ways, you might have to trim off some of the side of the bracket just because they dont fit 100% most of the time, once again, use the trusty hacksaw. 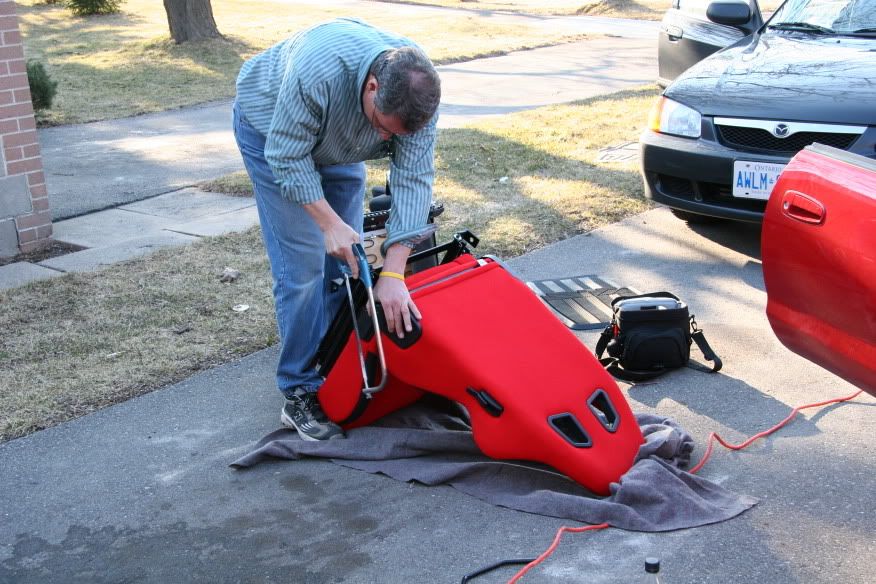 Then once every thing is nice and tight, usin your original bolts or even go out to Toyota and buy new ones, they are like $2 each or somethin like that, also make sure you clean the threads up in the holes. And then your done.  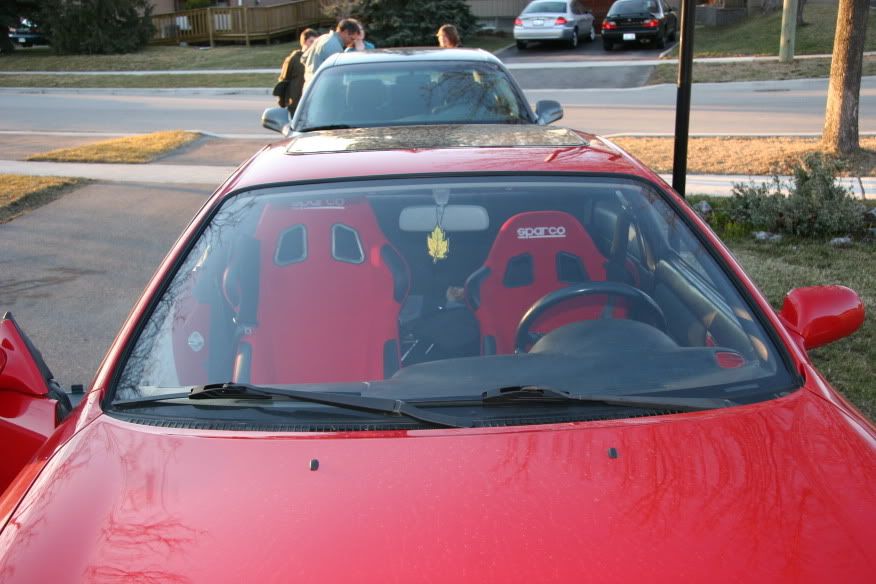  These seats are kinda uncomfortable at first, but they r good after like 15 min of sittin in them. Also with the seats, you sit about an inch or so higher. Its not a big difference, but if you have gauges in a lotek pod, you might have to turn your gauges to see the full sweep. Any ways, enjoy. Also, pics of the seats installed/underside of the seat. 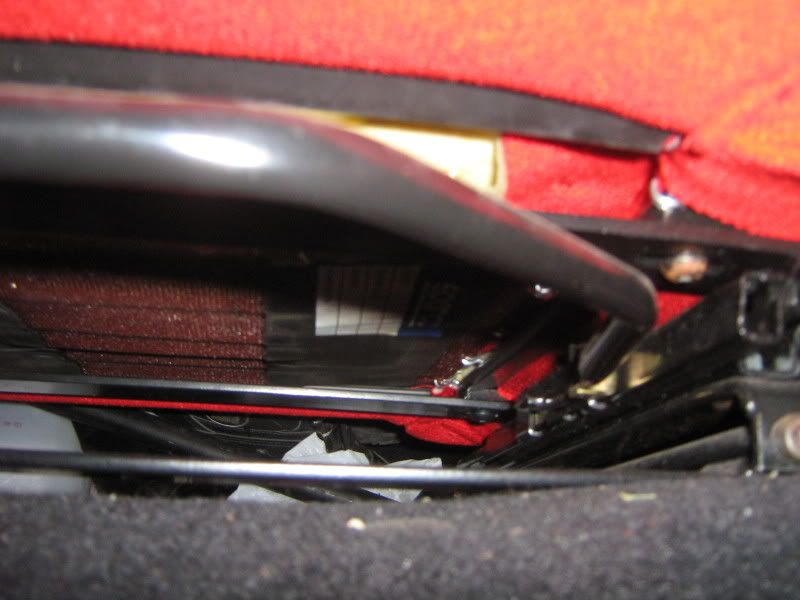
|

 |
Replies
(1 - 4)
|
May 9, 2007 - 8:57 PM
|
|
|
Enthusiast Joined Jan 8, '07 From Charlotte, NC Currently Offline Reputation: 7 (100%) |
very nice guide, very nice install

--------------------  |
|
May 9, 2007 - 9:18 PM
|
|
|
Enthusiast Joined May 3, '07 From thailand Currently Offline Reputation: 0 (0%) |
very nice
like yr seat 
|
|
May 9, 2007 - 11:19 PM
|
|
 Enthusiast Joined Apr 18, '05 From Calgary Currently Offline Reputation: 20 (100%) |
nice write up..
i was kinda expecting that you'd end up sitting lower than stock, not higher... -------------------- -------------------------------------------------------------------------------- -------------------------------------------------------------------------------- |
|
May 10, 2007 - 5:39 PM
|
|
|
Enthusiast Joined May 15, '05 From Toronto Currently Offline Reputation: 4 (100%) |
they sit just slightly higher..about 1/2" if that. Noticeable, but nothing majour. Its because our OEM seat rails sit almost flush with the base. These ones sit a bit higher than the base.
|
 |
1 User(s) are reading this topic (1 Guests and 0 Anonymous Users)
0 Members:
| Lo-Fi Version | Time is now: July 6th, 2026 - 9:08 AM |