
 Jun 14, 2009 - 1:10 PM Jun 14, 2009 - 1:10 PM
|
 
|
|
Enthusiast  Joined May 29, '09 From Gainesville, FL Currently Offline Reputation: 17 (100%) |
Reconsolidating Thread!
Pics from beginning to present When purchased 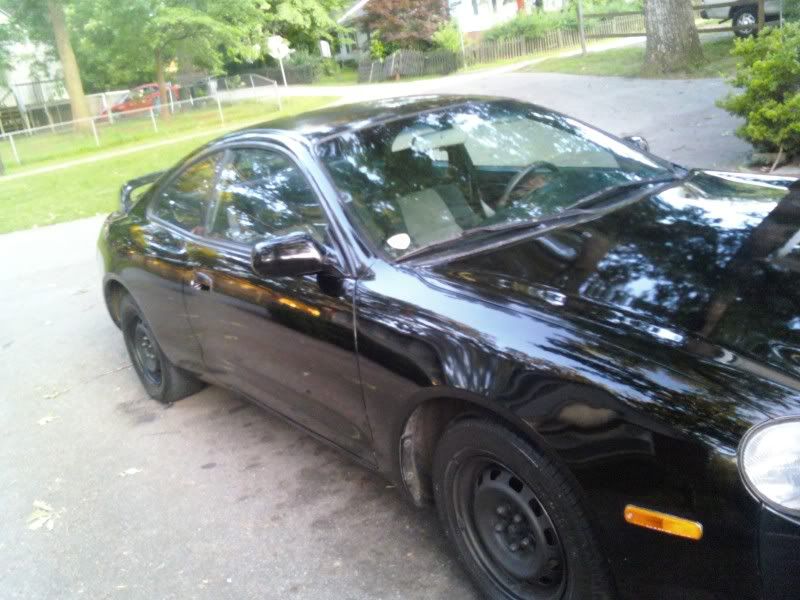 First Mod - Feels like yesterday 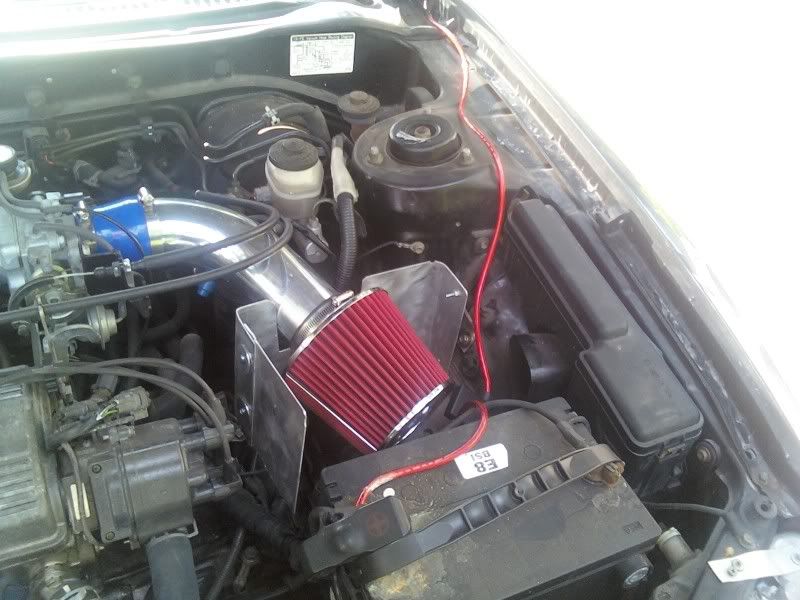 Cleaning and Painting engine bay 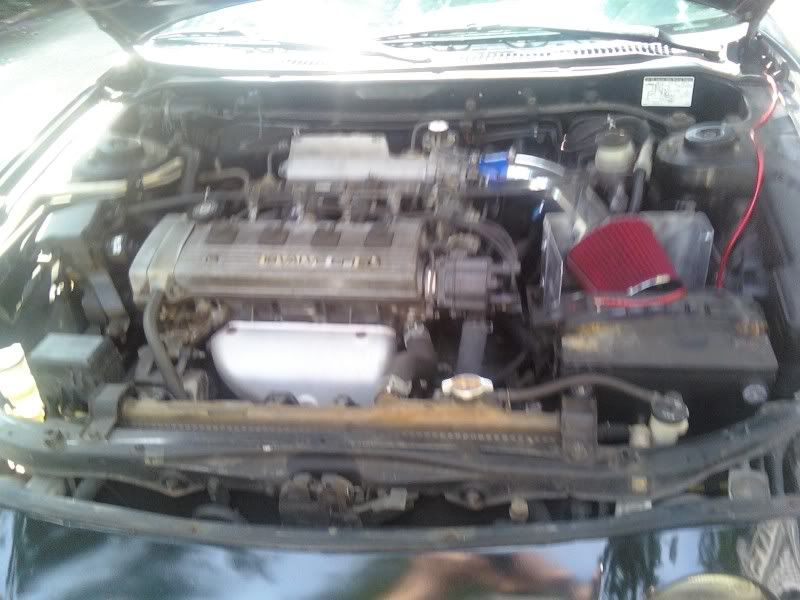 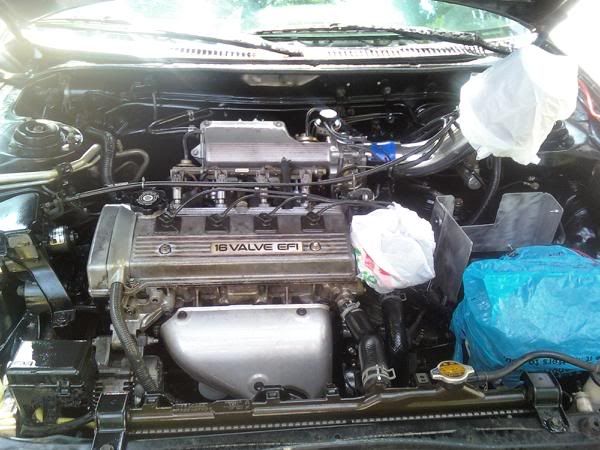 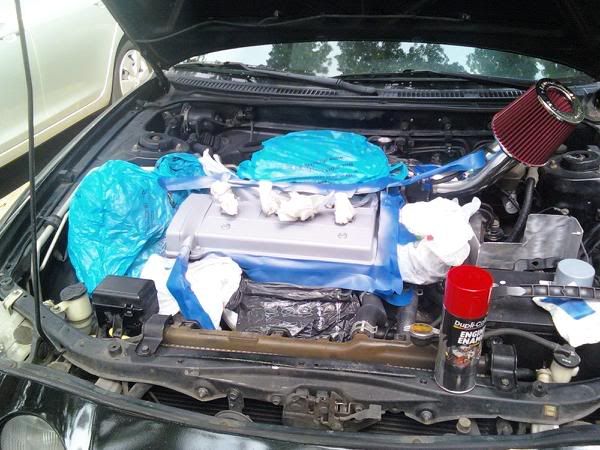 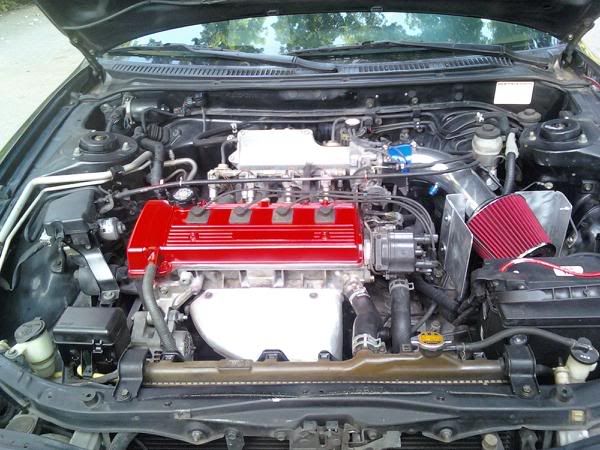 Battery Tie down 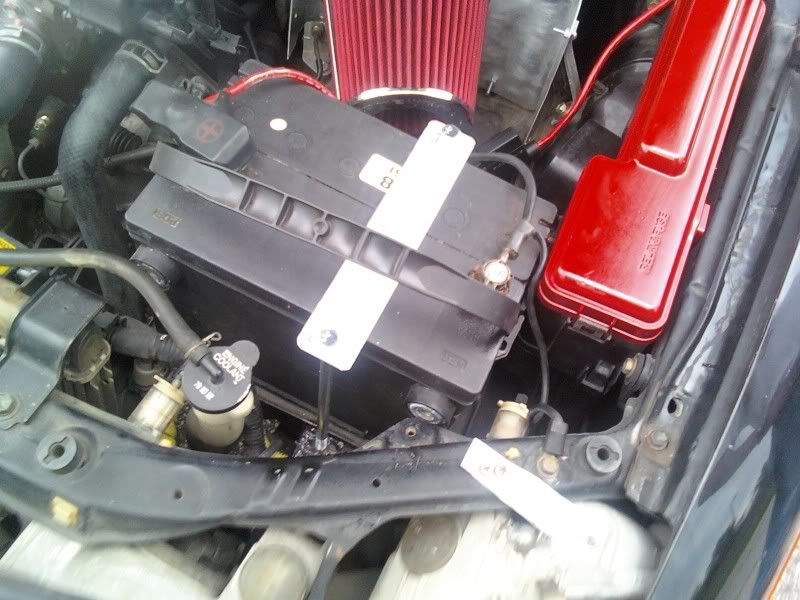 Wheels & Springs Before:  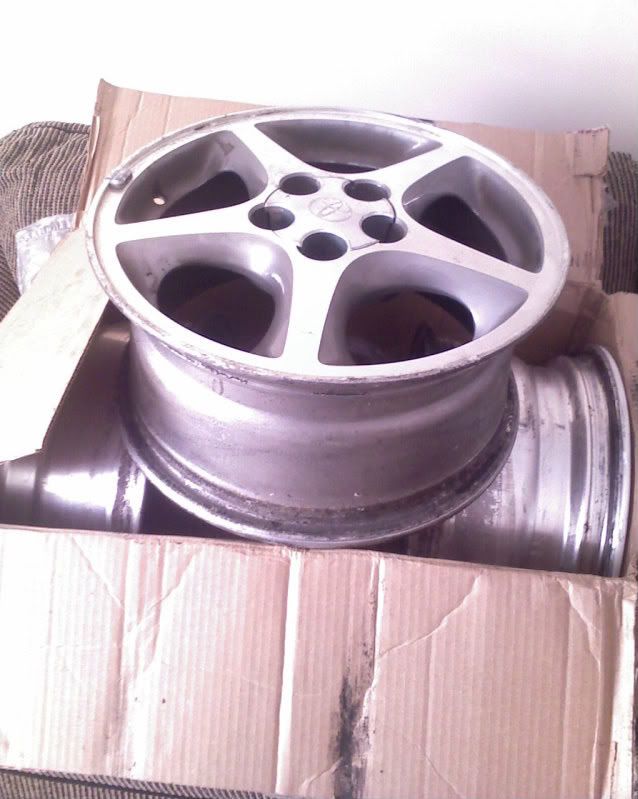 After: 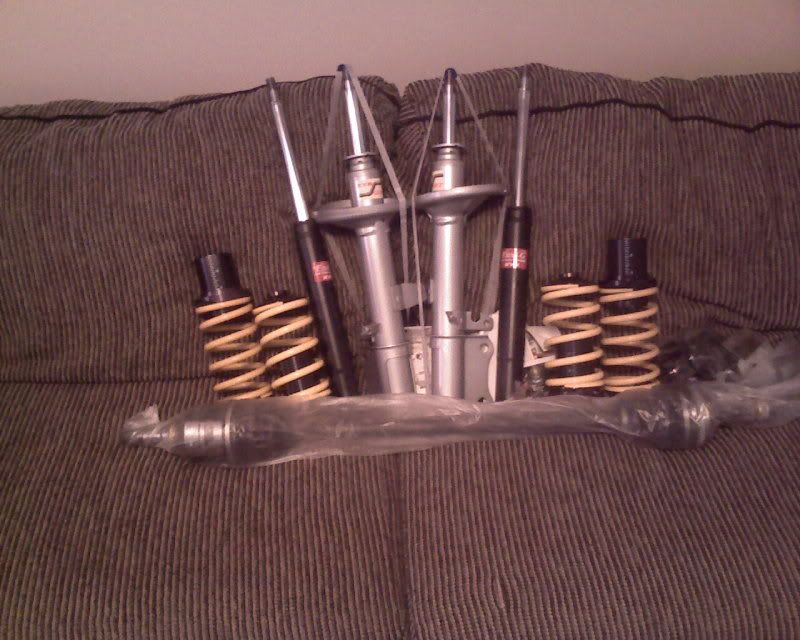 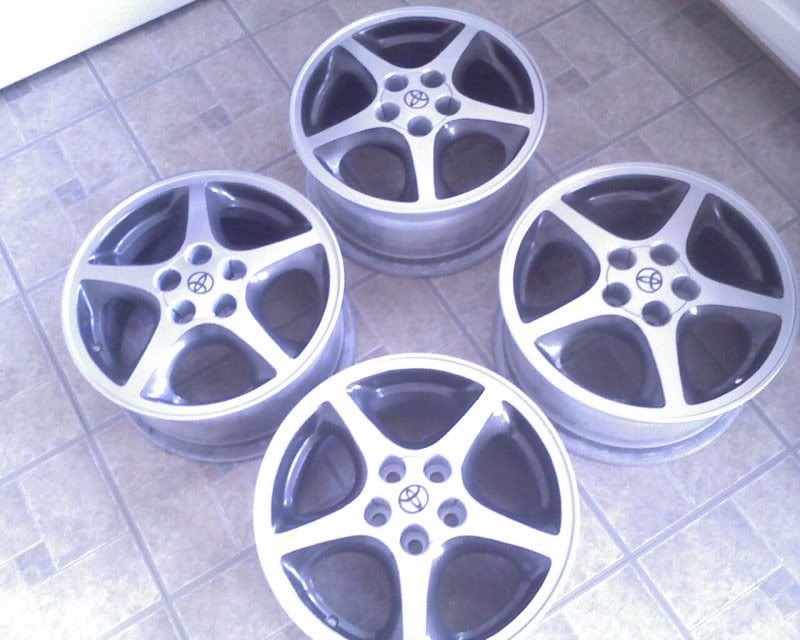  Rainguards: 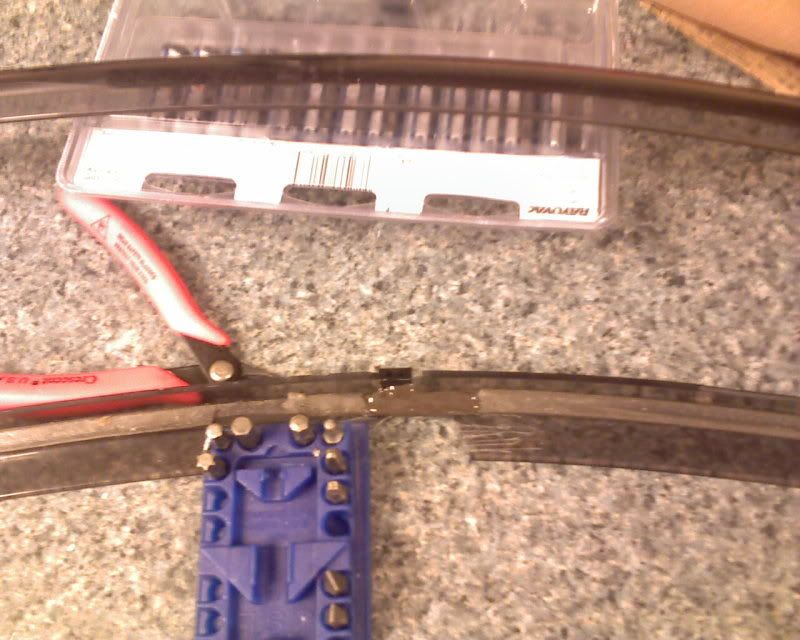 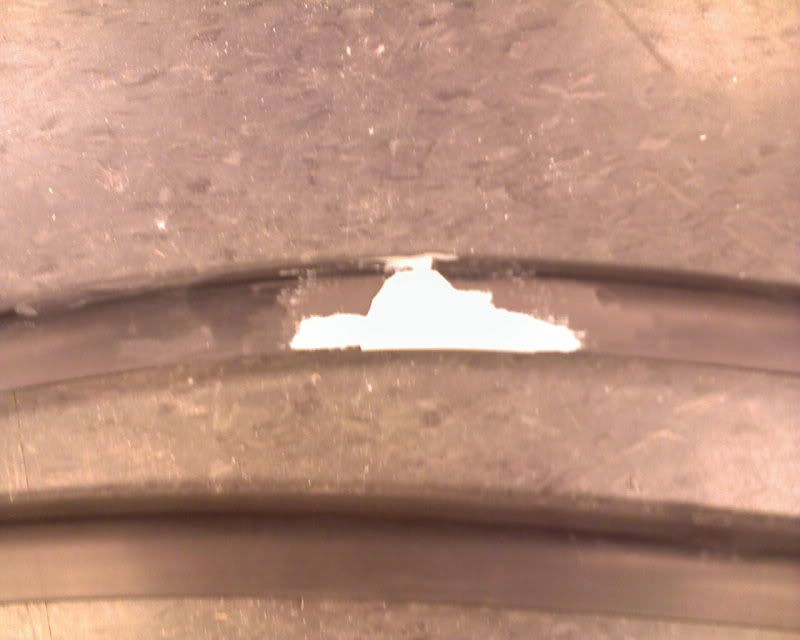 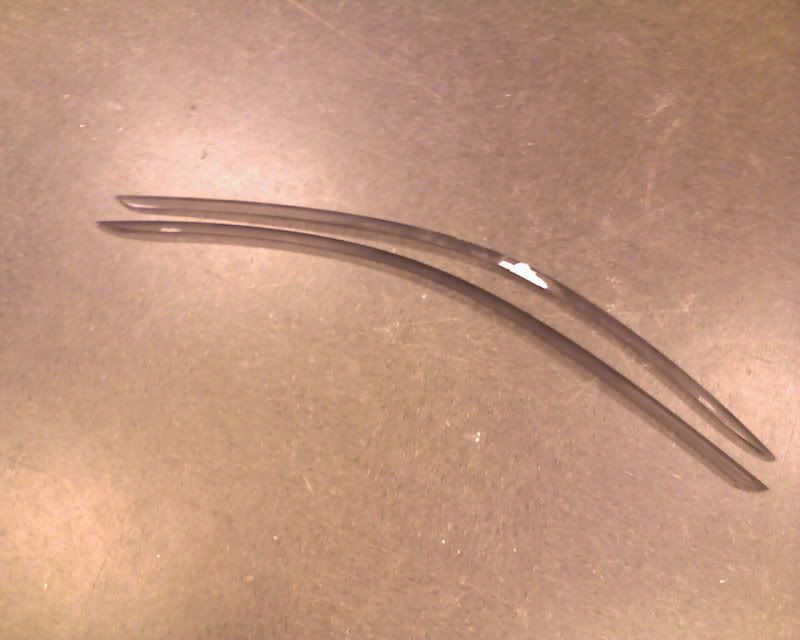 Facelift & Projector/Clear Highs:   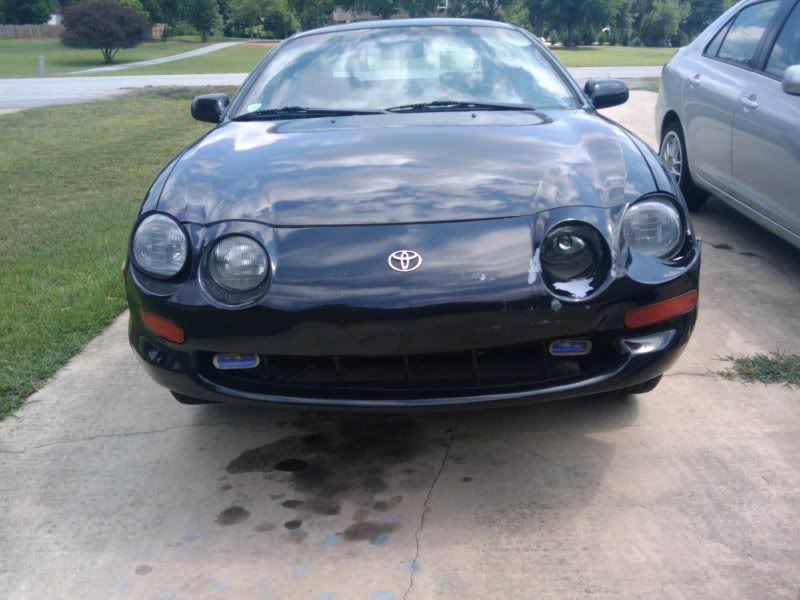 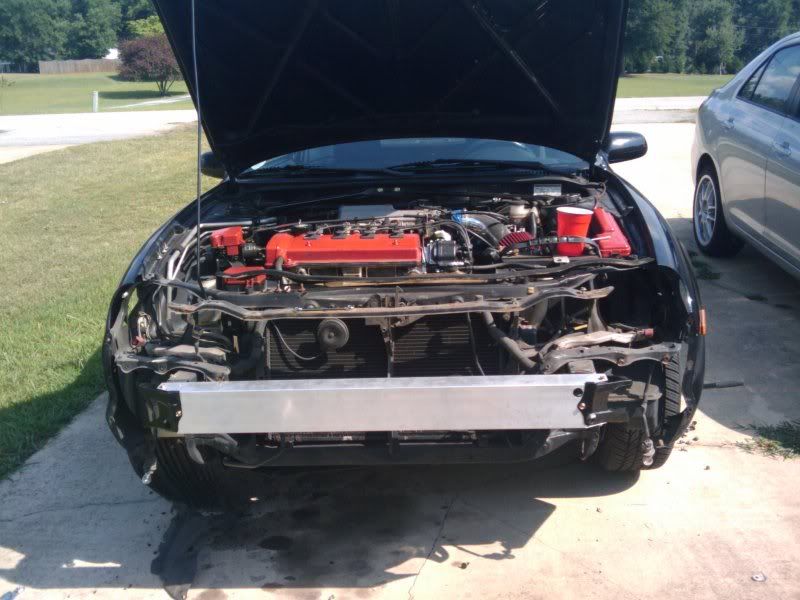  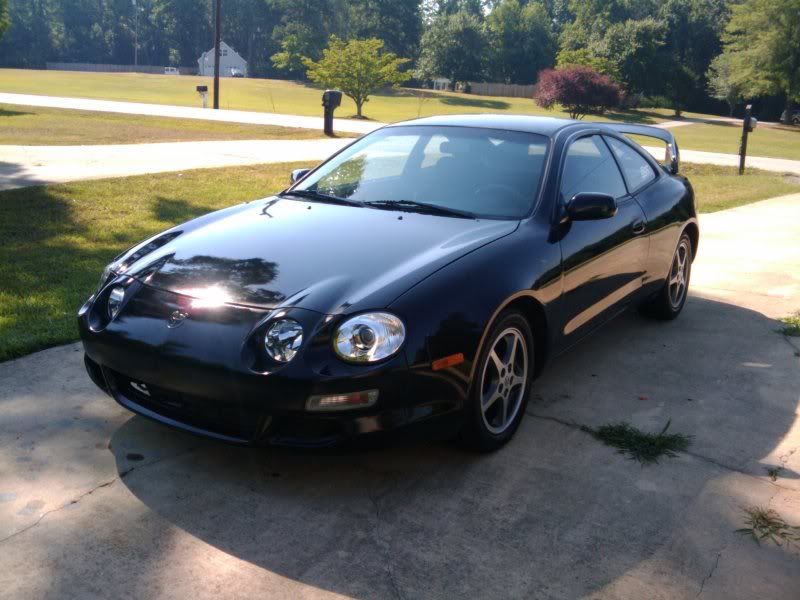  Well all in all, to this point i think progress is great. I've learned alot, spent tons of money I didn't think I had. Purchased many tools never expected needing, and of course, recieved tons of help and goodies from 6gc.net. My thanks to the community once agian, I couldn't have come this far without ya guys! This post has been edited by rave2n: Nov 22, 2011 - 1:38 PM |

 |
Replies
(1 - 19)
|
Jun 15, 2009 - 7:11 PM
|
|
|
Enthusiast Joined May 29, '09 From Gainesville, FL Currently Offline Reputation: 17 (100%) |
|
|
Jun 15, 2009 - 9:21 PM
|
|
|
Enthusiast Joined Mar 15, '07 From Tennessee Currently Offline Reputation: 52 (100%) |
that is awesome work, do like the shield.
-------------------- Learned a lot in 10 years... I hardly log in anymore, last login Today Sept 6 2019, and I was forced just to clarify a post. LOL
If you PM me and I dont respond, dont fret or cry. Im alive, better post your questions in the thread below, maybe I log back in 2grfe Swapped... Why I chose the 2GR, before you ask read here... A great civilization is not conquered from without until it has destroyed itself from within. @llamaraxing in Instagram is the best way to find me. I hardly log here anymore. |
|
Jun 15, 2009 - 9:43 PM
|
|
|
Enthusiast Joined Dec 28, '08 From long beach, CA Currently Offline Reputation: 0 (0%) |
Looking good man keep up the good work.
|
|
Jun 16, 2009 - 4:08 PM
|
|
|
Enthusiast Joined May 29, '09 From Gainesville, FL Currently Offline Reputation: 17 (100%) |
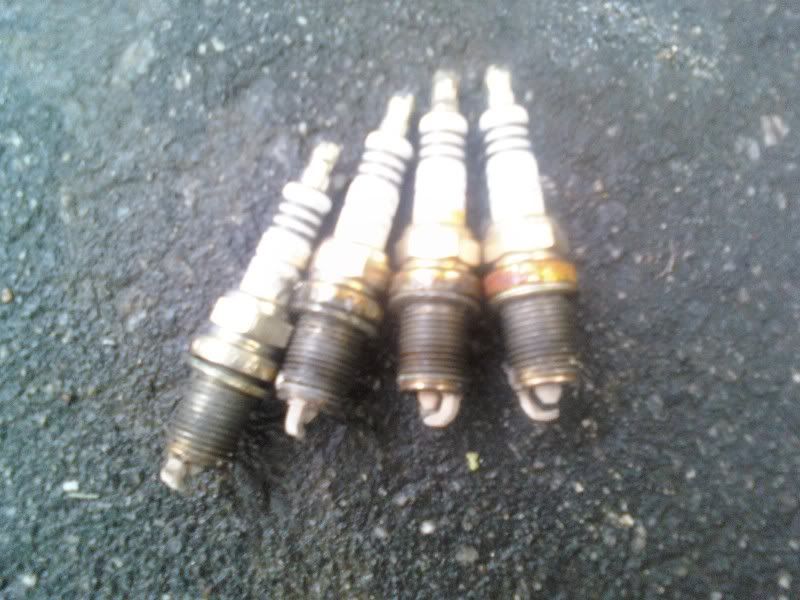
Well I won't be purchasing from Streesideauto.com anymore. Sent the wrong wireset, no where near what I needed....atleast got the plugs right.
Just gunna get the ebay 10.8 mm red set. |
|
Jun 16, 2009 - 4:21 PM
|
|
 Enthusiast Joined Feb 7, '07 From Portland, Oregon Currently Offline Reputation: 67 (96%) |
10.8 mm spark plug wires? WHY? It's not an upgrade and you won't gain anything by it.
--------------------  |
|
Jun 16, 2009 - 4:24 PM
|
|
|
Enthusiast Joined May 29, '09 From Gainesville, FL Currently Offline Reputation: 17 (100%) |
Don't really care for the size, just want the color. It was the color I planned on having things looks under the bay, plus they are only 32 bucks on ebay.
|
|
Jun 16, 2009 - 7:45 PM
|
|
|
Enthusiast Joined May 29, '09 From Gainesville, FL Currently Offline Reputation: 17 (100%) |
Old plugs out! Wire plans changed due to cost and such. So now it will be just a cleaning of the bay, and alot of painting of this and that.
|
|
Jun 17, 2009 - 4:13 AM
|
|
|
Enthusiast Joined Jul 9, '08 From California Currently Offline Reputation: 5 (100%) |
QUOTE (rave2n @ Jun 16, 2009 - 5:45 PM)  Old plugs out! Wire plans changed due to cost and such. So now it will be just a cleaning of the bay, and alot of painting of this and that. That looks like you're burning really lean. Maybe try resetting your ECU, can't hurt anything. -TC -------------------- Live your life for yourself. Don't hold back for anything or anyone.
 |
|
Jun 17, 2009 - 8:36 AM
|
|
|
Enthusiast Joined May 29, '09 From Gainesville, FL Currently Offline Reputation: 17 (100%) |
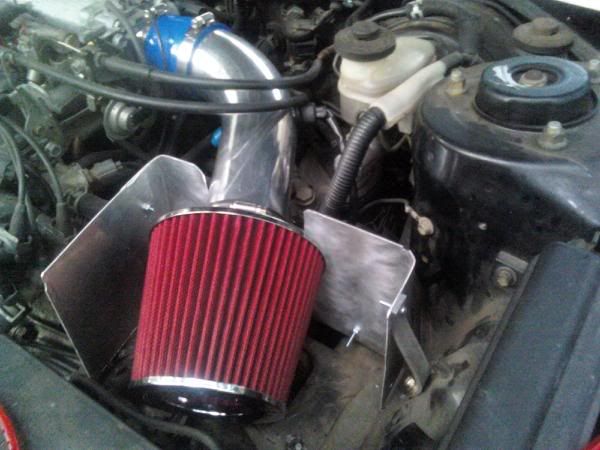
Yea i've noticed that too myself. Smells like gas off the exhaust too. I reset my ECU when I put the intake on. I also have a issue with my oil disappearing, but that has been determined to be valve seals...so probally going to run the 7a-fe til it dies, or follow Griff's advice and turbo that bastid and replace it when it goes for 400 smackers.
|
|
Jun 19, 2009 - 10:30 AM
|
|
|
Enthusiast Joined May 29, '09 From Gainesville, FL Currently Offline Reputation: 17 (100%) |
Some cleaning begun, will finish shining up after she dries out a bit.
Beginning Supplies: 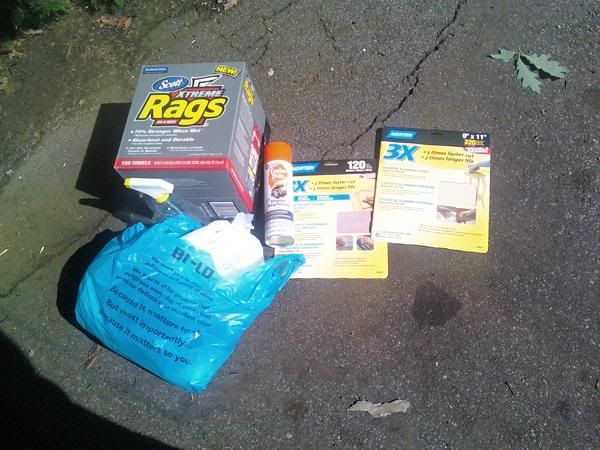 Not a real good Before shot, but gives you a idea: some of the prepping: First Thread! The major grime is off now, finer detail once dry 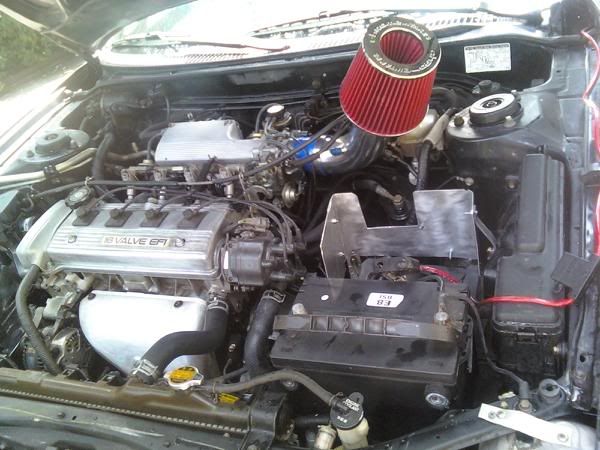
This post has been edited by rave2n: Jul 5, 2010 - 10:26 AM |
|
Jun 19, 2009 - 5:24 PM
|
|
|
Enthusiast Joined May 29, '09 From Gainesville, FL Currently Offline Reputation: 17 (100%) |
First Thread!
This post has been edited by rave2n: Jul 5, 2010 - 10:27 AM |
|
Jun 19, 2009 - 5:46 PM
|
|
 Enthusiast Joined Oct 4, '06 From Kelowna, BC Canada Currently Offline Reputation: 3 (100%) |
Is that how it really looks? Damn I thought that was photoshopped. Do you have an angle that isn't so overexposed?
-------------------- |
|
Jun 19, 2009 - 6:09 PM
|
|
|
Enthusiast Joined May 29, '09 From Gainesville, FL Currently Offline Reputation: 17 (100%) |
Yeaaa, I just checked on it probally a hour later and its still bright as hell, might have to acquire a darker red...thats to damn bright for me.
|
|
Jun 19, 2009 - 6:37 PM
|
|
|
Enthusiast Joined Feb 7, '07 From Portland, Oregon Currently Offline Reputation: 67 (96%) |
heh... looks a lot like my engine bay... well, color-wise. Yours is MUCH cleaner though. And this shot is like a year old
 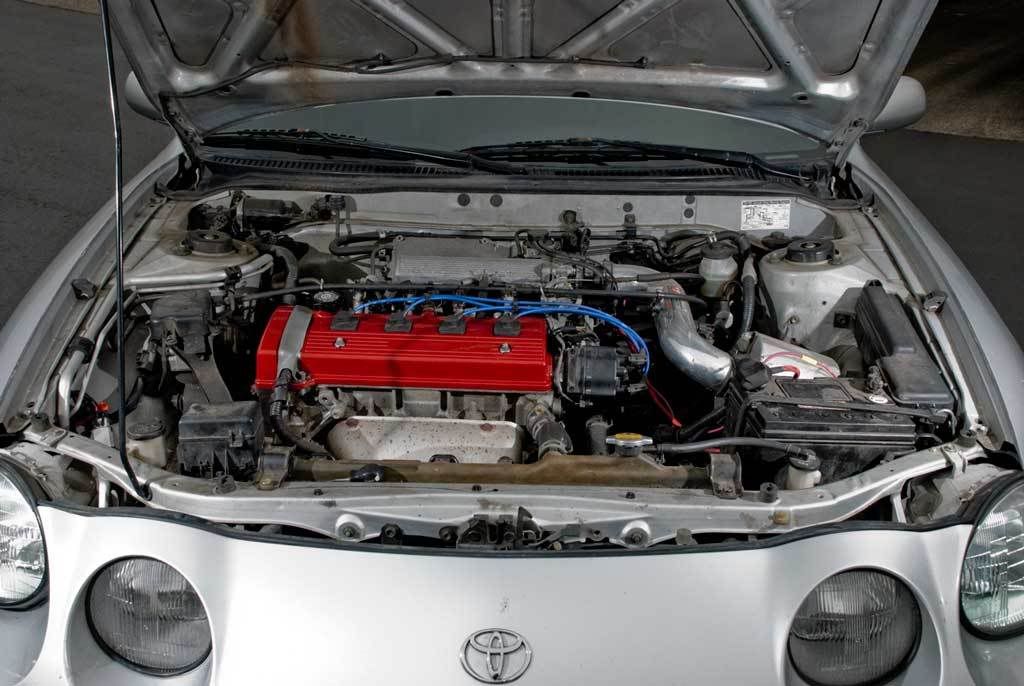
This post has been edited by GriffGirl: Jun 19, 2009 - 6:37 PM -------------------- |
|
Jun 19, 2009 - 6:59 PM
|
|
|
Enthusiast Joined May 29, '09 From Gainesville, FL Currently Offline Reputation: 17 (100%) |
Hah, yeap same red
 - Hopefully mine will darken out like that a little more. That pic wasn't even with the sun on it. All in all, a good base coat for whatever my indicisive mind chooses. - Hopefully mine will darken out like that a little more. That pic wasn't even with the sun on it. All in all, a good base coat for whatever my indicisive mind chooses. I hope she is clean, took me about 4 hours this morning. I just can't work on a any motor that is caked with stuff, which it was, and my plans to work on gaskets and such needed a clean exterior, yea it'll just get dirty agian, but its not 15 years of dirt now!  So gaskets next - Can't wait to take that valve cover off and see how much hate has been put on it, i have a sneaky idea alot, cause I pulled the PCV valve before I went to paint, and there was some severe crud on it. A dose of Seafoam is coming up as well, but that really doesn't leave much for the picture work =P. |
|
Jun 20, 2009 - 11:40 AM
|
|
|
Enthusiast Joined May 29, '09 From Gainesville, FL Currently Offline Reputation: 17 (100%) |
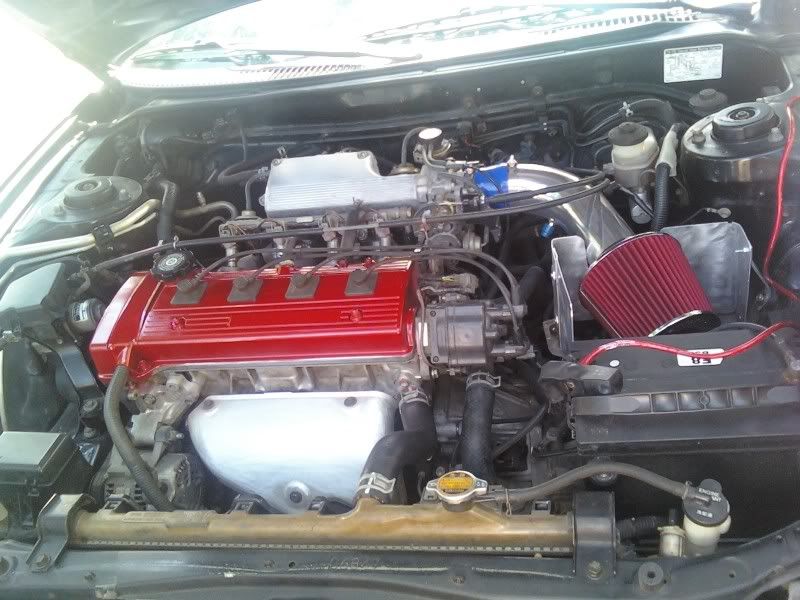
After a morning drive, probally less bright now that the sun changed angle =P
|
|
Jun 22, 2009 - 10:43 AM
|
|
|
Enthusiast Joined Oct 4, '06 From Kelowna, BC Canada Currently Offline Reputation: 3 (100%) |
I notice you painted over the nuts on the top as well as that plastic piece on the left side. Did you paint the valve cover in place then? Is there any risk of the paint cracking?
-------------------- |
|
Jun 22, 2009 - 11:49 AM
|
|
|
Enthusiast Joined Feb 7, '07 From Portland, Oregon Currently Offline Reputation: 67 (96%) |
How'd ya get your heat shield so clean? Did you paint it too?
-------------------- |
|
Jun 22, 2009 - 1:03 PM
|
|
|
Enthusiast Joined May 29, '09 From Gainesville, FL Currently Offline Reputation: 17 (100%) |
Wire wheel, then used a bunch of diffrent sand papers til I was happy with it, for the heat shield. That took a good hour.
Yea I painted it in bay, I think the clue to that is letting it cure. 3 Coats of primer, 10 mins in between, then let that cure for 3-4 hours. Then 2 coats of whatever color, 10 mins inbetween. I let it sit for a good 12 hours before I turned her over, its still on to this day, and looking like the original day I sprayed it. I think one way which would stop it from cracking, is leave the surface slightly scarred with sandpapper, gives the primer and paint more adhesive power. After enough coats its smooth, and sticking like JB weld. Here is a pic of some of the prep, after a few coats of primer, but that gives you an idea. First Thread! This post has been edited by rave2n: Jul 5, 2010 - 10:27 AM |
 |
1 User(s) are reading this topic (1 Guests and 0 Anonymous Users)
0 Members:
| Lo-Fi Version | Time is now: July 30th, 2026 - 4:27 AM |