
 May 24, 2006 - 11:53 PM May 24, 2006 - 11:53 PM
|
 
|
 Enthusiast  Joined Apr 18, '05 From Calgary Currently Offline Reputation: 20 (100%) |
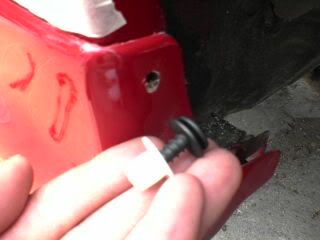
How to install OEM 96+ Sideskirts on a 94-95 Celica ------------------------------------------------------------- Tools used:  - Double-Sided Bonding Tape - Double-Sided Bonding Tape 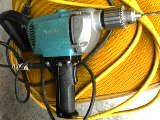 - Power Drill - Power Drill 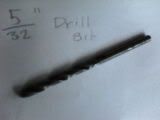 - 5/32" Drill Bit - 5/32" Drill Bit 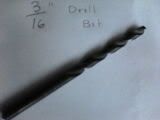 - 3/16" Drill Bit - 3/16" Drill Bit 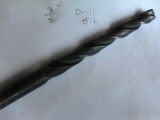 - 3/8" Drill Bit - 3/8" Drill Bit 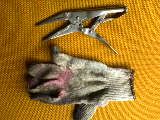 - Vice Grip and a piece of rag cloth - Vice Grip and a piece of rag cloth  - Pair of Shears/Scissors - Pair of Shears/Scissors 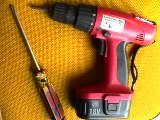 - Phillips Screwdriver - Phillips Screwdriver 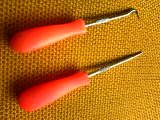 - A set up needle pics (to remove the grommets) - A set up needle pics (to remove the grommets) 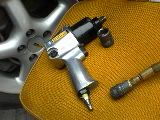 - A tire iron or equivalent for removing lug nuts. - A tire iron or equivalent for removing lug nuts. Note: You can buy the double-sided bonding tape at most body shop supplies.. i used the bodyshop mounting tape for the driver side and wal-mart type for the passenger side. the Pro-Form brand was thinner and bonded stronger than the wal-mart one but cost twice as much (Pro-Form: $7, Walmart: $3). i'd suggest you get the best bonding tape you can find at the body shop supply store. Parts needed: - The sideskirts themselves ($217 USD from the dealer) - 9 x 90467-09185 Clips ($.98 USD each) - 2 x 90189-06006 Grommet, Screw (~$1 USD each) - 2 x 90159-60414 Screw ($.52 USD each) Note: Not all the screws and grommets listed in the sticky are necessary, the ones listed above is all that's really needed. i've wasted about $35 getting them all when i should have only spent $14. so don't do what i did. Print this for reference 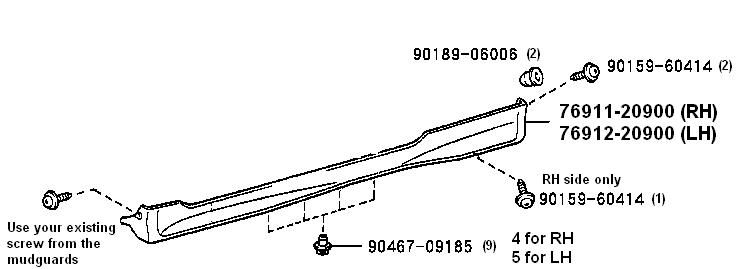 Ok.. so after i've picked up the screws and grommets from the dealer, i jumped right on to the installation.. since this was my first time doing this, i spent most of my time thinking and planning how to get these on and making sure everything is done right. First of all, these skirts initially came off a white 96 ST202 in Japan and then purchased them through ebay. you may order them straight from your local Toyota dealer but will cost you a pretty penny. fyi, it may cost you around $162.89 USD each from ToyotaWorld. the pic below shows the skirts being sanded in my garage. if you've got used skirts, there are clear adhesive protecters stickered on at the bottom rear of the skirt. these came stock and will need to be removed before sanding. to do this i used a torch to lightly heat it up and some bumper sticker removal spray (Goo Gone will work too) to help pull it off. 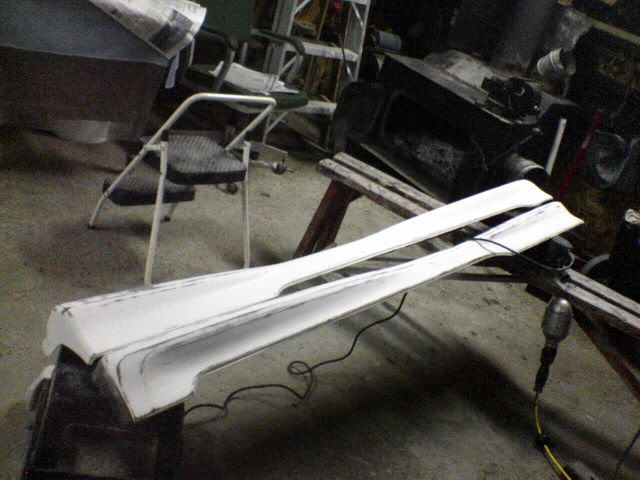 Getting Started ------------------ -Jack up the car on both sides (front and rear) and let it rest on jack stands at all four corners, try to raise it as high as possible so you'll have more room to work under. 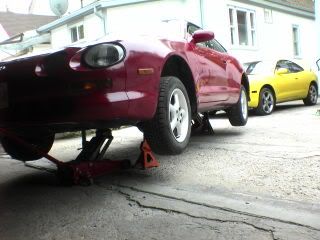 -Remove all four wheels. 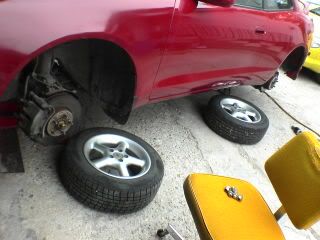
This post has been edited by azian_advanced: Jan 17, 2010 - 8:25 PM -------------------- -------------------------------------------------------------------------------- -------------------------------------------------------------------------------- |

 |
Replies
|
May 25, 2006 - 2:34 PM
|
|
|
Enthusiast Joined Apr 18, '05 From Calgary Currently Offline Reputation: 20 (100%) |
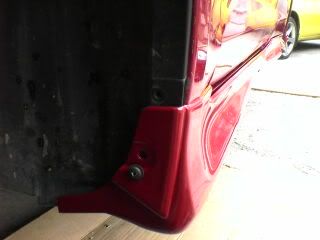
15. now carefully mount the skirt to the body and push on it until the adhesive from the tape hardens. be sure that you have it on right because you don't want to be pulling it off and mounting it back on over and over again.. obviously this will wear out the adhesive. next, you can screw in the front and rear holes of the skirts.
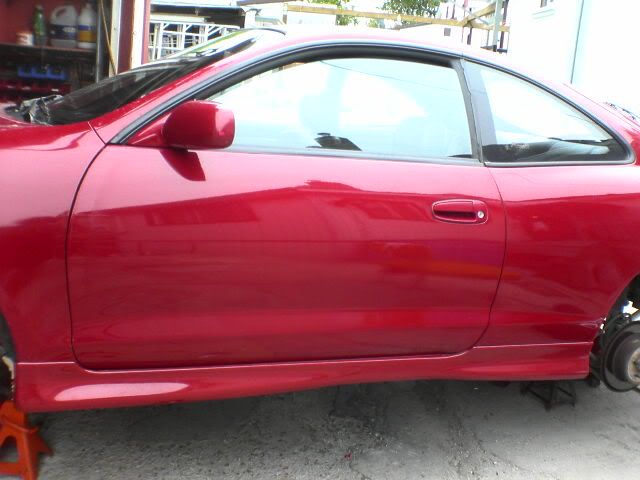   16. the mounting tape isn't as strong as i had hoped. there were some areas where the tape was coming off the body but still attached to the skirt. so what i did, i used some 'super-glue' and glued it back on. be cereful with this step not to get any on your hands and the exterior part of the skirts. it won't be as easy to remove with just GooGone or any other type of adhesive remover. i don't intend on removing the skirts from the car which is why i used SuperGlue. but if you are removing them in the later future, use something else like epoxy. 17. Congratulations.. you are now finished! but be sure you look over everthing ensuring all the clips and screws are installed and that the skirts are nicely fitted to the car. Now, if you haven't gotten a break after all this, go grab yourself some beer and celebrate!  Finishing Up -------------- -Put your wheels back on. 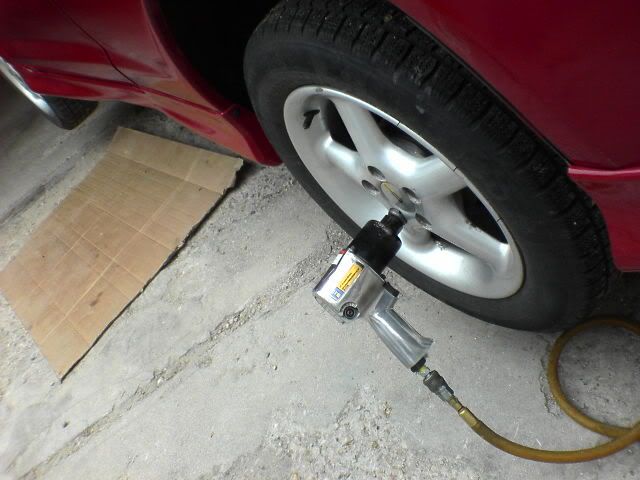 -Remove the jack stands, and lower the jacks. Total time: -4 hours for the passenger side which included a few breaks here and there, extensive planning (well not really that extensive), and time wasted using trial-and-error to figure out what size drill bits would work best with the clips. -2 hours for the driver side after knowing exactly what to do. Before and After: 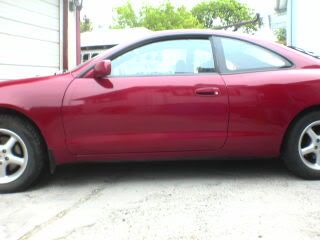 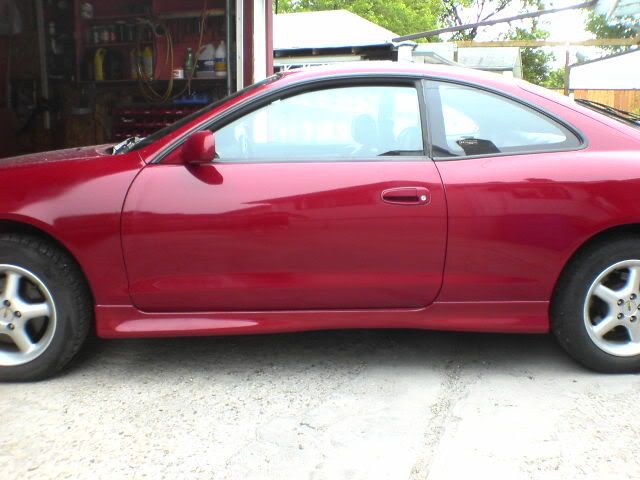 Finished Pics: 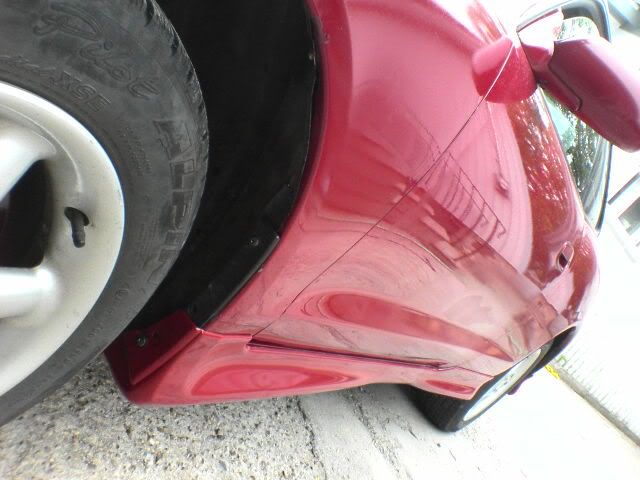 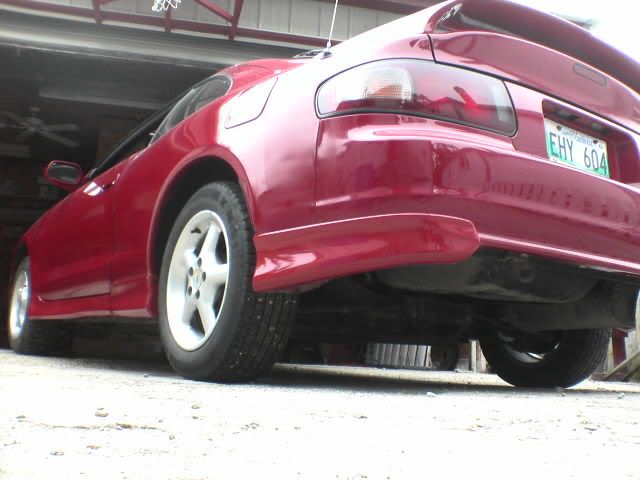  This concludes the installation of the OEM Sideskirts.. if there's anything i should add or if you have any questions, let me know.. This post has been edited by azian_advanced: May 25, 2006 - 2:35 PM -------------------- -------------------------------------------------------------------------------- -------------------------------------------------------------------------------- |
Posts in this topic
 azian_advanced How to install 96+ OEM Sideskirts on a 94-95 6gc May 24, 2006 - 11:53 PM
 azian_advanced Procedures
-------------
1. so i've tried lin... May 25, 2006 - 2:30 PM ILuvMyCelica95 this is great! May 25, 2006 - 2:46 PM azian_advanced QUOTE(MaX @ May 25, 2006 - 12:27 AM)... May 25, 2006 - 2:54 PM Batman722 Impressive !!! May 25, 2006 - 3:49 PM eliaz The clips and screws you listed, was the for both ... May 25, 2006 - 3:55 PM trdproven This is long and overwaited writeup that everyone ... May 25, 2006 - 7:41 PM j0e_p3t thanks. i'm gonna need this sometime in the fu... May 25, 2006 - 7:44 PM Starcraftjunkie When I save up enough for skirts, I'll definit... May 25, 2006 - 8:36 PM snapshotgt WOW! This is beyond sticky material, I vote B... May 25, 2006 - 10:16 PM Tech9ine im very unhappy that i have not seen your car in p... May 25, 2006 - 10:46 PM
azian_advanced Procedures
-------------
1. so i've tried lin... May 25, 2006 - 2:30 PM ILuvMyCelica95 this is great! May 25, 2006 - 2:46 PM azian_advanced QUOTE(MaX @ May 25, 2006 - 12:27 AM)... May 25, 2006 - 2:54 PM Batman722 Impressive !!! May 25, 2006 - 3:49 PM eliaz The clips and screws you listed, was the for both ... May 25, 2006 - 3:55 PM trdproven This is long and overwaited writeup that everyone ... May 25, 2006 - 7:41 PM j0e_p3t thanks. i'm gonna need this sometime in the fu... May 25, 2006 - 7:44 PM Starcraftjunkie When I save up enough for skirts, I'll definit... May 25, 2006 - 8:36 PM snapshotgt WOW! This is beyond sticky material, I vote B... May 25, 2006 - 10:16 PM Tech9ine im very unhappy that i have not seen your car in p... May 25, 2006 - 10:46 PM
 Starcraftjunkie I thought you did.. didn't you come to the Toy... May 26, 2006 - 2:05 AM sinner96ST this is the best how-to i've seen in a very, v... May 25, 2006 - 10:51 PM Silver94CelicaOwner Sticky this ish. Very good write up, thank you. May 25, 2006 - 11:44 PM malpaso no words needed... May 26, 2006 - 12:29 AM azian_advanced thanks for the comments guys. i actually had a lot... May 26, 2006 - 1:17 AM azian_advanced yeah that was me.. haha.. i told my cousin about t... May 26, 2006 - 8:58 AM Starcraftjunkie Then you did see my car there. It was the silver... May 26, 2006 - 11:18 AM Tech9ine QUOTE(Starcraftjunkie @ May 26, 2006 - 2... May 26, 2006 - 1:11 PM njccmd2002 how is that double tape holding out? Jul 4, 2009 - 2:13 PM azian_advanced the double side tape is still holding on most of t... Jul 4, 2009 - 3:27 PM njccmd2002 whats it called? Jul 4, 2009 - 6:05 PM azian_advanced i'd have to ask him, i don't remember it Jul 4, 2009 - 8:25 PM BeefyT would i be able to order the clips that the side s... Oct 4, 2009 - 12:23 AM azian_advanced from Toyodiy.com (page 3 of 3)
Part number: 90467... Oct 4, 2009 - 12:36 AM BeefyT QUOTE (azian_advanced @ Oct 4, 2009 - 1... Oct 4, 2009 - 11:50 AM OldskoolTizok 7yr old post will serve me well, I will be perform... Nov 2, 2013 - 6:46 PM jeffrosie Can use Tiger Seal or PU18 Sealant. Nov 3, 2013 - 9:23 AM doory100 I'm thinking of installing mine soon. I have p... Jun 26, 2014 - 8:14 PM Special_Edy Dont try to drill out the holes on the rocker pane... Jun 27, 2014 - 11:12 AM doory100 QUOTE (Special_Edy @ Jun 27, 2014 - 11... Jul 12, 2014 - 7:45 AM doory100 QUOTE (doory100 @ Jul 12, 2014 - 7:4... Jul 13, 2014 - 6:58 AM Constantine QUOTE (doory100 @ Jul 13, 2014 - 7:5... Jun 21, 2016 - 9:44 AM
Starcraftjunkie I thought you did.. didn't you come to the Toy... May 26, 2006 - 2:05 AM sinner96ST this is the best how-to i've seen in a very, v... May 25, 2006 - 10:51 PM Silver94CelicaOwner Sticky this ish. Very good write up, thank you. May 25, 2006 - 11:44 PM malpaso no words needed... May 26, 2006 - 12:29 AM azian_advanced thanks for the comments guys. i actually had a lot... May 26, 2006 - 1:17 AM azian_advanced yeah that was me.. haha.. i told my cousin about t... May 26, 2006 - 8:58 AM Starcraftjunkie Then you did see my car there. It was the silver... May 26, 2006 - 11:18 AM Tech9ine QUOTE(Starcraftjunkie @ May 26, 2006 - 2... May 26, 2006 - 1:11 PM njccmd2002 how is that double tape holding out? Jul 4, 2009 - 2:13 PM azian_advanced the double side tape is still holding on most of t... Jul 4, 2009 - 3:27 PM njccmd2002 whats it called? Jul 4, 2009 - 6:05 PM azian_advanced i'd have to ask him, i don't remember it Jul 4, 2009 - 8:25 PM BeefyT would i be able to order the clips that the side s... Oct 4, 2009 - 12:23 AM azian_advanced from Toyodiy.com (page 3 of 3)
Part number: 90467... Oct 4, 2009 - 12:36 AM BeefyT QUOTE (azian_advanced @ Oct 4, 2009 - 1... Oct 4, 2009 - 11:50 AM OldskoolTizok 7yr old post will serve me well, I will be perform... Nov 2, 2013 - 6:46 PM jeffrosie Can use Tiger Seal or PU18 Sealant. Nov 3, 2013 - 9:23 AM doory100 I'm thinking of installing mine soon. I have p... Jun 26, 2014 - 8:14 PM Special_Edy Dont try to drill out the holes on the rocker pane... Jun 27, 2014 - 11:12 AM doory100 QUOTE (Special_Edy @ Jun 27, 2014 - 11... Jul 12, 2014 - 7:45 AM doory100 QUOTE (doory100 @ Jul 12, 2014 - 7:4... Jul 13, 2014 - 6:58 AM Constantine QUOTE (doory100 @ Jul 13, 2014 - 7:5... Jun 21, 2016 - 9:44 AM |
1 User(s) are reading this topic (1 Guests and 0 Anonymous Users)
0 Members:
| Lo-Fi Version | Time is now: April 15th, 2026 - 8:14 PM |