
 Jan 17, 2008 - 5:49 PM Jan 17, 2008 - 5:49 PM
|
 
|
|
Enthusiast  Joined Sep 9, '07 From tampa Currently Offline Reputation: 0 (0%) |
Whats up guys I am a custom painter in clearwater,fl PPG certified and I-Car certified and currently working at a highend dealership here.... I saw a few write ups on painting interior , they were descent but if you want the real custom look follow these steps Pics of fisnished work will be up soon
Step one: remove the interior pieces ... 99% of the time the interior is held in by clips... But on the center radio bezel after you take out the bottom piece there is 2 10mm screws on both sides then just pops out Step 2: most people clean there interior and armoral them up baaaaadddd news if your painting thats fisheye heaven there... you will need to go to a auto parts store or local paint dist shop and get what is known as wax and grease remover its a solvent based cleaner if your using ppg the deltron line dx440 is awsome. wipe on with a towel moistend with it then right aways wipe off with a dry towel... Step 3: if there is no texture like on our interior pieces scuff them up with 600 or 800 grit paper this will alow the paint to stick... Step 4: pick your color do not use the cheap duplicolor that you can buy at the autopart store... go to your local bodyshop supply pick the color have them mix you 8 oz or a pint buy some reducer and clear and do it the right way mettalics and pearls on a hvlp gun shooth them at 10-15psi and clear at 25psi ... on a conventional spray gun shoot them at 35 psi and clear between 35-40 psi.... PPG is a good paint will last forever if prepped as written... is somewhat pricey but you can do your interior awsome for under 100.00$ you can go with the dupont nason line and do it for under 75 but would rather you go the PPG route PPG materials needed for spraying your parts Deltron or global paint deltron or global reducer deltron is cheaper pick your temp rating Deltron or global clears global clear that is good for this stuff is D893(clear) with d884(hardner) and D871(reducer) THESE PICS ARE A TAD BIT MORE ADVANCED THEN JUST A SIMPLE COLOR THESE ARE MARBLED JUST AS I DID MY CAR BUT COLORS SWITCHED WITH BLACK POPPING THREW THE GREEN WITH GREEN BEING THE TOP COLOR BUT THIS IS WHAT YOUR STUFF COULD LOOK LIKE 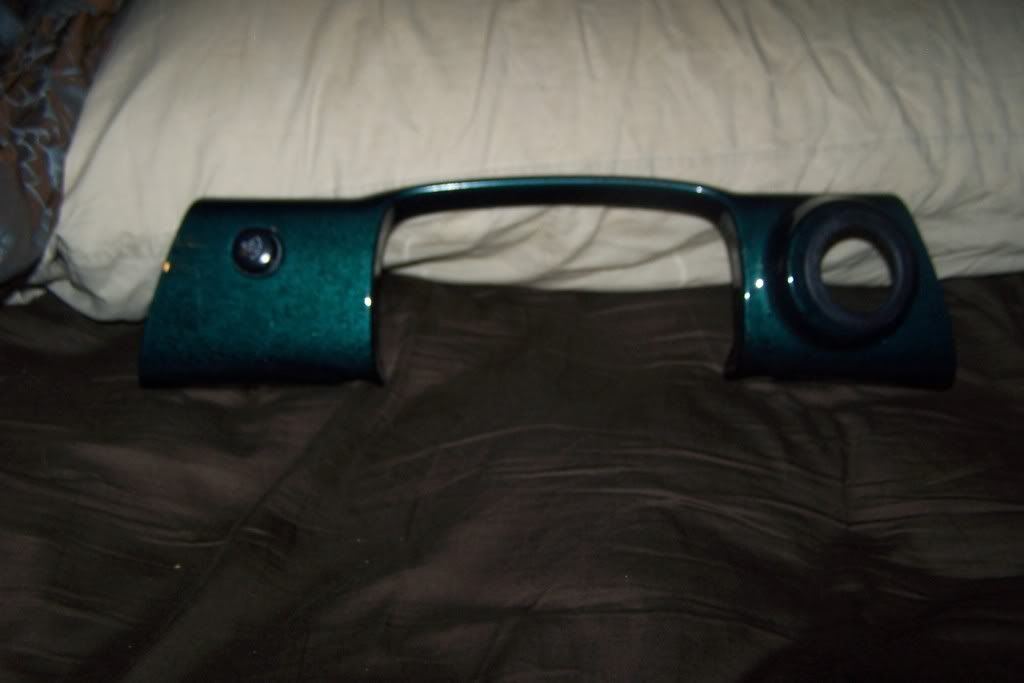  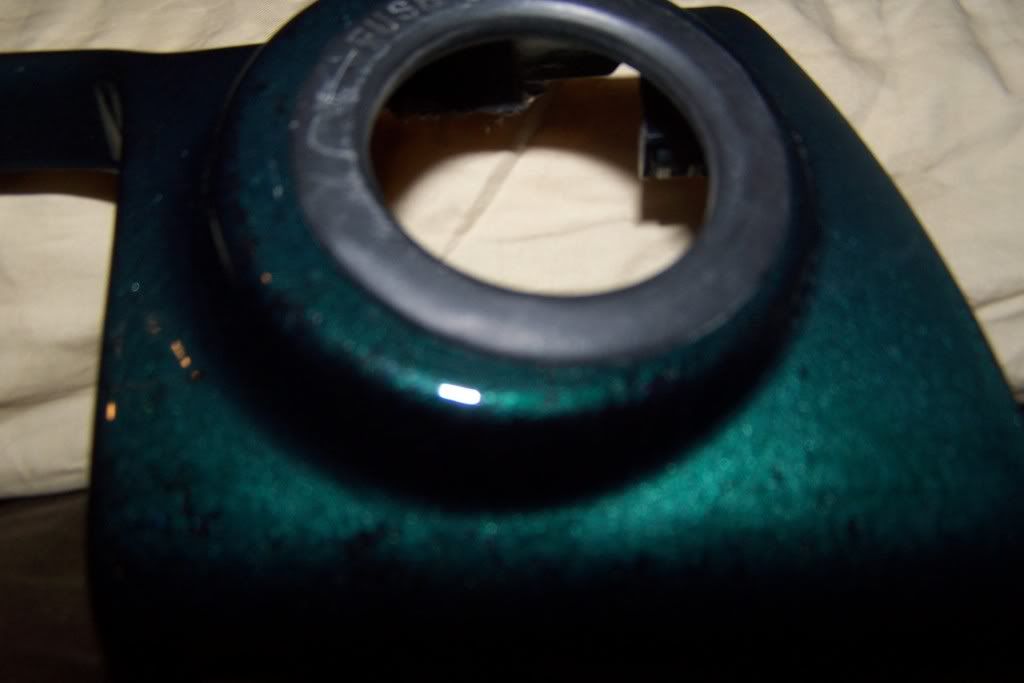 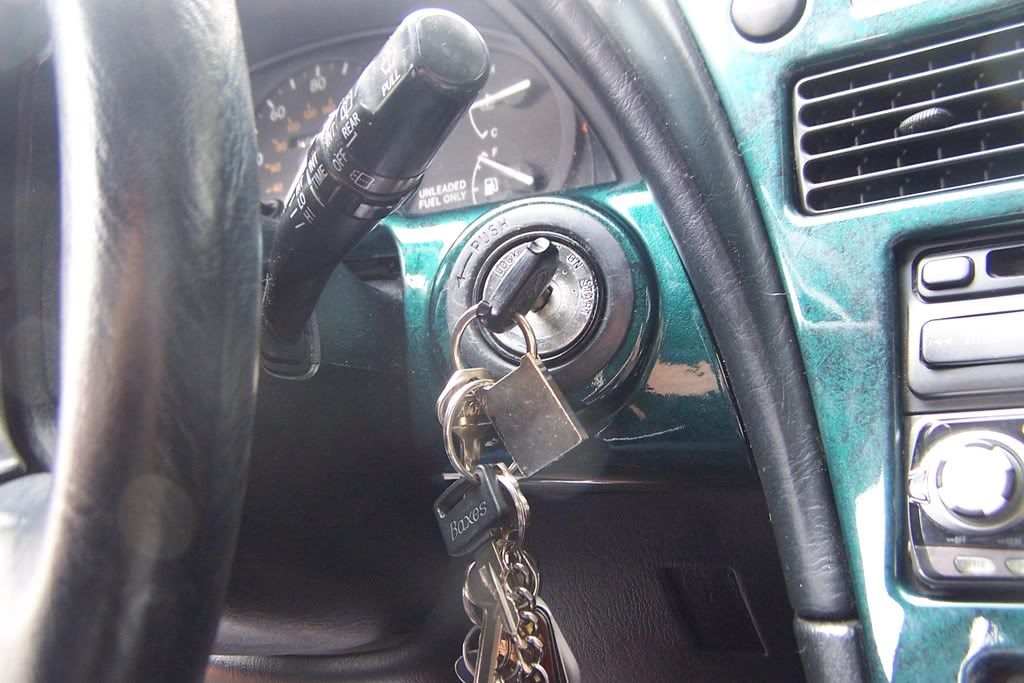 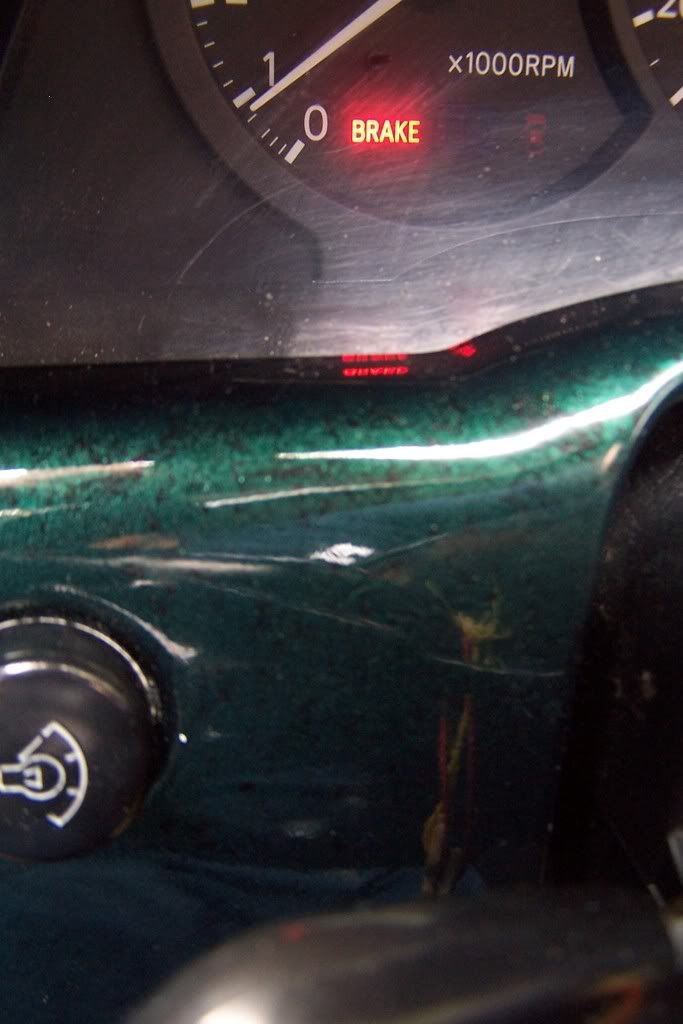  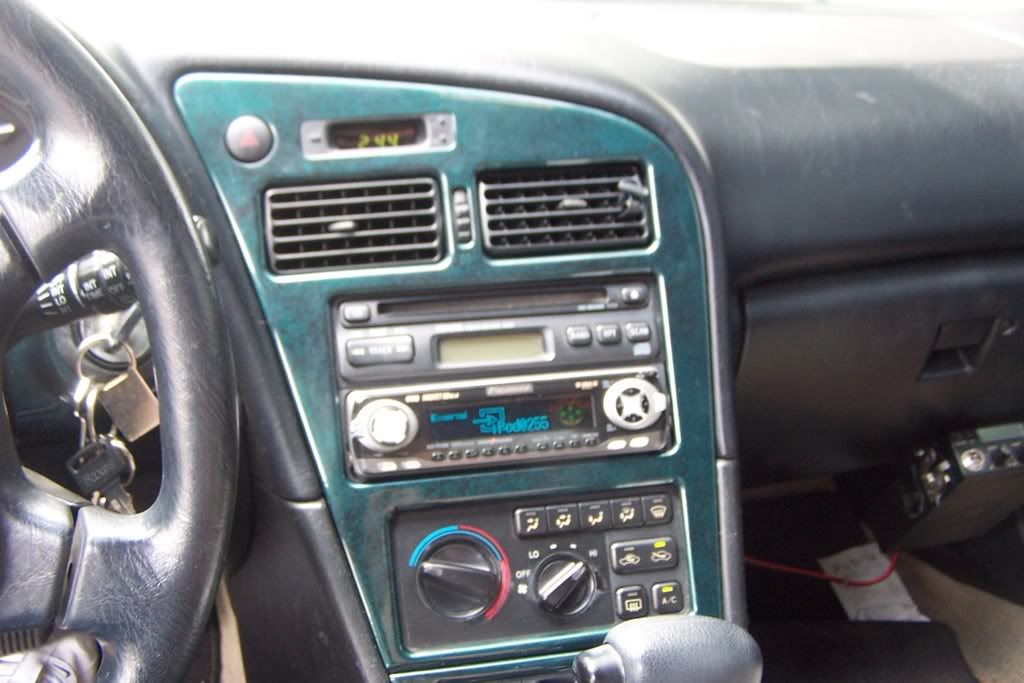  ANY QUESTIONS ASK AWAY This post has been edited by Marbledpearlcelica: May 17, 2008 - 3:02 PM |

 |
Replies
|
Jan 17, 2008 - 9:31 PM
|
|
|
Enthusiast Joined Feb 28, '07 From Banland Currently Offline Reputation: 1 (100%) |
can u make a write up on how to convert the little compartment below teh stereon into like a place to house switchs?
-------------------- BANNED. for life, you moron.
|
|
Jan 18, 2008 - 10:22 AM
|
|
|
Enthusiast Joined Jul 28, '06 From Delaware Currently Offline Reputation: 0 (0%) |
QUOTE(CelicaST_CALI @ Jan 17, 2008 - 9:31 PM) [snapback]631763[/snapback] can u make a write up on how to convert the little compartment below teh stereon into like a place to house switchs? Do u have the kind where you push a little button down and it flaps open?? IF so, its pretty easy. First, you take the compartment out, just unscrews from the headunit iirc. Dremel the back piece off, so that you have a strip of plastic and your box, minus the backing  . Now sand down the edges of the strip to make them straight and allow just enough space to slide the strip into the box, and mark and drill your holes for the switches on that strip. . Now sand down the edges of the strip to make them straight and allow just enough space to slide the strip into the box, and mark and drill your holes for the switches on that strip.Now the fun part, what you want to do is epoxy that strip approx 1/2"(you know, or whereever looks good to you) from the front of the compartment box opening. I suggest fabbing up 2-3 1/2" spacers out of MDF/wood/etc that are the same height as the compartment and that will hold the plastic strip evenly when you close the flap so that the epoxy can set. Once the epoxy sets, you can just mount the switches and run the wires out the back of the box (easier if you use a few extra inches of wire so that you can wire it up in front of the box, and then just push them in their holes and that should be that. Enjoy. I have no pictures because I haven't done this yet..but I've been thinking about this little mod for a while. |
Posts in this topic
 Marbledpearlcelica paint your plastics by Marbledpearlcelica AKA"DAPAINTER" Jan 17, 2008 - 5:49 PM
 Stogbob What if you don't have a spray gun? How could ... Jan 17, 2008 - 6:23 PM jason great write up, however i doubt too many people wh... Jan 17, 2008 - 6:26 PM punkuup5150 when i paint my car im painting the interior the s... Jan 17, 2008 - 6:29 PM thespacepanda QUESTION!
I already have the grease/wax remov... Jan 17, 2008 - 6:31 PM punkuup5150 if it does not have one built into the can allread... Jan 17, 2008 - 7:33 PM
Stogbob What if you don't have a spray gun? How could ... Jan 17, 2008 - 6:23 PM jason great write up, however i doubt too many people wh... Jan 17, 2008 - 6:26 PM punkuup5150 when i paint my car im painting the interior the s... Jan 17, 2008 - 6:29 PM thespacepanda QUESTION!
I already have the grease/wax remov... Jan 17, 2008 - 6:31 PM punkuup5150 if it does not have one built into the can allread... Jan 17, 2008 - 7:33 PM
 thespacepanda QUOTE(punkuup5150 @ Jan 18, 2008 - 12... Jan 17, 2008 - 8:22 PM thespacepanda QUOTE(CelicaST_CALI @ Jan 18, 2008 - 2... Jan 17, 2008 - 9:54 PM azian_advanced kinda offtopic, but i'd like to see someone pa... Jan 17, 2008 - 10:33 PM CelicaST_CALI idk...nothing i guess..lol Jan 17, 2008 - 11:18 PM DEATH 95celGT did a killer job painting the interior pla... Jan 18, 2008 - 11:56 AM 95st-celica ^^ yes Jan 18, 2008 - 3:34 PM mrgrape do u have any pics of doing it this way????
i wan... Jan 18, 2008 - 8:49 PM Marbledpearlcelica yes adhesion permoter would be good but isnt neede... Jan 25, 2008 - 6:12 PM
thespacepanda QUOTE(punkuup5150 @ Jan 18, 2008 - 12... Jan 17, 2008 - 8:22 PM thespacepanda QUOTE(CelicaST_CALI @ Jan 18, 2008 - 2... Jan 17, 2008 - 9:54 PM azian_advanced kinda offtopic, but i'd like to see someone pa... Jan 17, 2008 - 10:33 PM CelicaST_CALI idk...nothing i guess..lol Jan 17, 2008 - 11:18 PM DEATH 95celGT did a killer job painting the interior pla... Jan 18, 2008 - 11:56 AM 95st-celica ^^ yes Jan 18, 2008 - 3:34 PM mrgrape do u have any pics of doing it this way????
i wan... Jan 18, 2008 - 8:49 PM Marbledpearlcelica yes adhesion permoter would be good but isnt neede... Jan 25, 2008 - 6:12 PM |
1 User(s) are reading this topic (1 Guests and 0 Anonymous Users)
0 Members:
| Lo-Fi Version | Time is now: July 8th, 2026 - 6:59 AM |