
 Jan 18, 2011 - 9:57 AM Jan 18, 2011 - 9:57 AM
|
 
|
 Enthusiast Joined Jan 16, '10 From Sydney, Australia Currently Offline Reputation: 0 (0%) |
G'day 6gc'ers I need painting advice!
My 6gc has an extremely deep 30cm (12") gouge in the rear fender <insert embarrassing story with flimsy excuses here>. Now I'd like to try my hand at repairing it myself, however I've never done anything like this before so Im after some advice before I ruin it even more. The area around the scratch has been repainted twice before, once by the previous owner and once professionally after a nasty vandalism incident which can be seen here. As a result the paint around the scratch is extremely thick, about 2mm from the surface of the surrounding paint to the steel underneath and another 1mm into the steel. After doing some reading on the subject I've come up with the following plan. 1. Wet sand the area with 100-grit down to bare metal. 2. Fill the gouged steel with bondo. 3. Sand progressively finer 200 - 400 - 800 grit. 4. Apply primer. 5. Apply paint + wet sand with 1000 grit. 6. Repeat step 5 untill new paint is level with surrounding paint. 7. Apply clear coat, wet sand with 2000 grit, buff and polish. 8. Enjoy the satisfaction of having robbed a body-shop of their exorbitant fee. I know colour matched paint can be purchased in spray cans from auto-shops, will these be suitable for this application, or will a full spray-gun set up be required? Does this little plan sound right to those with painting experience? Feel free to laugh at my noob-ness and point me in right direction if I'm way off the mark. Many thanks, Palmy. This post has been edited by Palmy: Jan 18, 2011 - 9:58 AM |

 |
Replies
|
Jan 18, 2011 - 12:50 PM
|
|
|
Enthusiast  Joined Aug 15, '10 From UK Currently Offline Reputation: 0 (0%) |
Next step is the painting and blending process...excuse using different car but the process is the same:
1. Mask off panel and surrounding area of car...otherwise the rest of the car will fell like sandpaper if overspray lands on paint. 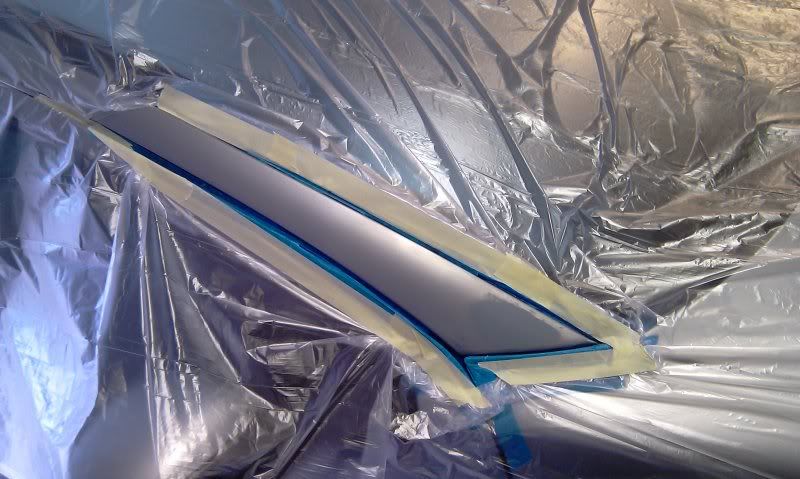 2. After 3 light coats of light metallic silver...each one blended further up the panel than the previous. 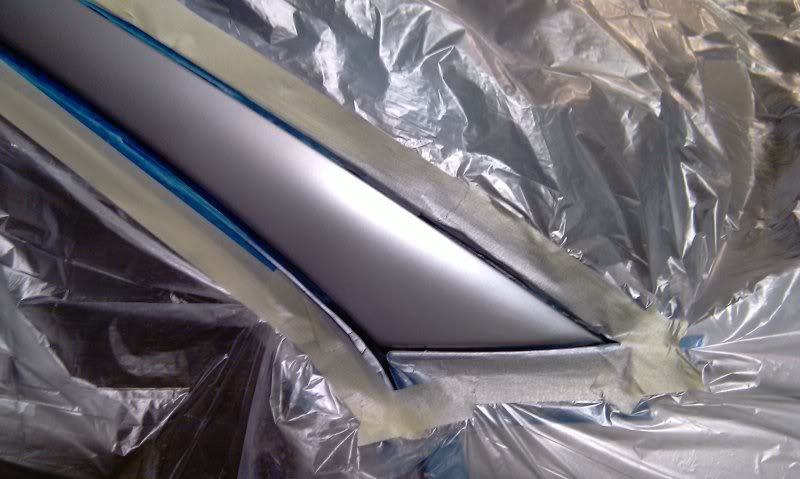 3. After base layer has flashed off...so all solvents have evaporated...1st layer of clear coat just at base of repair. 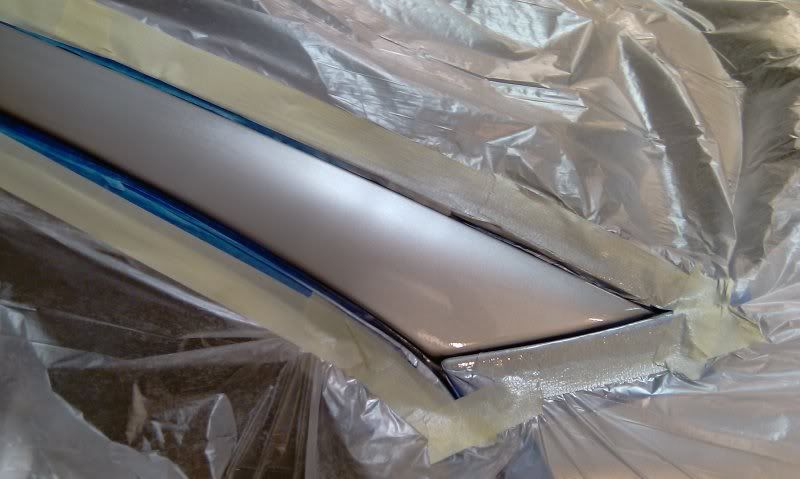 4. 2nd layer of clear coat...starting from bottom but slightly further up panel than the 1st layer.  5. 3rd layer of clear coat...again slightly further up panel than the 2nd...but still within the prapared area. 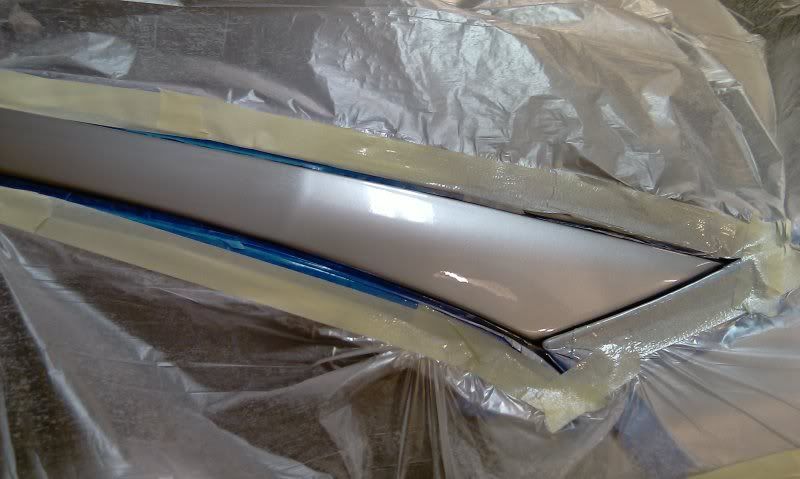 6. Now you can either just use another clear coat layer and cover the whole panel or use a blending clear coat as shown below to blend the new clear into the old clear. 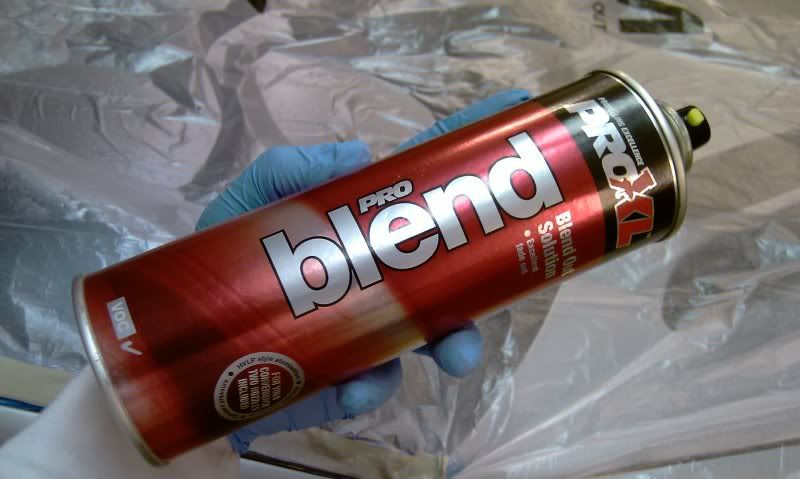 7. Clear coat blending agent used at edge of new clear and blending into old clear coat area. After clear coat hardens for 24 hours...compound and polish to complete the job 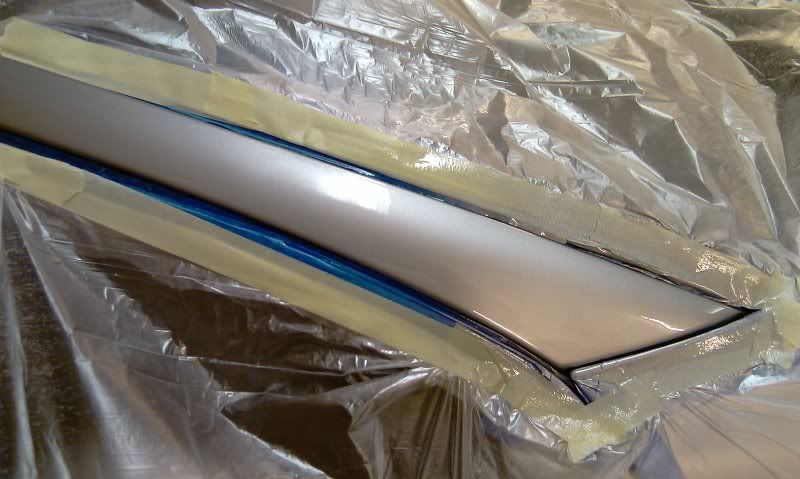
|
Posts in this topic
 Palmy Scratch repair Jan 18, 2011 - 9:57 AM
 CelicaHD2 To give you an idea visually...search on YouTube f... Jan 18, 2011 - 11:50 AM CelicaHD2 1. Using 80 Grit sandpaper and feather surrounding... Jan 18, 2011 - 12:23 PM CelicaHD2 It's usually best to leave it a couple of days... Jan 18, 2011 - 12:35 PM Palmy CelicaHD2... wow! Thanks so much for the aweso... Jan 18, 2011 - 1:55 PM
 CelicaHD2 Go for it don't be shy... Jan 18, 2011 - 3:18 PM
 |
1 User(s) are reading this topic (1 Guests and 0 Anonymous Users)
0 Members:
| Lo-Fi Version | Time is now: June 14th, 2026 - 9:11 AM |