
 Oct 28, 2011 - 9:43 PM Oct 28, 2011 - 9:43 PM
|
 
|
 Moderator  Joined Nov 5, '07 From New Zealand Currently Offline Reputation: 3 (100%) |
Intro:
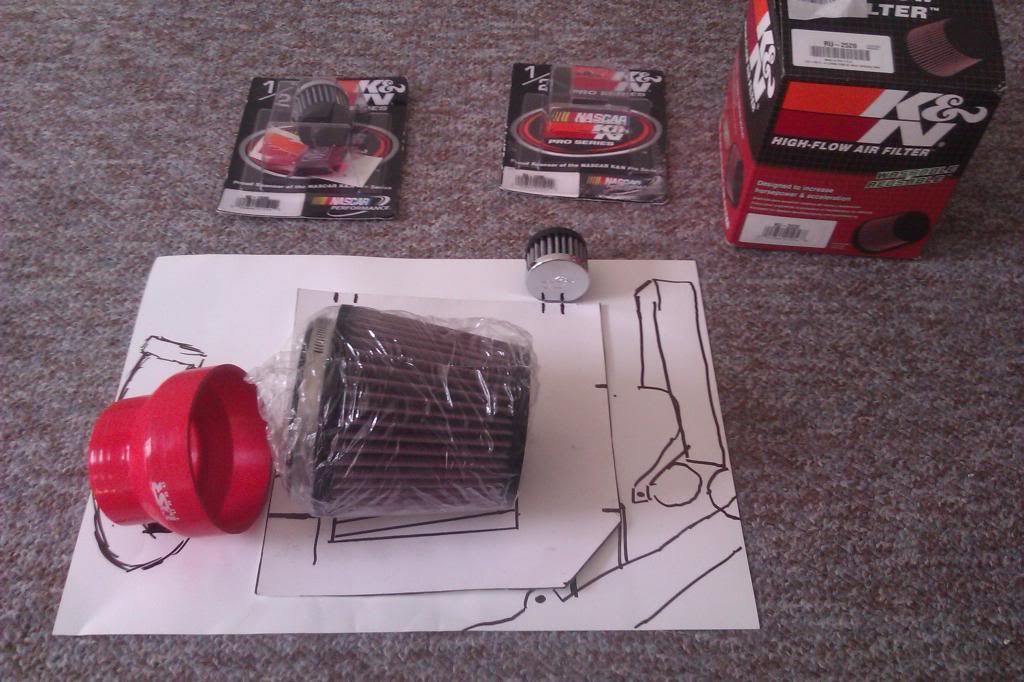
What is a Cold Airbox? Is an air intake box that sits in the engine bay, drawing colder air into the intake system, and preventing the higher engine bay temperatures contaminating the incoming air. A heatshield is also another similar example, this sections off an area of the engine bay. Why? Local laws may require you don't to have a visible airfilter showing in the engine bay. Something different to the normal 'short ram intake' or the 'cold air intake pipes.' Tidies up the engine bay, looks cool and show off your fabrication skills. Relatively cheap to make (depending design, materials and tools you have) pros: Effectively feeds colder air in, less fear of hydrolocking, looks sexy/cool in the engine bay. cons: Requires a bit of time/effort/skill. Could starve the intake if not done right. Designing: When designing you airbox, ensure you have the biggest possible air duct into the airbox. The reason for this is to avoid having a great airbox and a decent filter and not having enough air flow to keep up resulting in a starved/strangled intake. Use flexible hose to feed the filter cold air Possible cold air feed areas
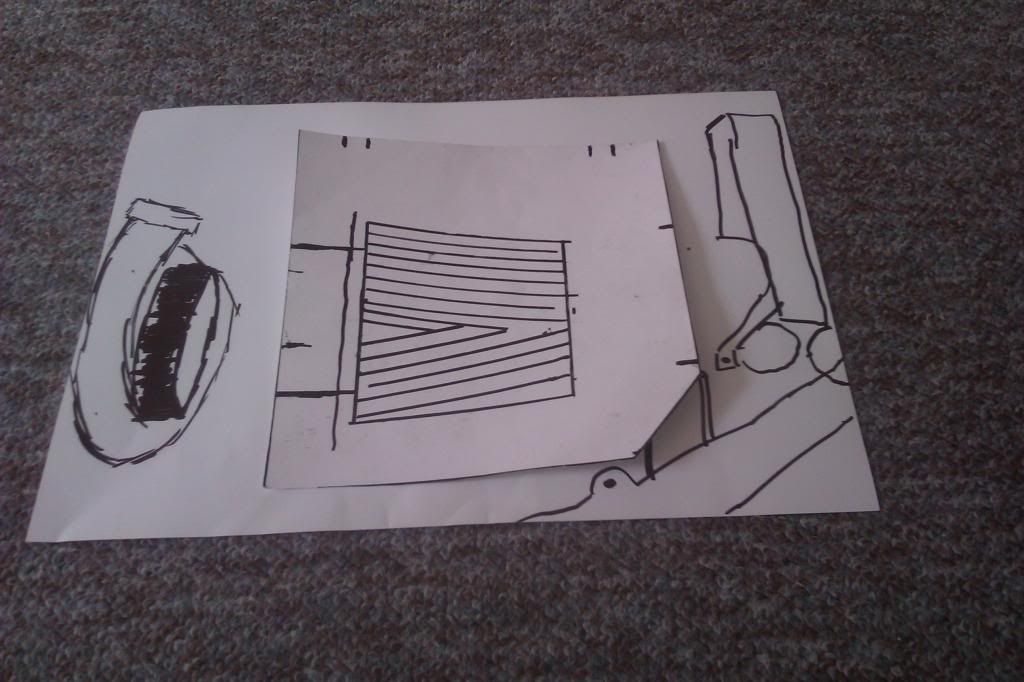
Building: Where the factory airbox was, there is a bit of space to work with, not a great deal. You can relocate the battery (or the overflow bottle, turbo setup) for some extra space. But there are other things such as the loom, the fusebox, fuel filter, engine/gearbox mount, slope of the hood etc, which can get in the way. I suggest start building one out of cardboard to get an idea of what dimensions you want, that way you can quickly change it and its easier to work with and cheaper too. Start with the bottom/floor of the box, make sure its level, add spacers/leveler's underneath if needed. Then next are the walls. You can follow the gradient/slope of the fusebox so you'll have clearance with the hood. If you're after more height dust the top of the walls with chalk and then close the hood and then see if any chalk appears on the hood lining, trim as required, but allow a bit of space for any vibration/movement. With my airbox it goes right where the fuel filter is mounted. Now without moving the filter, I made a hole in the airbox and then sealed it again with an eyelid over the hole so it doesn't hit the filter. There are a few unused/used bolt holes where the factory airbox used to sit, that we can use to mount our new airbox with. This should stop any rattling. If you do get rattling where the intake pipe enters the airbox, cut a piece of rubber hose and put around the hole. A Hump silicone joiner on the throttle body should help absorb any movement/vibration from the engine. When you decide to build the real thing out of aluminium sheetmetal, choose a good thickness, I went with 1.6mm/ 0.062" thickness, you can go a bit thicker/thinner if you wanted to (depending how you are joining it together) though anything too thin could flex and deform. If your adding a lid, weld some small tabs to the top corners, drill a hole in each and use a 'Tap' to put some threading in them. Joining it all together is best done with a welder, either an ACDC Tig or Mig setup for aluminium welding. If you don't have access to any of these you could try bending them or using poprivet gun. Personalising:
Here is an example of one of my prototypes 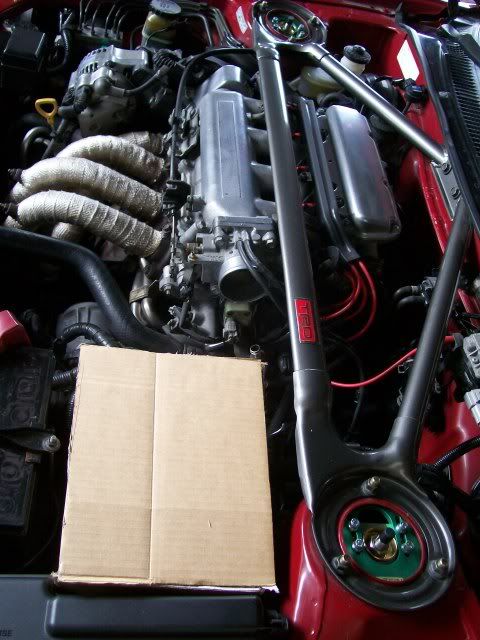 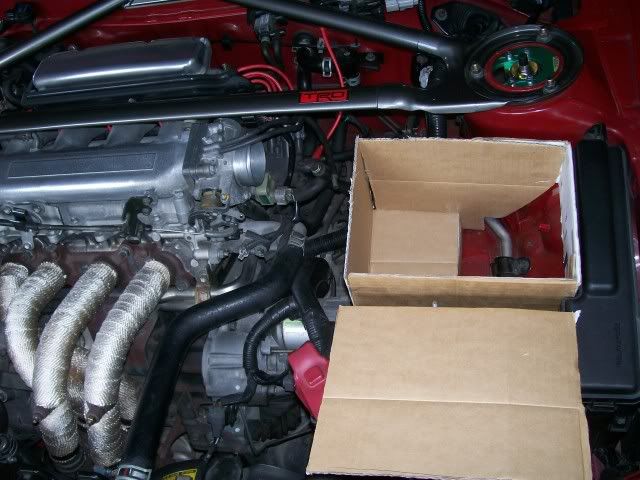 My last design. The one I chose to make out of sheet metal and you can see how it came together. 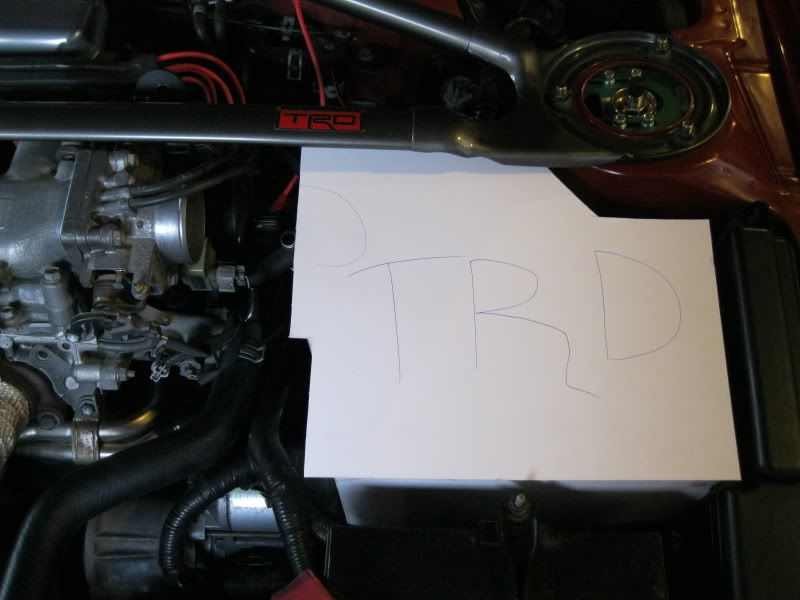 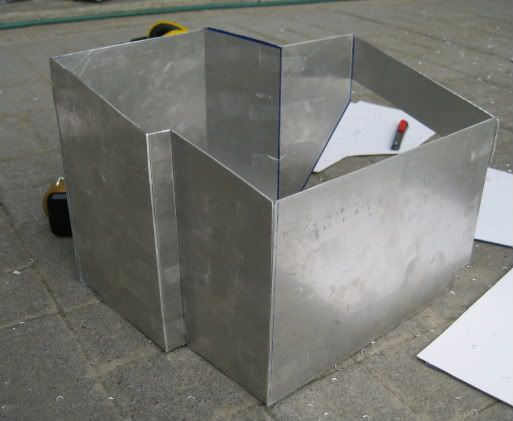 The spacers/levelers 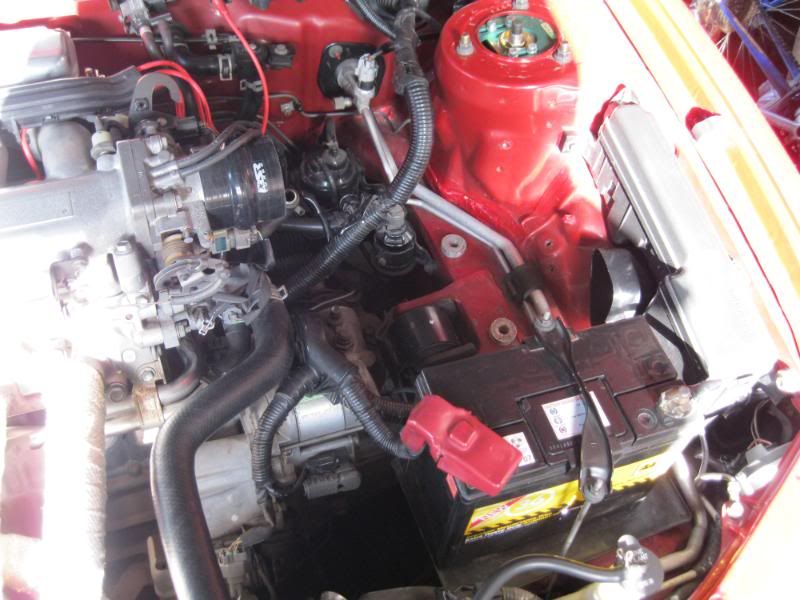 floor and walls 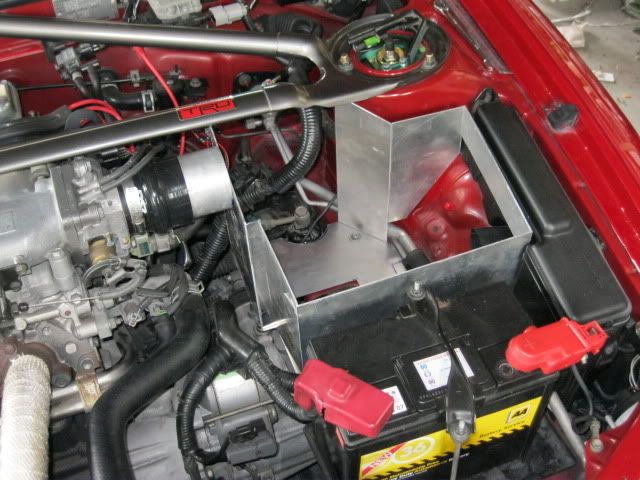 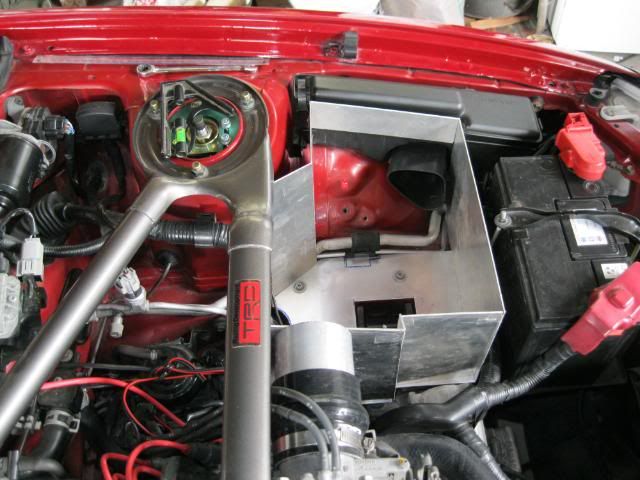 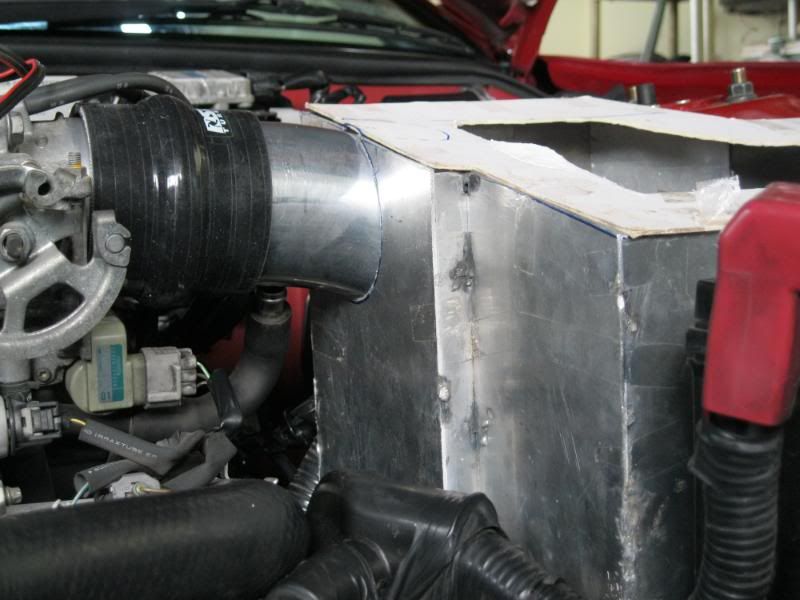 The hole for the fuel filter 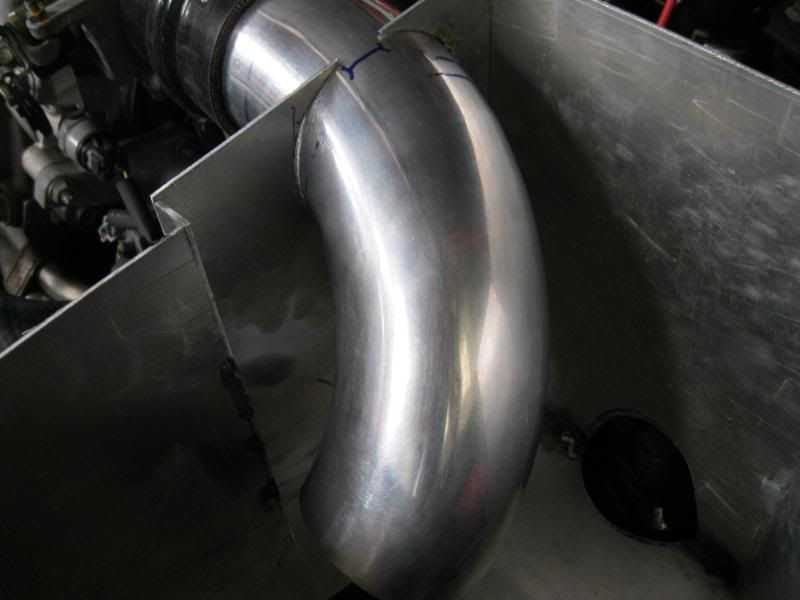 the eyelid that covers the hole 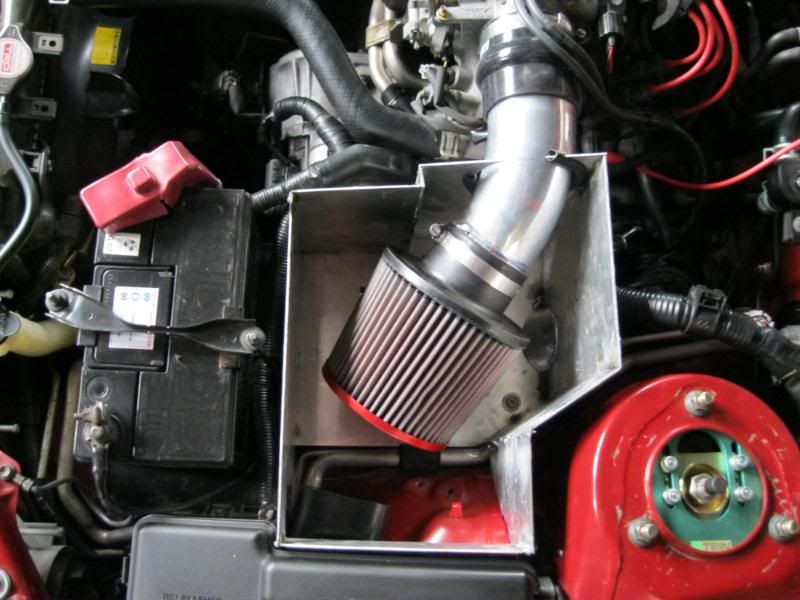 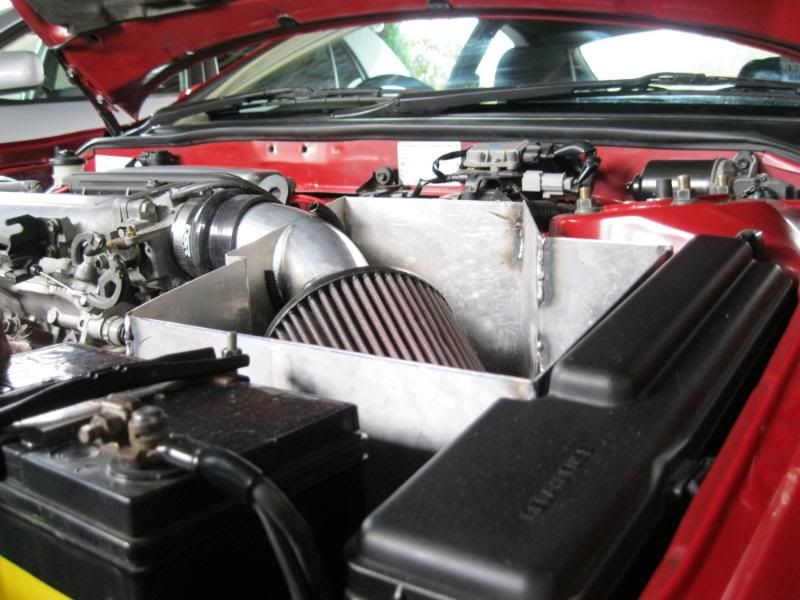  welds then grinded down, nice and smooth. The final product. Carbon fibre vinyl & polished lid with TRD sticker. 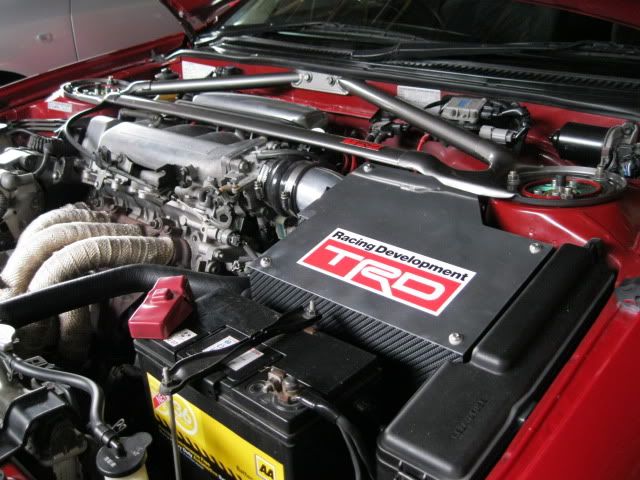 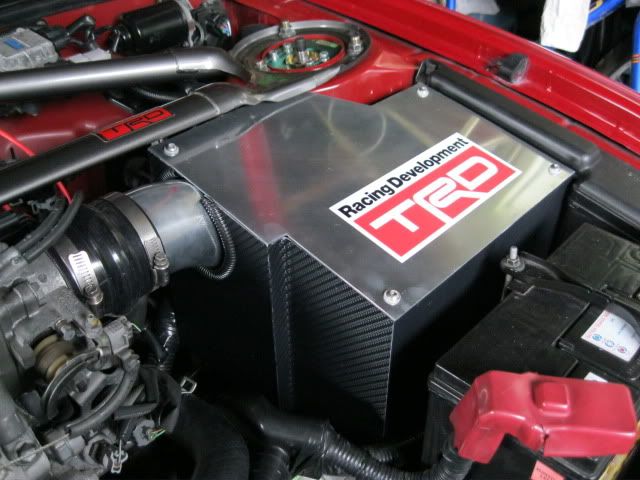 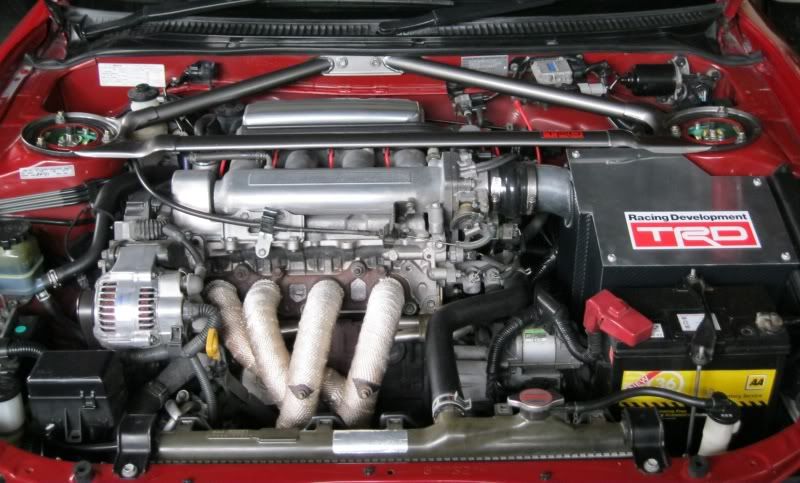 examples of other Members airboxes TRDGT4  Timmyface  Cuts_the_Pilot 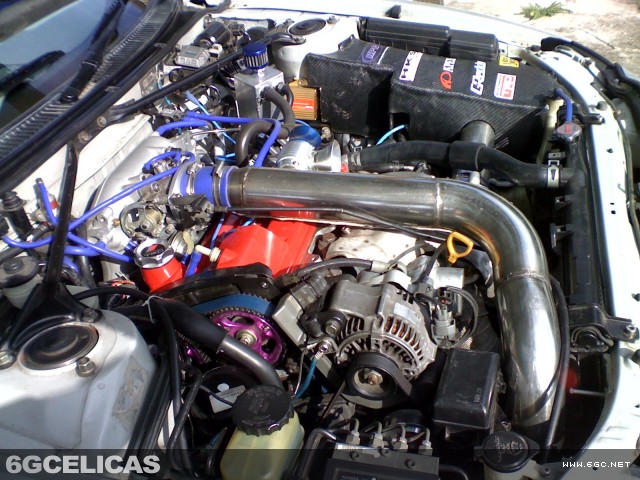 onnaj    (pm me your airbox and I'll add it) -------------------- |

 |
Replies
(1 - 7)
|
Oct 28, 2011 - 10:02 PM
|
|
 Enthusiast Joined May 31, '11 From Rochester, NY Currently Offline Reputation: 5 (100%) |
I've been thinking about doing this myself. Especially since there is so much bad weather here. I've gotten so much crap thrown up into my SRAI, this'll protect against that as well.
-------------------- 1994 Toyota Celica GT-S 5S-FE 190k Miles. Project car 1992 Toyota Celica GT 5S-FE 170k Miles. Daily driver/beater 1999 Toyota Camry LE 5S-FE 216K Miles. RIP You will be missed.  *ASE Certified General Manager |
|
Oct 30, 2011 - 7:48 PM
|
|
|
Enthusiast Joined Oct 30, '11 Currently Offline Reputation: 0 (0%) |
Wow those all looks amazing! One of these will definitely be on my projects list
|
|
Nov 1, 2011 - 12:37 AM
|
|
|
Enthusiast Joined Aug 29, '08 From Auckland, New Zealand Currently Offline Reputation: 0 (0%) |
Very impressive Rusty, the finished product looks like something Genuine trd
 . I will be certainly giving this a go sooner or later, something I have also always wanted to do, especially after feeling the SRI pipe after a drive, hot to the touch. . I will be certainly giving this a go sooner or later, something I have also always wanted to do, especially after feeling the SRI pipe after a drive, hot to the touch.
|
|
Nov 1, 2011 - 2:26 AM
|
|
|
Moderator Joined Nov 5, '07 From New Zealand Currently Offline Reputation: 3 (100%) |
Yeah definitely go for it guys, I had a lot of fun designing & building mine.
Well it is genuine trd sticker  How hot is your intake manifold also? Mine feels noticeably cooler/ less heat soak after installing this How hot is your intake manifold also? Mine feels noticeably cooler/ less heat soak after installing this-------------------- |
|
Mar 17, 2013 - 10:53 PM
|
|
|
Moderator Joined Nov 5, '07 From New Zealand Currently Offline Reputation: 3 (100%) |
updated with onnaj's airbox nice work

-------------------- |
|
Mar 18, 2013 - 11:39 AM
|
|
 Enthusiast Joined Feb 11, '08 From Auckland, New Zealand Currently Offline Reputation: 0 (0%) |
1 CAI coming up
This post has been edited by delusionz: Mar 21, 2013 - 10:19 PM -------------------- Mike W
1996 Toyota Celica ST205 GT-FOUR GT2860RS turbine, TiAL mvr44, JE 86.5φ piston, Clutchmasters FX400, APEX P-FC 269awhp / 273ft-lbs |
|
Apr 1, 2014 - 2:35 PM
|
|
|
Enthusiast Joined Oct 25, '11 From Tbilisi Currently Offline Reputation: 3 (100%) |
Very helpful guide.
I'm gonna make an airbox soon. -------------------- |
 |
1 User(s) are reading this topic (1 Guests and 0 Anonymous Users)
0 Members:
| Lo-Fi Version | Time is now: May 9th, 2024 - 5:58 AM |