Changing Climate Control Light Color
| Author: | Coomer |
| Approximate Time: | 1 Day |
| Required Tools: | Spray paint Masking tape Screwdriver |
If you wish to change the color of your stock climate control from green to a different color, you can follow the instructions below.
 First off, you need to get the climate control box out of the car. The first step is to remove the panel that surrounds the shifter. This panel simply pulls out and is held in by four clips.
Once that panel is off, you'll need to remove the panel that is directly above it. First remove the two screws from the bottom of the panel, and then pull the panel out. It is held in by a few clips, and is attached to two harnesses near the top. These will need to be unclipped before you can remove the panel.
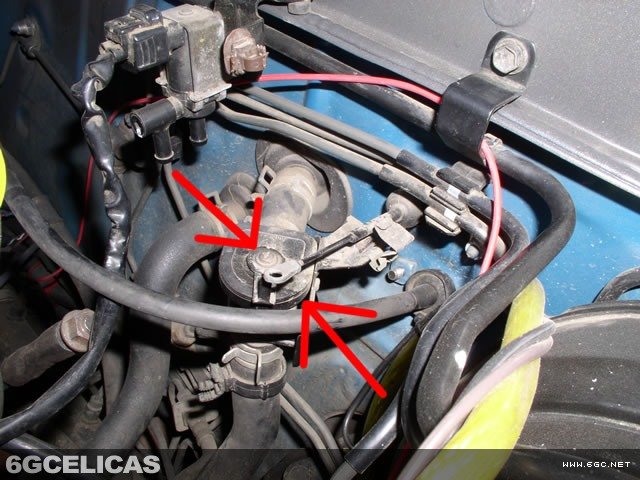
Once the panels are removed, you must remove the cables from the car. The first cable, which is blue, is to the right of your gas pedal. You simply pull the cable out of the little snap, and then pinch the top of the pin that the cable end is attached to, and slide the cable end up and off of the pin. The second cable is black and the end of it is located inside your engine bay, near the top of the driver's side of the firewall. You simply undo the clip, and then the cable will come off of the top of the pin.
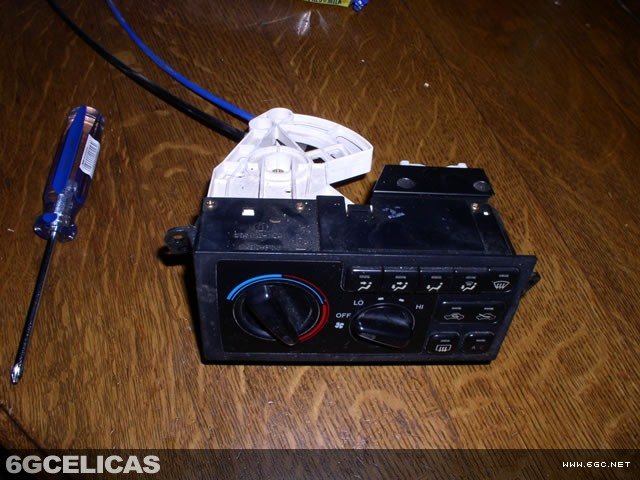
Once the cables are off, you can remove the climate control unit from the car. You simply remove the remaining two screws that hold it in, and then unplug the three harnesses from the back of the unit, and it pulls out of the car, with the cables attached to it.
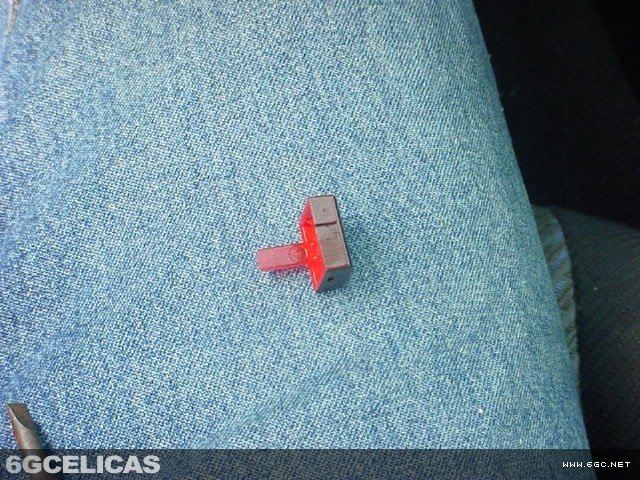
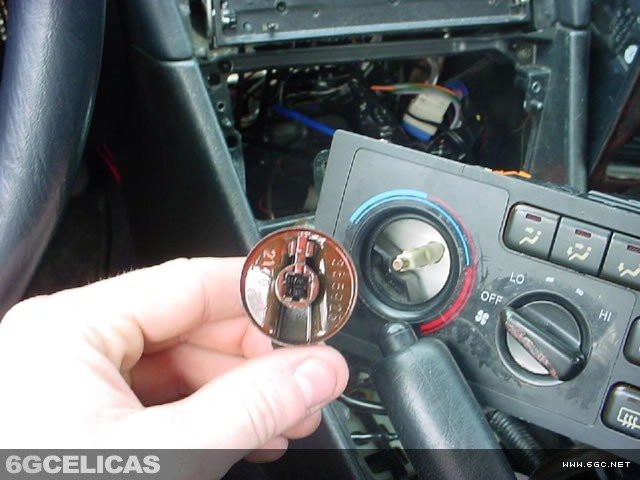
Once the unit is out of the car, the first step is to remove the blue piece that is the switch for the rear window defroster. This simply snaps into place, so if you bend the tab back a bit, then this piece will slide out of the unit.
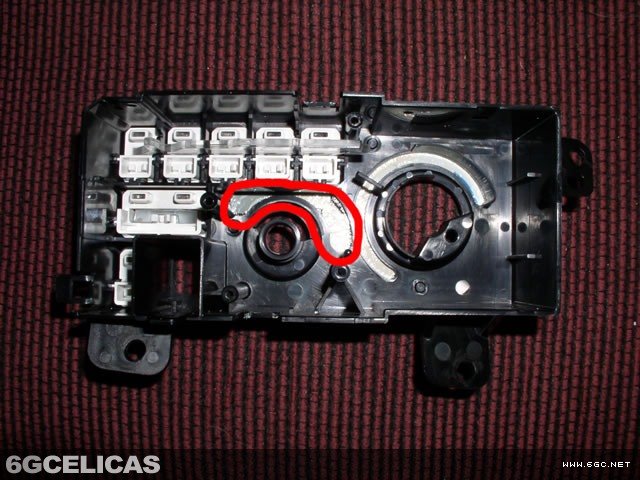
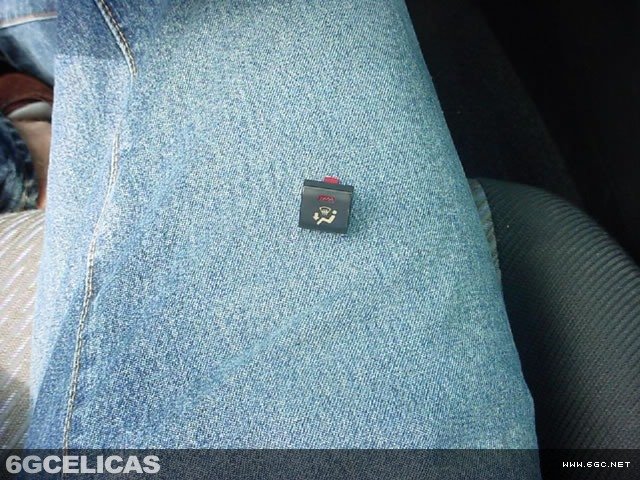
 Next, you'll want to pull the rest of the climate control unit apart. There are a few locking notches, and quite a few small screws that all need to be removed to get the unit apart. One you get the unit apart and have the knobs removed, you need to pull all of the buttons out of the front part of the unit. This is easy to do if you've got a small philips head screwdriver.
Once everything is apart, you'll want to mask off the black outside of the buttons and the knobs, and then you'll want to lightly paint the backs of the buttons, including the light reflectors that stick out, and the clear area on the knobs, and the flat area on the back of the front of the unit where the fan speed indicators are.
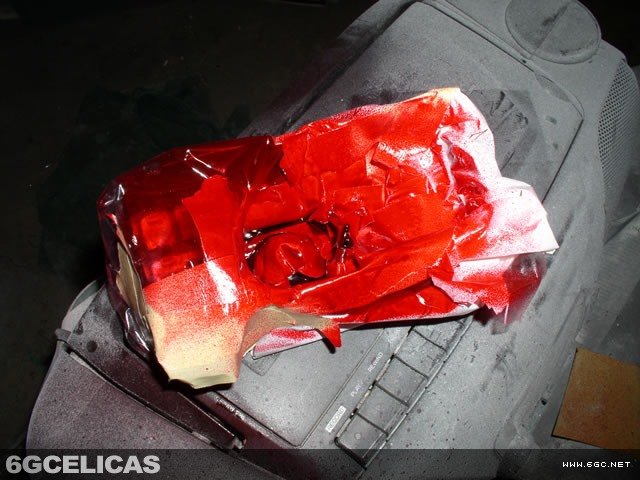 Apply two light coats of paint, and allow for the paint to dry.
Once the paint is dry, carefully re-assemble everything and put the unit back in the car. When putting the unit back into the car, you'll need to guide the black cable into the white tube, and guide the blue cable into the correct area yourself. Plug in the three harnesses, and enjoy your new lights.
If by chance you burn out or damage the small light bulbs inside the unit, you'll need to get new bulbs from your Toyota dealer. The part number is 84999-70007, and the entire unit uses three of them.
More Photos