Installing 8" Subwoofers in the Front Doors
| Author: | aaronc222 |
| Approximate Time: | 4 Hours |
| Required Tools: | Phillips screwdriver Dremel Coat hanger Wire cutters/strippers Butt connectors/soldering iron Speaker wire (at least 14 gauge) |
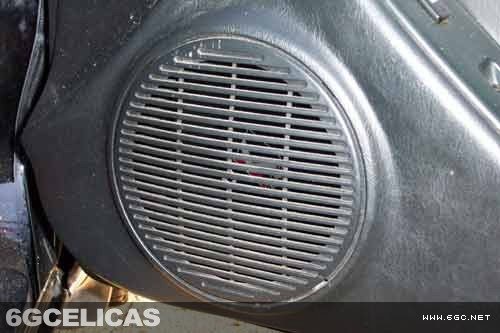
This is a fairly straight-forward install. The stock speakers in the front door in Celicas with factory power options are 6.5" speakers with metal rings to make them fit in an 8" space. All that's required is removing the metal/plastic to make room for the speaker magnet. In Celicas without factory power options, this is not the case and more fabrication and cutting may be required to get 8" subwoofers to fit.
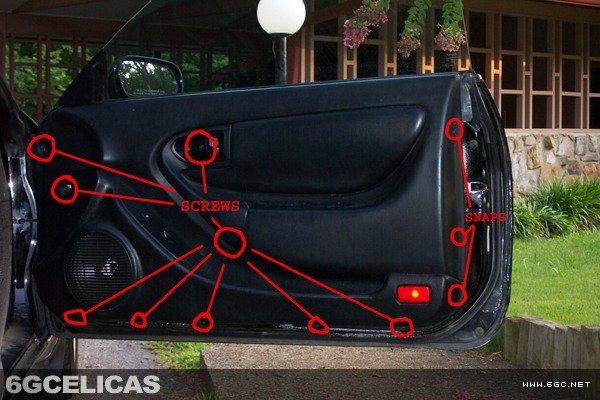 First, you will want to remove the door panel. This is where the screwdriver comes in handy, a power screwdriver will work wonders in this step. There are three snaps at the back of the door that need to be pressed in in the middle and then pulled out. Remove the screw by the handle and pull the plastic piece out to reveal another screw behind it. Then proceed to remove the screws along the bottom and front side of the door, as well as the two larger screws in the middle. As you are pulling the panel off after removing the screws, be sure to disconnect the light in the rear of the door if you've got one and the harnesses for power options if you have them. This will need to be done before the panel can be fully removed.
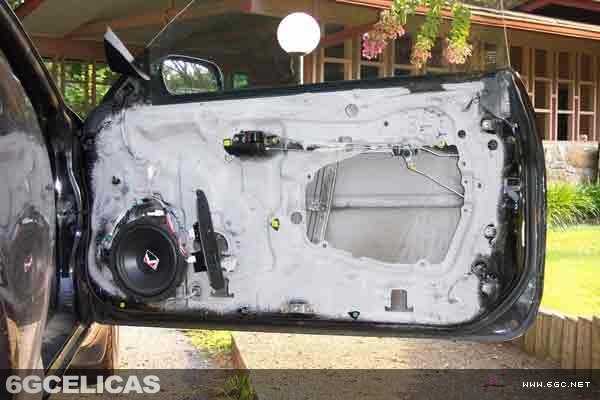
Next, you want to remove the old speaker. Four screws is all it takes here. Remember to unclip the plug for the speaker before you remove the screws.
Next up is the fun part: the cutting. This step will depend upon your speaker selection, but is generally the same for all applications. The stock hole will need to be widened quite a bit in order to fit a subwoofer. Be sure to check fitment from time to time so that you don't cut too much away.
Once the metal and plastic are cut, you will need heavier-duty speaker wire to power those new subs. Using the coat hanger to guide it, push the wire through the rubber tube that holds the stock wiring in place. This may take several tries, so be patient.
 Once the wire is through, route it to your amp. Since this step will be different for a lot of people, I will let you figure it out on your own. I ran my wire under the door sills, but there are other ways to run the wire such as under the carpet.
Now that you have a proper hole to fit your new sub and wire to carry the signal, all that's left is hooking the wire to the sub and placing it in the door.
Check that the subs work, and then screw them in place. You may have to fabricate some sort of rings to push the subwoofer out, so that the magnet doesn't hit the window when rolled down. Put the door panel on in the reverse order that it came off (wiring first, then screws.)
You now have plenty of bass up front for just about any genre of music you like at less weight than any box. You may want to sound-deaden your doors to prevent rattles and keep more bass inside the car. Enjoy!
More Photos