Making Your Own Clear Sidemarkers
| Author: | Defgeph |
| Approximate Time: | 45 Minutes |
| Required Tools: | Dremel tool Flathead screwdriver Hot glue gun and glue or epoxy/silicone Pre-cut plexiglass |
 Sick of your amber factory sidemarkers? Follow this how-to article and you'll soon be sporting some custom clear sidemarkers.
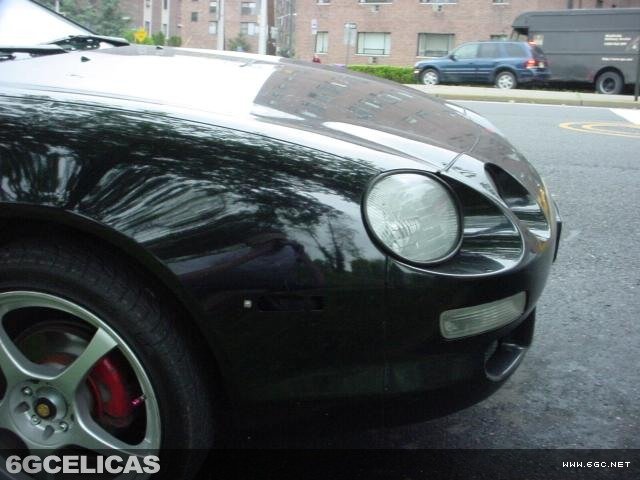
First, you need to remove your sidemarker lights, which are held in only by one screw on each side.
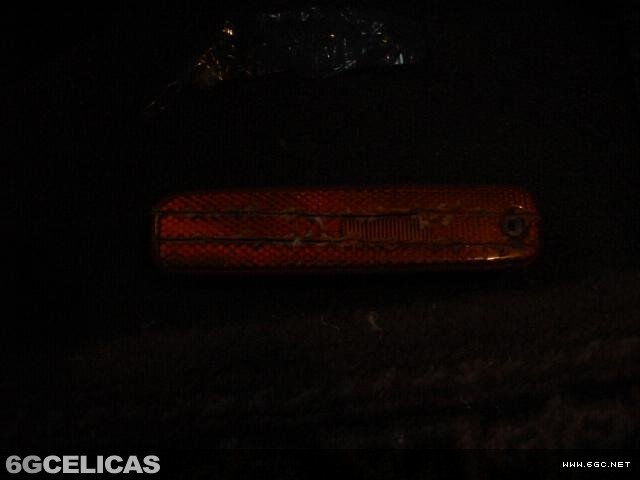
Once the lights are off of the car, use your dremel to cut two lines across the lense, as shown in the picture. Be careful not to cut the plastic housing.
Now you need to break out the lense with your flathead screwdriver.
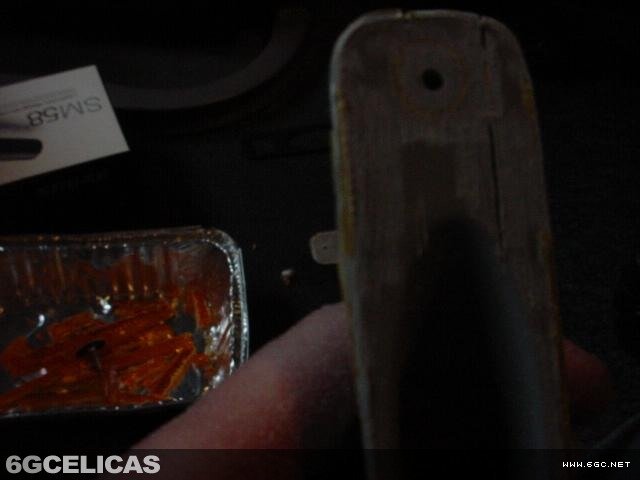
Use your Dremel with the sanding tip to sand down the inside of the housing once the orange plastic is broken off. Also, be sure to sand down the screw hole flush with the housing.
Make sure your housing is completely flat, as shown in the picture.
The next few steps require plexiglass. I got my plexiglass from a glass shop. They took my original lense and traced around it. They also cut it out for me as well.
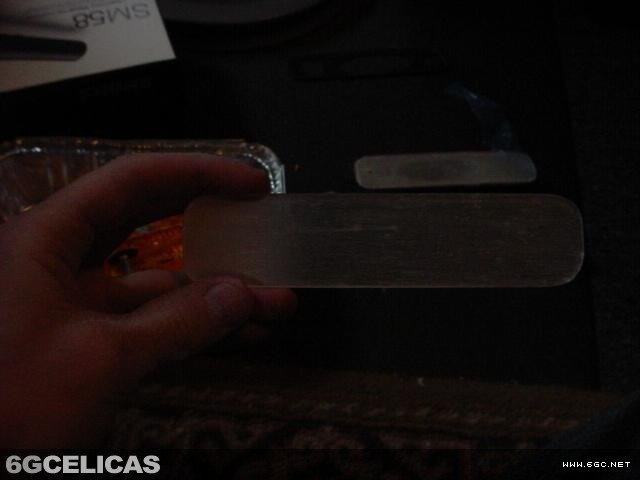
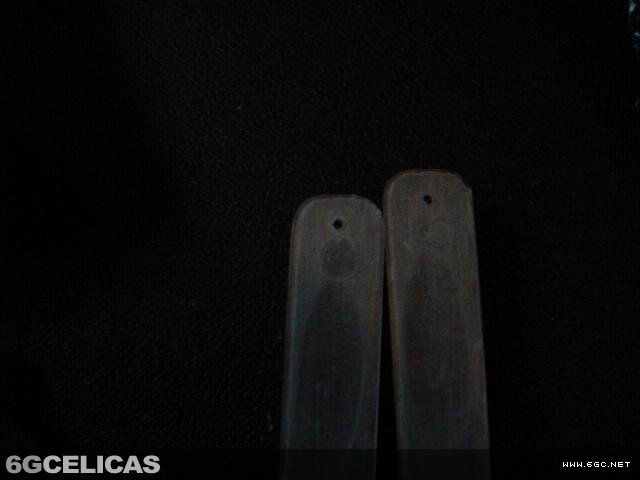
Sand down one side on each piece of plexiglass. Sand it just enough so that you can barely see through it, as shown in the picture. You don't have to do this step if you want completely clear "euro-style" sidemarkers.
Now you need to warm up the hot glue gun or prepare your silicone glue, clear epoxy, or whatever you decide to use
Put two small spots of glue on each lense, using more towards the side without the screw hole.
Now, line up the lense to the housing, so that you have a little overlapping plexiglass on each side of the housing, as shown in the picture.
Quickly press the plexiglass lense and the light housing together, because the glue dries very quickly.
Now slowly drill a hole for the screw on each lense. If you drill slowly, you won't crack the plexiglass
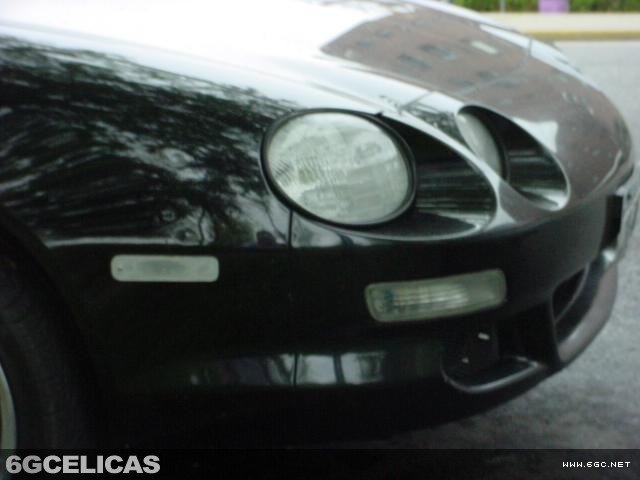
Wait about 10 minutes and put your new clear sidemarker lights back on.
Pop in whatever color bulbs you want. The bulb type is 194.
Smile! Your car looks good and you just saved yourself a bunch of money.
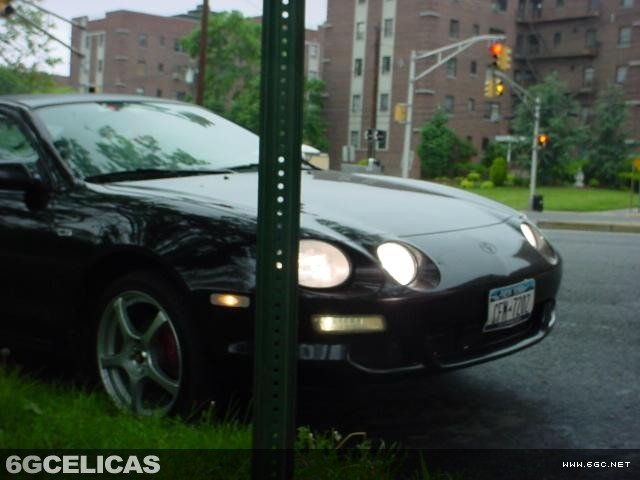
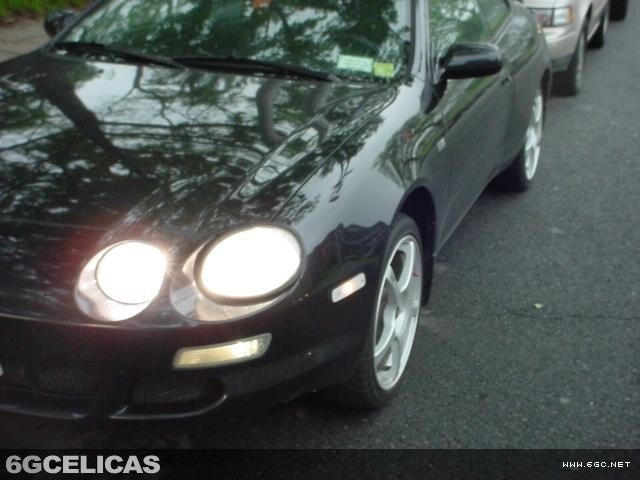
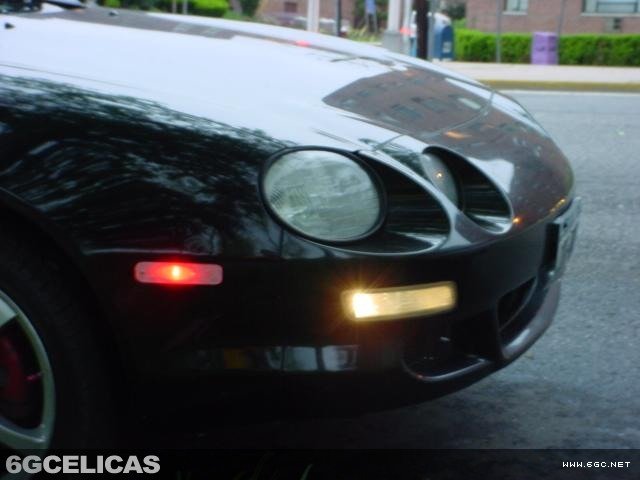
More Photos