Making Your Own Clear Tail Lights
| Author: | Phat_99CeliGT |
| Approximate Time: | 2 Days |
| Required Tools: | 10mm socket and ratchet 1 tube of outdoor clear silicone glue Clamps Hammer Chrome spray paint 1 sheet of office lighting material |
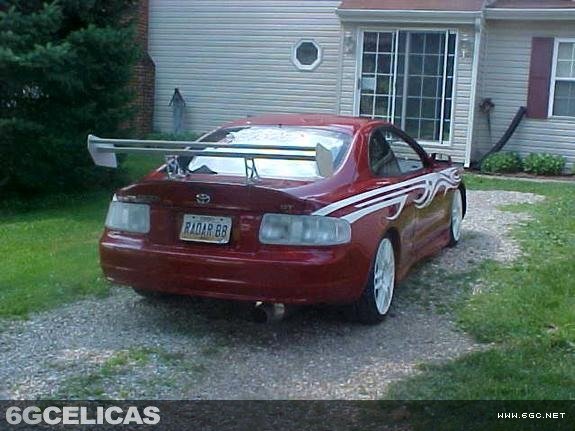
 Since the North American aftermarket doesn't provide clear tail-lights or even altezza-style tail-lights for our cars, you may want to make your tail-lights clear. These instructions are for a hatchback, but should work with a coupe or convertible as well.
First you have to remove your tail-lights. There should be three nuts on the inside of the hatch. Use your 10mm socket to remove them.
When the tail-lights are off of your car carefully break out all red and yellow plastic stuff. I used a hand sander to sand down all of the rough edges and to make sure all of the edges are flush with the tail.
Take your chrome spray paint and paint the inner tail-light with about 4 or 5 coats, waiting between each coat. Let the paint dry completely.
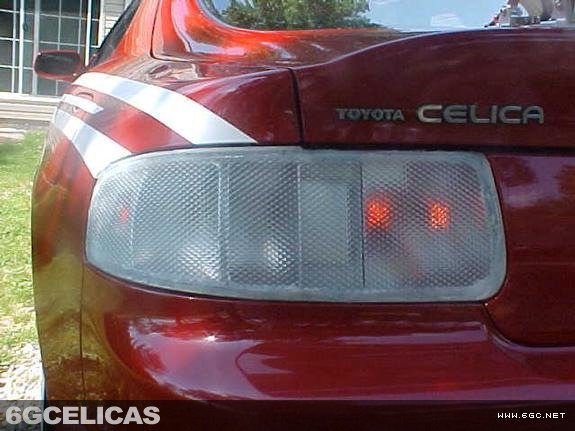
When the tail-light assembly is dry, take some paper and trace the outline of the tail so u can cut it out on the lighting material. Once traced, cut it out of the lighting material with something that will cut. I used a soldering iron, but you can us what you want to. Be careful when working with the lighting material because it will crack and break very easily when you're cutting it.
 Do a dry fit to make sure the material is cut right and will look right in the car. Once that is done you can start gluing the material to the tail-light assembly.
To glue it, use the silicone and run a beed of glue around the edge of the tail-light assembly. Place the office material on the tail-light and use the clamps to secure it to the tail-light. Let it dry overnight.
Check on it the next day and if it is dry then you can paint the edge to cover the glue up. Then once the paint is dry, put the tail-lights back in your car and enjoy!