Making a Custom Short Shifter
| Author: | mywhite94celicagt |
| Approximate Time: | 3 Hours |
| Required Tools: | Drill with bit Dremel tool Welder or quick steel Grinder or hacksaw Hammer Punch |
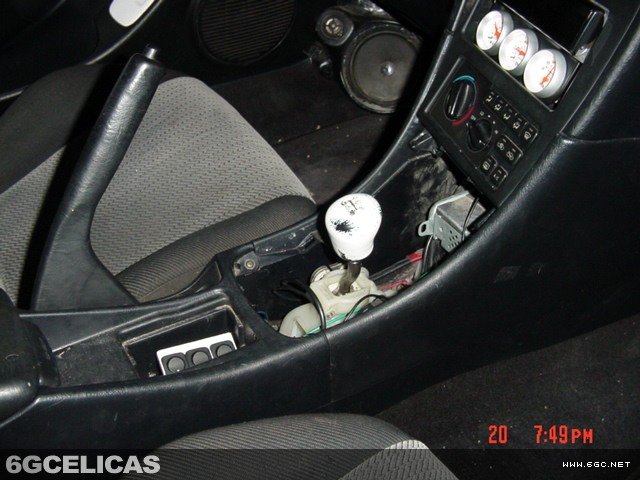 First, you need to remove your stock shifter assembly. First, you need to remove a couple interior pieces. The shift knob will need to be removed, so simply twist this knob counter-clockwise and it will come loose, and then it simply spins for a while and will eventually come off. Next, remove the trim piece which contains the shift boot. To do this, simply pull up on the back of it and then on the front of it, and it should pop out of the clips. You'll also need to remove your center console. To do this, first remove the two screws near the front of the console, and then remove the two 12mm bolts that are inside the compartment in the console, underneath the carpet sort of thing. There is a wiring harness that connects to the light for the change holder that will need to be disconnected once you pull the console up a little bit, and then the whole center console comes out of the car. Once the center console is out, you'll have some access to the original shifter mechanism.
To give yourself the room needed to get the original shifter out, you'll need to remove the two screws that are on the sides of the black panels that are next to the shifter(knee panels). These screws are kind of tough to get to because they're so close to the seats, but if you try at it you'll be able to get a screwdriver in there to take those screws out. Also, I found that it was much, much easier to take the original shifter out after I cut the little plastic piece that connects the two knee panels with some strong wire cutters. That piece doesn't provide any support for the knee panels anyways, because once the center console is back in, it is screwed to each knee panel, giving them all the support they need. You should see a yellow wire loom that connects to an air bag control unit. You'll need to disconnect the wire loom harness from the silver air bag control unit, and then undo the clips that hold this yellow wire in, so that you can move it out of the way for when you're removing the stock shifter assembly later. You can remove the black clips by sticking a flat head screwdriver in there and kind of manuvering it around until you're able to pull the clip apart. For all the clips that are connected to the original shifter assembly, you'll need to simply pull hard on these until they pop out.
Prior to doing this next step, I'd advise putting your car into neutral(Make sure your car is off, since your air bag sensor is disconnected and you don't want your air bags to deploy). This makes it easier to access the shifter clips and makes it easier to get the shifter out of the car. Once you've got room to work on your shifter, you need to remove the four 12mm bolts that hold the short shifter into the chassis of the car. A socket extension was very helpful for this step. After removal of the four bolts, there are two metal pieces that slide into place to hold the shift linkage cables in place(Marked in third photo) that need to be removed. To remove these, I took some pliers and gripped these parts with them, and then I pulled up as I pulled side to side to get the metal pieces out of there. This step requires some force, and you may not believe that those pieces come out, but they do come out if you use enough force.
After removing the two metal pieces that hold the shift linkage cables in place, I proceeded to remove the clips that hold the shifter assembly to the shift linkage cables. One of these clips is to the left side of the shifter arm, and it simply pops off, and then the shift linkage cable will slide off. The other clip is harder to pop off, and it sits at the end of the shifter lever, in the middle of the shifter assembly. To remove this clip, you need to move both sides of it until you're able to pull the shifter ball at the end of the lever out of the cup that holds it in on the shift linkage cable. This is probably the hardest part of the whole project, and it takes some work, but it can indeed be done. Once both clips are removed, you should be able to work the original shifter assembly out of your car. This step will be much easier if you cut the plastic that holds the knee panels together earlier.
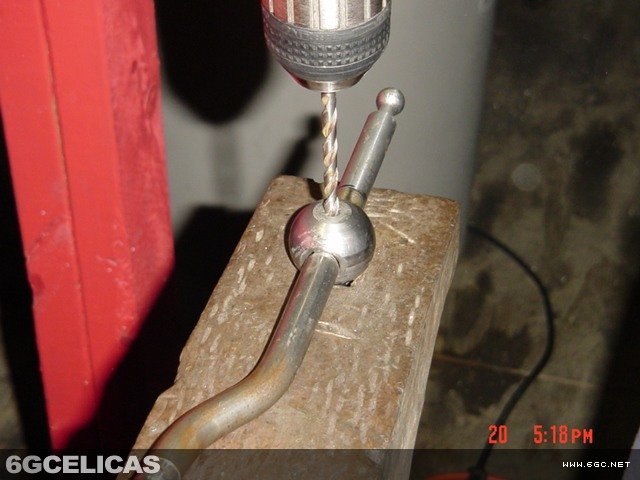
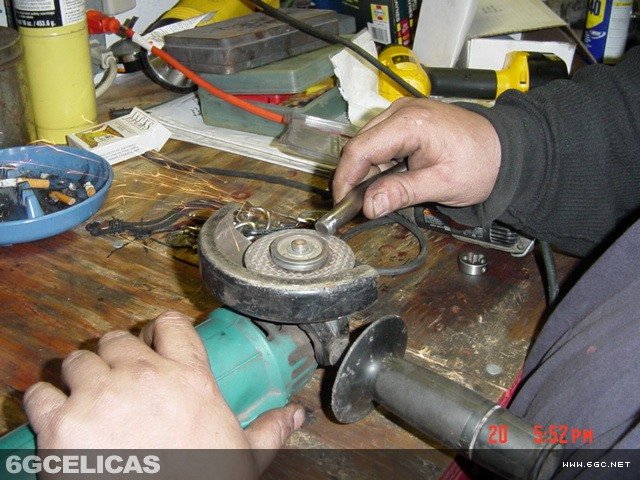
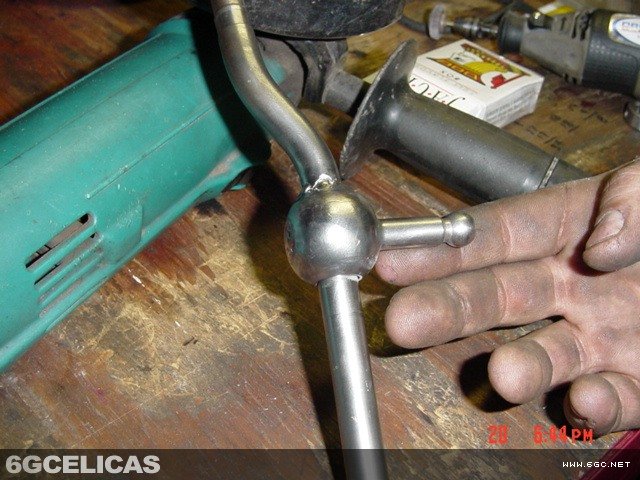
Once the shifter assembly is out of the car, take the metal shifter arm out of the assembly and place it into a vice, and then take your drill and drill out the pressed in pin on the side of your shifter as shown in the first photo
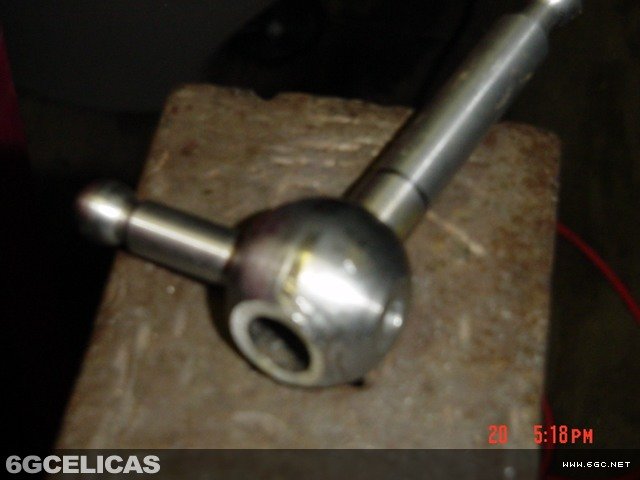
Take your favorite cutting tool, and cut the top of the shifter off. It will look like pic 2 when you're done.
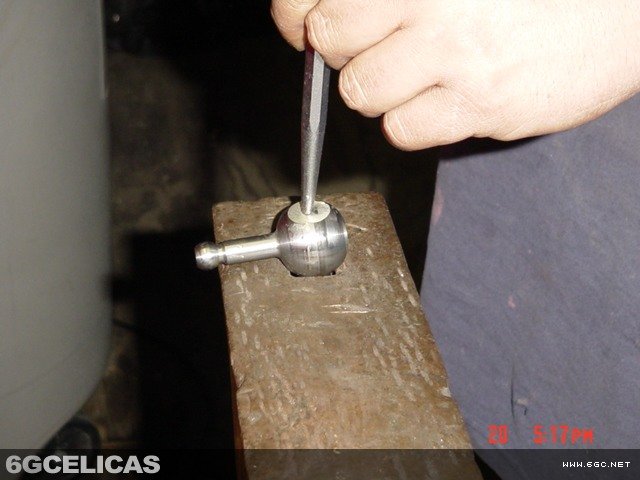
Maneuver the bottom of the shifter to where you can tap the bottom end down. Take a marker and draw a line around the bottom end of the ball so you can measure how far down you want to go. My mark can be seen in pic 4. Take a punch and hammer and tap in the center of the ball to push the bottom of the shifter downwards, as shown in pic 3. On my shifter, I went down to where the top end of the rod is in the middle of the hole that you drilled out in step 2. When you're done, it will look like pic 4.
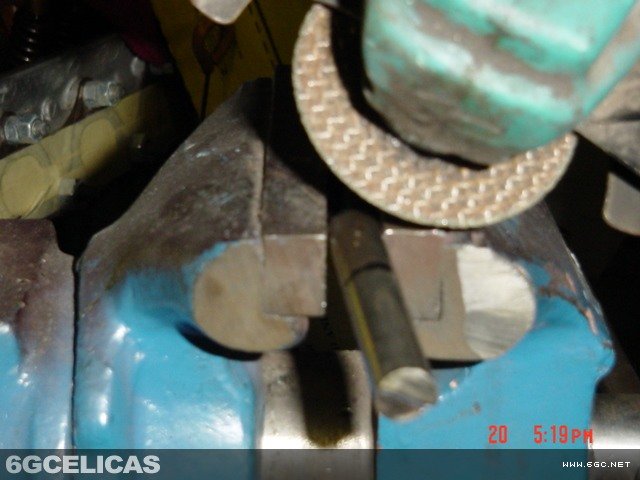
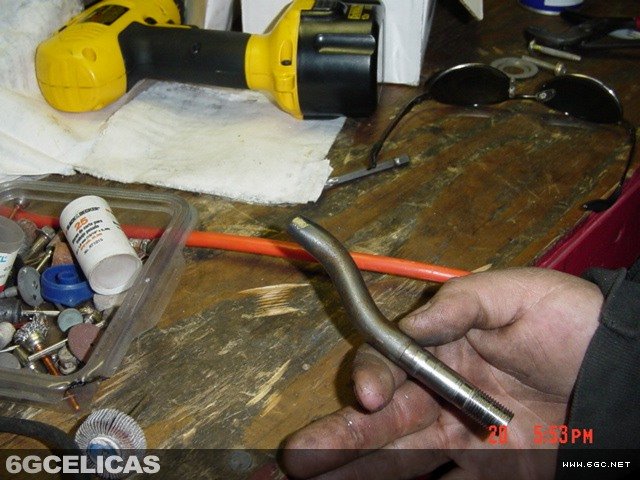
Now take the top part of the shifter and place it in a vice and measure approximately 1" down from the bend and mark all the way around the rod with a marker so you know where to cut, as shown in pic 5.
Now you need to cut with your cutting tool along the mark you made with the marker, as shown in pic 6.
Now take a break for a few minutes to let it cool down, so that you don't burn your fingers. If you're impatient, cold water can cool down the metal pretty quickly.
Take the top end that you just cut (the top end of the shifter), and taper the bottom end about 1/2", as shown in pic 7. This is an important step, because you will need to place the tapered end into the ball. It should look a bit like pic 8.
Take the tapered end and put it into the ball. The bend in the shifter goes to the right, or the opposite side of the vertical rod. It must go to the right, or you might not be able to shift because the e-brake will be in the way.
Tap down on top of the top piece to prevent it from moving while welding, or you can use quick steel. You must let it be completely set up and harden before using it.
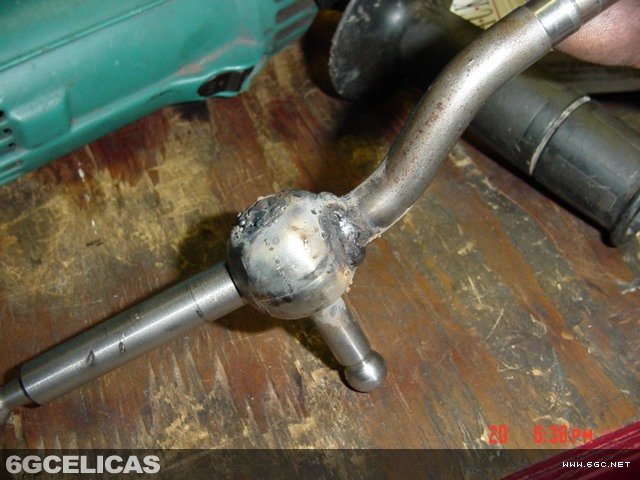
Weld the top piece to the ball around the edge and weld the hole you drilled, or use quick steel in place of welding, as shown in pic 9. Welding would be the stronger, better option in this case.
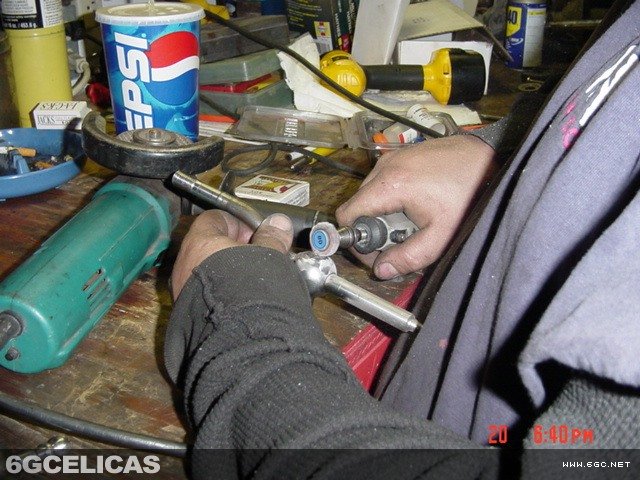
Take a dremel tool and clean up the ball and other areas that the weld has gotten on. The ball needs to be smooth so it doesn't bind while shifting. This process is shown in pic 10.
Once it is cleaned up, it should look like pic 11
Now you simply need to install the shifter back into the car. Pay attention to the bottom shift linkage. It may hit on the floor pan. If it does, don't worry. Just add a couple of washers, or however many you need, to the back two bolts holding your shifter brace to the floor pan. After installing the washers, you should be good to go. Enjoy your custom short shifter!
More Photos