Modifying JDM Projector Headlights for LHD Use
| Author: | Kadett |
| Approximate Time: | A few hours |
| Required Tools: | Philips-head Screwdriver Flat-head Screwdriver 10mm socket wrench 8 mm socket wrench Thinner (approx. 1 gallon) Drill Mounted metal grinder Very big pan 3mm drill bit 12 volt transformer (it's handy not essential) Side cutter Sheet of metal Brush Silicone/construction kit |
Okay, first off, I want to thank all of the guys from which i got all the info and courage to complete this mod for myself, and for others.
Step 1 - Opening the Headlight
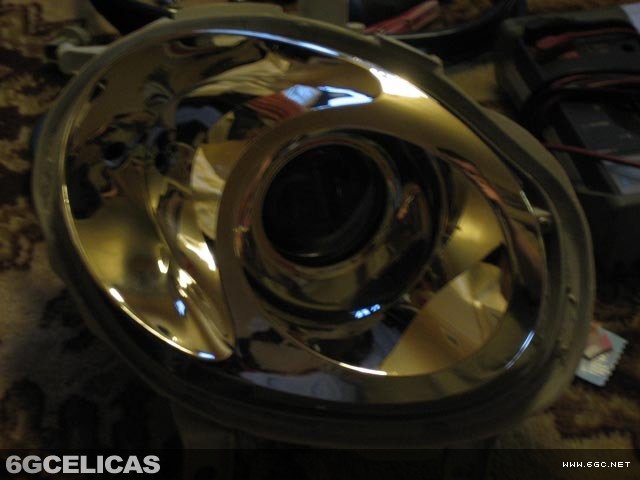
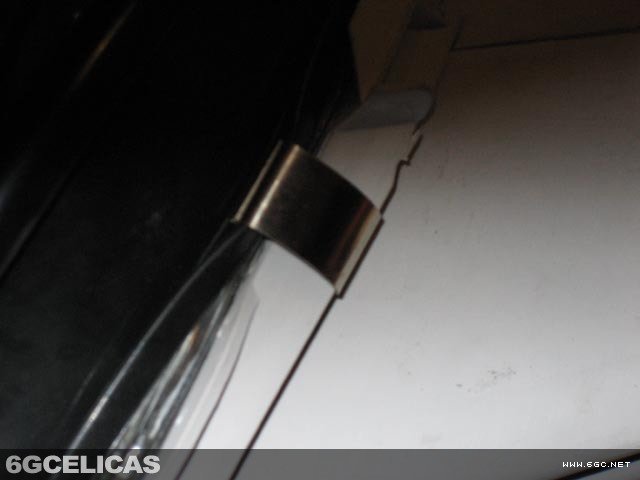 First unwrap your projector headlights from the box or remove them from the car. You will see that the outside is being held together by metal clips. Remove them by bending them with a flat screwdriver, raise plastic side first otherwise you may damage the glass. Remove the black rubber seal from the outside of the glass. Use gentle force to remove it. Your thumbs may hurt after this procedure.
Before you remove the glass (with the boiling method, look at the Angel Eye how-to article) remove the lights and rubber seal from the back of the lamp.
Step 2 - Removing the Projector
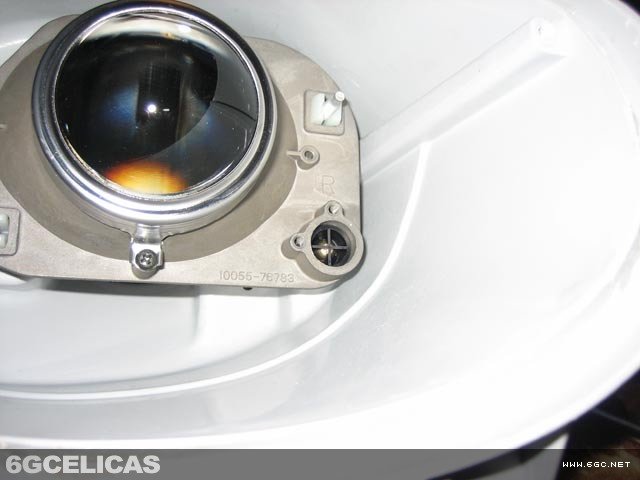
 When you have removed you glass from the lamp (picture 2) you will see two screws. Unscrew them and you will see the main problem, the projector itself. Before attempting to unscrew the projector by turning the adjustment rods on the back make sure you detach the ball joint in the black plastic piece.
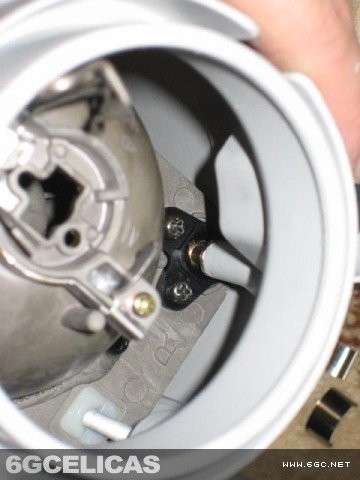
When you finally remove the projector from its housing, unscrew the plastic piece and balljoint from the housing and back on the projector. Then use a side cutter to whip out the ball joint. Put the balljoint back on the plastic housing using a 10mm Socket.
 Step 3 - Opening the Projector and Modification.
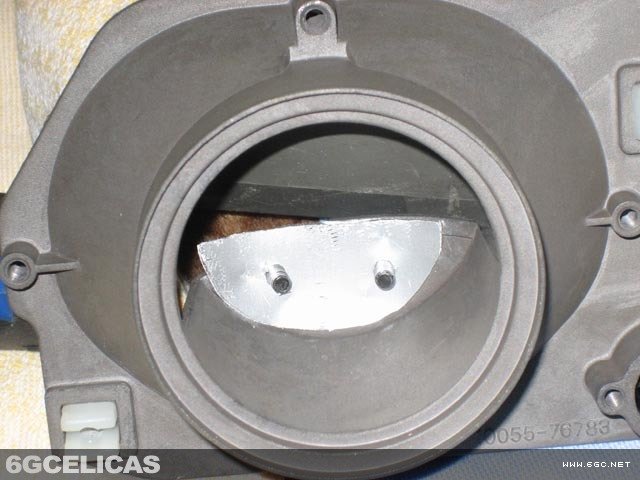
To open the projector you simply have to remove 2 screws from the back and 2 from the front. You will see a cut off part. You will have the make that completly horizontal like i did(pictures 5 and 6) or inclined upwords. I made it from a sheet of metal that is 1mm thick.
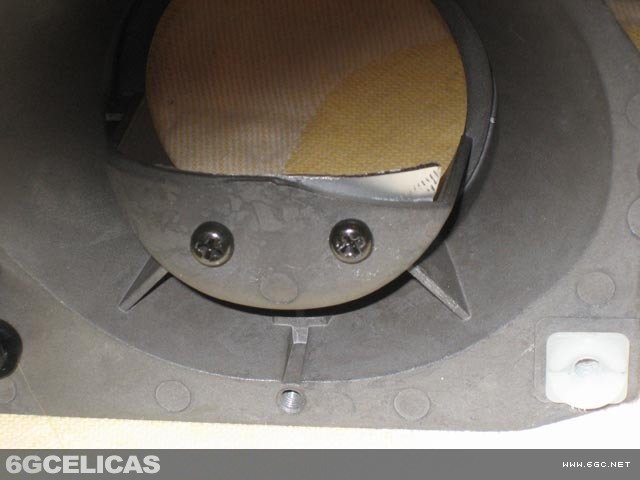 To test if you have succeeded in the modification first close the projector again (only the metal part of course) use a 12 volt transformer and point it to a wall and see the result. If you're not happy, make another one. If you are happy, go on to step four.
Step 4 - Reassembling Everything
This will take most of the time. Because before you can put back everything together you have to remove all the glue thats on the glass and plastic housing.
I used a big bucket and used thinner to disolve the glue. Be careful; This is a filthy job, but it's necessary to do. Otherwise you can't put the glass back on as well. Just soak the glass and Plastic housing in the thinner for about 10 minutes, then take it out and use a brush to remove the weakened glue. This has to be done several times before both the glass and housing are clean.
When reassembling, make sure that you push the balljoint back in correctly. If you don't, you won't be able to adjust your light. Once you're done, test the projectors and enjoy!
More Photos