Refurbishing and Painting Your Wheels
| Author: | Jdog1385 |
| Approximate Time: | One day |
| Required Tools: | Sandpaper/sanding sponge (80, 150, 320 grits) Wood/metal files Cleaner/wax and grease remover Wheel paint (color coat and clear coat) |
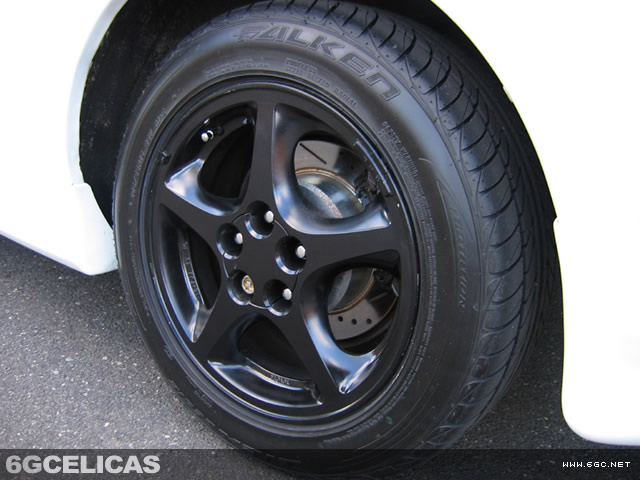
 If your wheels have curb rash, are scratched up, or just need some new paint, following this how-to article can get them looking like new again.
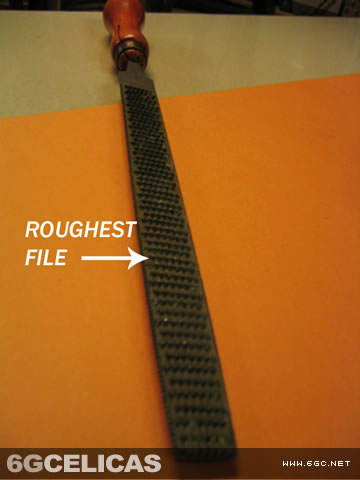
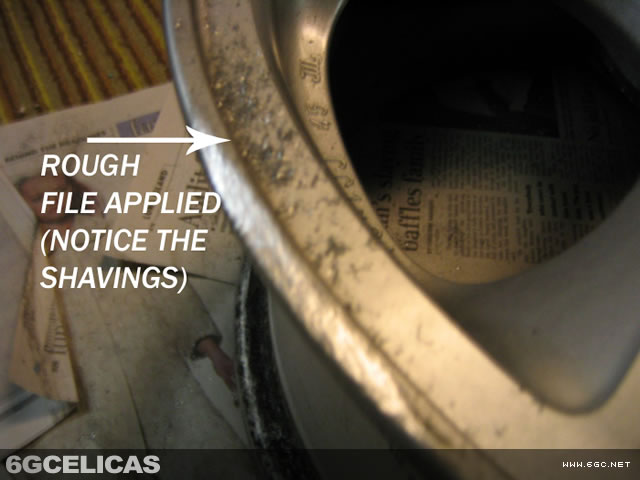
First, you'll need to use files to get rid of curb rash and large gashes. The first file you will use is the roughest out of the bunch. The one that looks like it will do the most damage is the one you want. This file is used to remove the deep gashes and scratches on the lip of the wheels. Take nice, easy strokes over the gashes but don't give it to much muscle...let the file do the work. You also don't want to go too deep into the metal (you only want to remove the gash not the entire lip.) This file will create scratches and you will feel like it's not working but dont get nervous. After you have removed the gashes put that file away because you will not need it anymore.
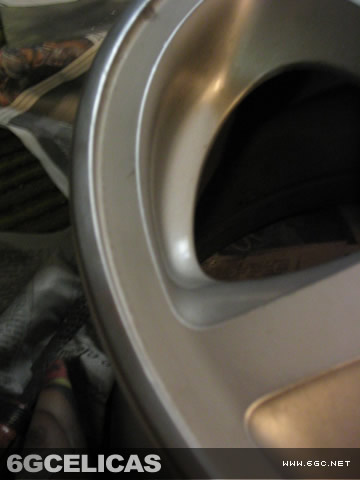
The next step is using the finer files to remove the scratches created by the rough file. Use these files the same way you used the other one but with a little more muscle. Go evenly over the surface, making sure you keep the curve constant on the lip of the wheel (you dont want to lose the continuity of the lip.) You will get the rough scratches out with these files but there will still be scratches...this is where the sanding comes into play.
 The final steps of refurbishing the wheels deals with sanding. This is where you will see remarkable changes. Start sanding the areas you filed with a 80 grit sanding sponge or sandpaper. This will get the coarse scratches that were created by the files out.
Next, use the 150 grit sandpaper to get the area smooth. This will make the surface shiny and smooth. Finally use the 320 grit sandpaper over the area to prepare the area for paint. This pad will make the biggest difference in restoring the wheel to an almost perfect finish prior to painting. This will remove all of the sanding swirls and marks. Your arm should be killing you after using this pad. If not, you probably haven't sanded enough. If you still have minor scratches, keep repeating the sanding process until you get them out. It's annoying but it's worth it in the end.
 If you still see scratches, you need to sand more. If you still have very deep scratches or gashes, you will probably unfortunately have to file again. I had to do this process a couple of times because i was conservative with the files...learn from my mistake.
The next step is to prepare the entire surface of the wheel for paint. To do this, sand the entire surface with 320 grit sandpaper. This will scratch the finish up so that paint can adhere to the wheel.
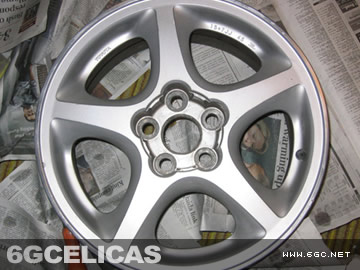 One the wheel is sanded, you must clean it very well with some sort of grease and wax remover. This step is very important, as dirt and grease will cause poor results once the paint is applied. If you have tires on the wheels, this is the time to mask them off.
Now it's time to paint. Angle the wheel so that it is not parallel to the ground, as this makes it easier to paint the wheel evenly. Apply 2-3 thin coats evenly over the wheel (not one thick coat.) I used Duplicolor wheel paint for this project. After you've painted the front of the wheels, turn them over and apply paint to the back (wait a couple hours to do this, and be very careful, because the paint on the front will not be cured yet. Apply about two coats to the back of the wheel.
Once your color coats are on, you need to apply the clear coat. Read the can of paint very carefully to see when you can apply the clear coat, as you may have to do it within a certain time or wait a few days. Be careful when applying your clear coat, and apply light, even coats.
Once you're done, let the paint dry (read the can to see how long to wait) and then enjoy your new wheels!
More Photos