How to Wrap Parts with Carbon Fiber
| Author: | CelicaSTX02 |
| Approximate Time: | One Day to One Week |
| Required Tools: | Carbon fiber cloth Epoxy resin and Polyamine hardener Latex gloves Cutting tool UV protectant spray Acrylic clear coat |
 Want a part wrapped in real carbon fiber? No problem; Just follow this how-to and you'll be looking good in no time. However, beware that this process can be difficult and materials can be expensive. With that said, let's get going!
First, take the part that you want to wrap, and clean off any grease that may be on the part. Wax and grease remover can be found at your local auto parts store, or something like rubbing alcohol can be used.
Next, mix the epoxy resin with the polyamine hardener. It's one part epoxy resin to one part polyamine hardener. That means that if you want four ounces of the mixture, you'd mix two ounces of resin with two ounces of hardener.
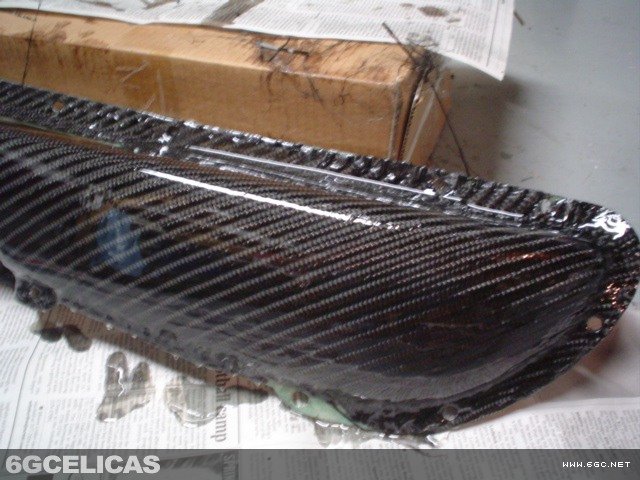
After mixing the resin, apply the resin all over your part and let it sit for about 30 minutes. Cut a piece of the carbon fiber cloth, making sure that there is plenty of room to cover the part and go over the edges. The cloth sheers off easy, so use a good amount of excess cloth to wrap your part.
 Next, start placing the cloth over your part, and apply some more of the mixed resin over the cloth. Apply a good amount of resin, enough so the cloth is easy to work with and feels sticky. Keep shaping the cloth over the part; It takes time for the cloth to stick to the part. Be patient, as it takes hours for it to start sticking well, so keep shaping it.
The cloth doesn't have to perfectly stick yet, let the resin sit for a few hours and mess with it some more. As the resin gets harder, it becomes easier to shape your cloth, unless the resin is too hard.
Once you have the shape you like, let it sit over night. It takes 24 hours for the resin to harden completely in a warm, low-humidity environment.
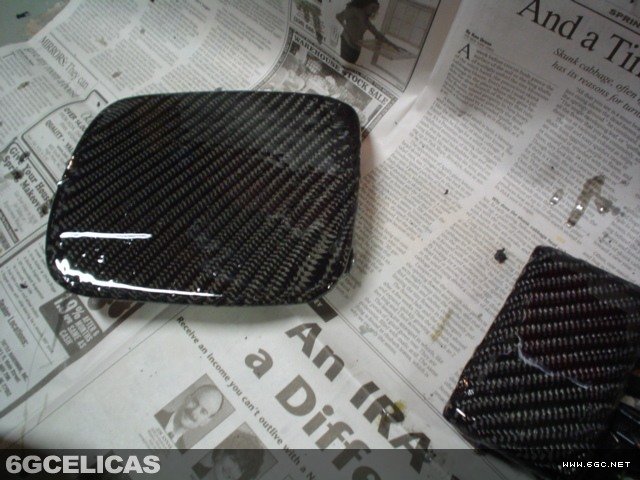
One hardened completely, lightly sand the part with 220 grit wet sandpaper, and then clean it. Then apply another layer of the resin and hardener mixture.
Let the resin sit for 24 hours. Your part should start looking really good at the second resin stage.
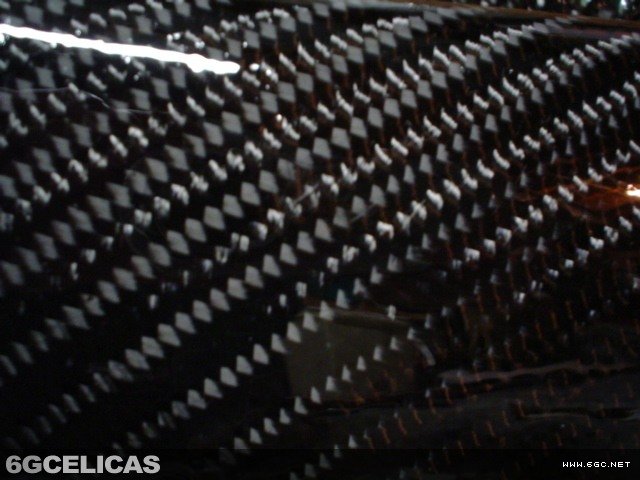
 After the mixed resin hardens, sand it down smooth with sandpaper. I start with 40 grit to get large bumps out, then 80 grit to further level out the surface. I then wet sand with the 220 grit sandpaper to get the scratches out, and then wetsand again with 400 grit to make it really smooth and ready for paint. At this point, the surface will be smooth, but very dull. This is normal and will be fixed when painted.
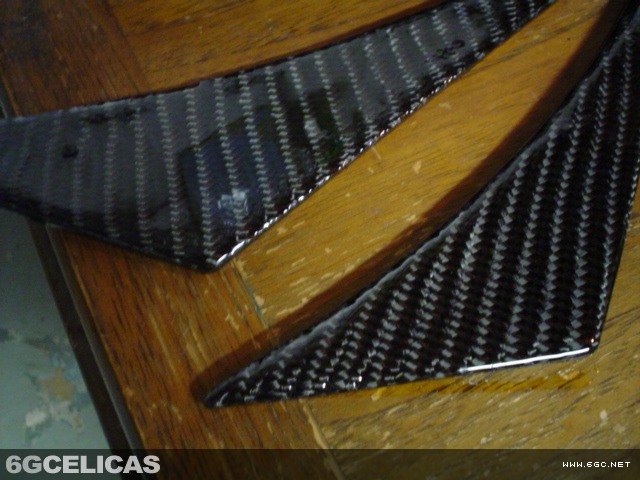
If you're not satisfied with the surface of your part, apply another coat of resin and redo the previous step of sanding the resin down once it is dry. Be careful when sanding not to sand too far.
If you're satisfied with the surface of your part, you can spray UV protectant over the part and very light coats acrylic clear coat to seal it. Once the clear coat is completely dry, the part should look smooth and glossy, and the part is ready to go back onto your car.
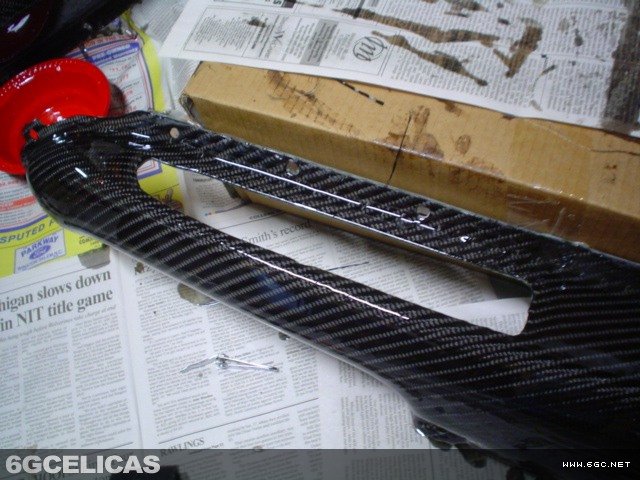
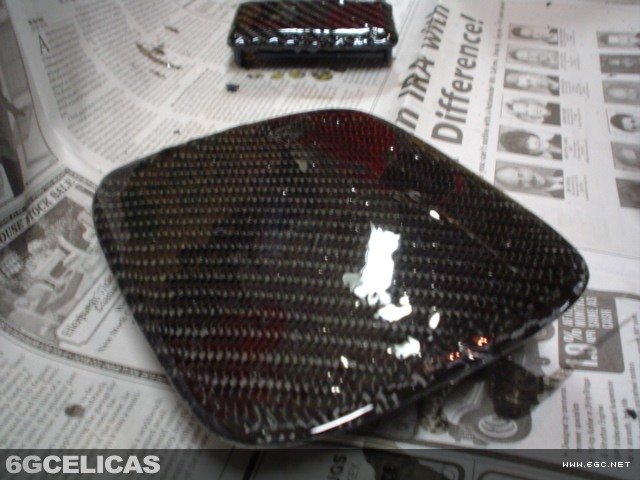
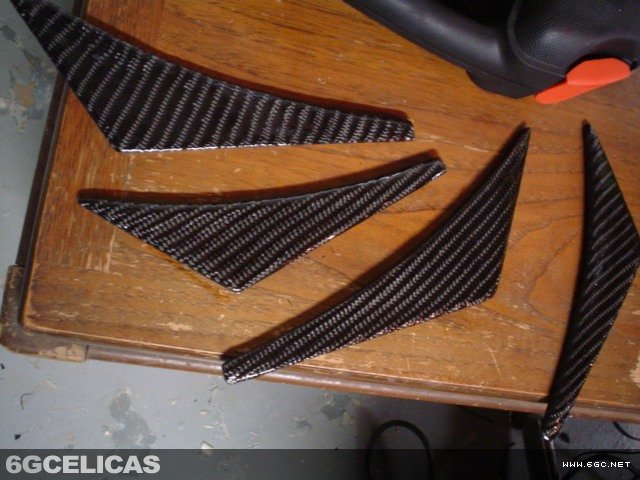
More Photos